Welcome to Moda Fabrics!
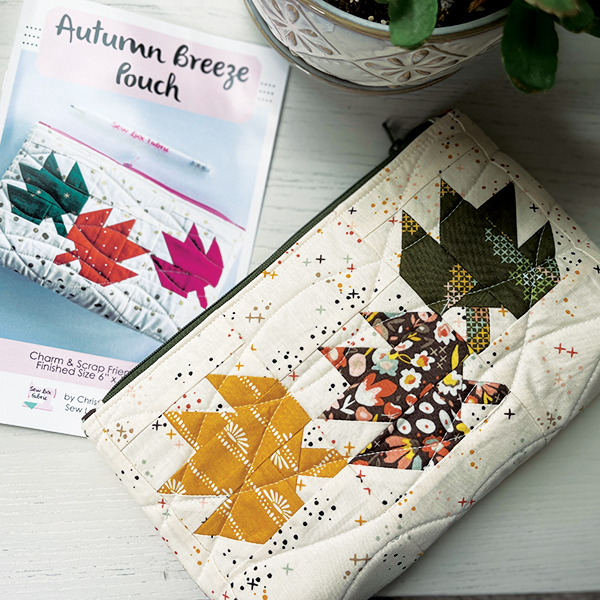
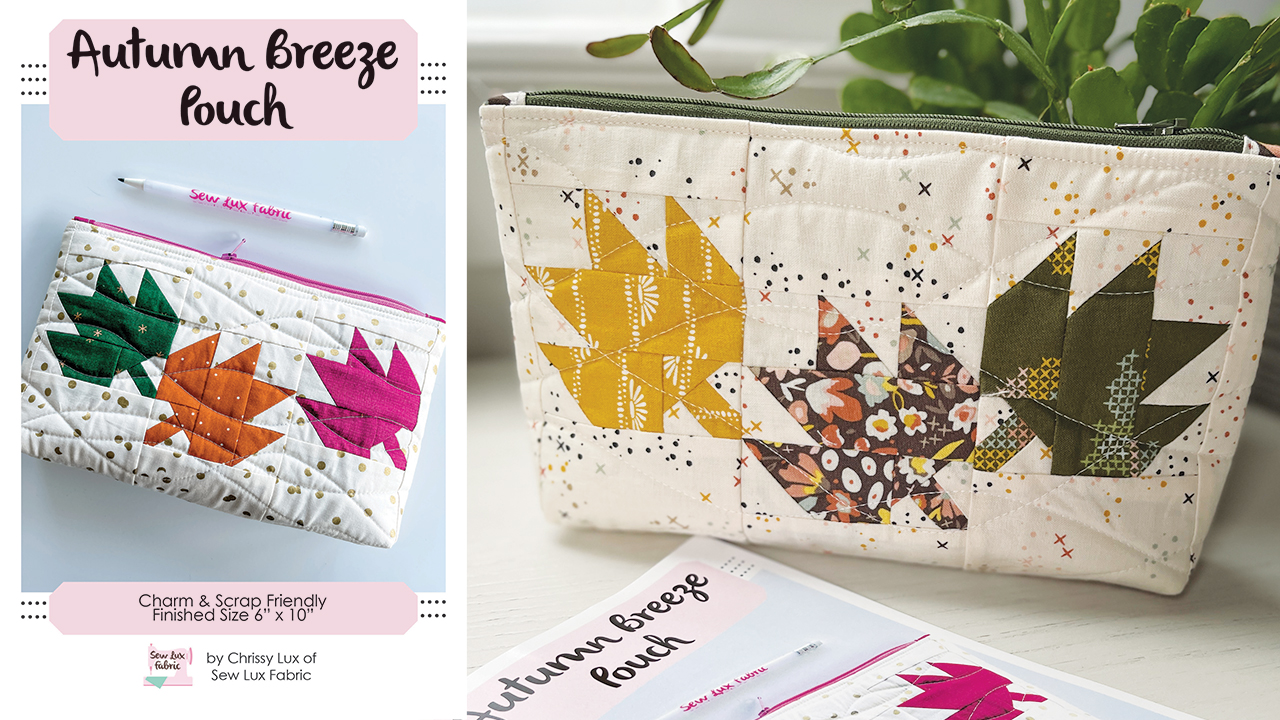
POUCH CLUB: AUTUMN BREEZE POUCH
POUCH CLUB: AUTUMN BREEZE POUCH
Published:
Oct 19 2023 - 08:00

Materials Needed:
You will need the following to complete this project:
- 6 Charm Squares (or F16s)
- 1/4 yard Background
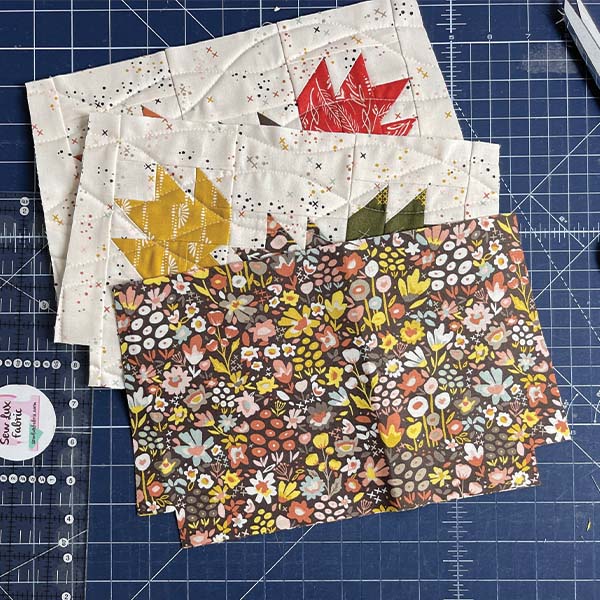
- 1 FQ Lining
- 12" or longer zipper
- 13" x 18" Soft & Stable or preferred batting
- Autumn Breeze Pouch Pattern SLF2210
Paper and PDF patterns as well as kits are available in our shop at Sew Lux Fabric or ask your local quilt shop to carry the paper pattern and kit one up for you!
Note: Be sure to check out the video on our YouTube channel linked at the end of this post for additional tips and video to support this tutorial.
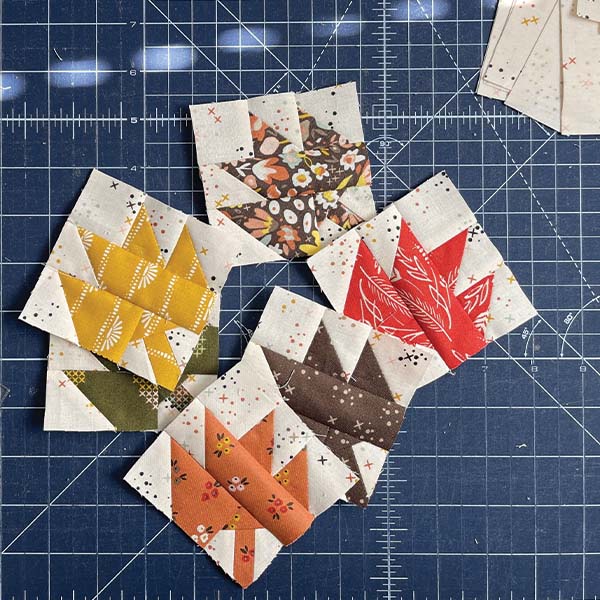
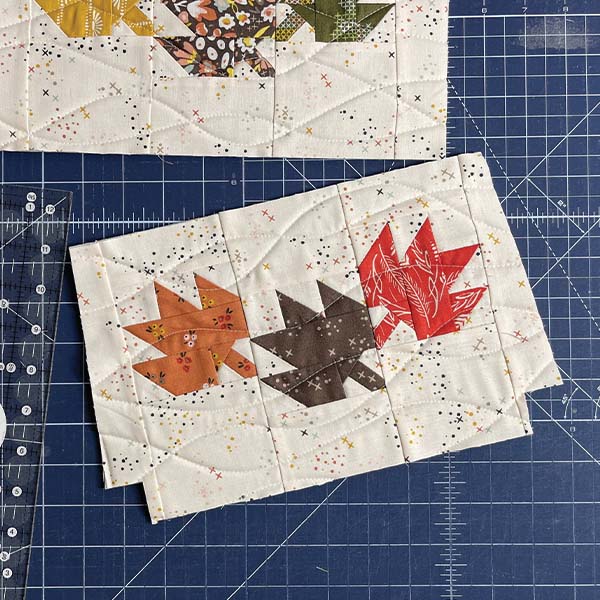
Step 1: Piece the Leaves
Follow the directions in the pattern to cut all pieces for the pouch. Since these leaf blocks finish at 3”, you’ll likely want to choose small scale or tonal prints for the leaves.

Sew the HSTs and corner triangles on the leaf print rectangles as directed in the pattern.
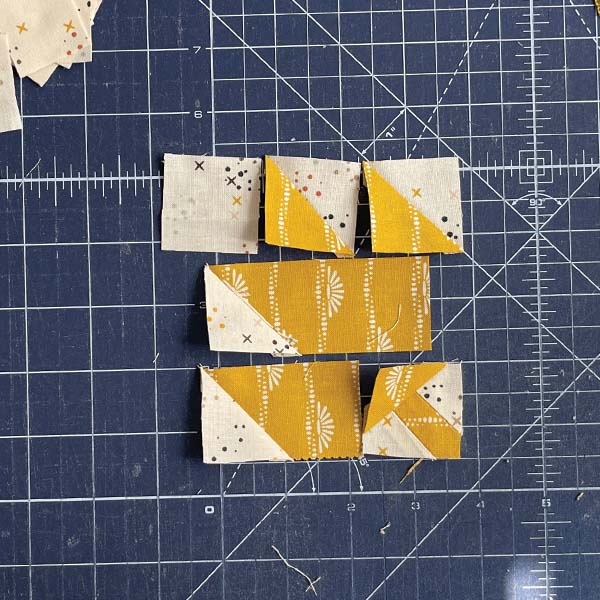
Then sew the leaf units together in rows to complete the block. Make 6 blocks.
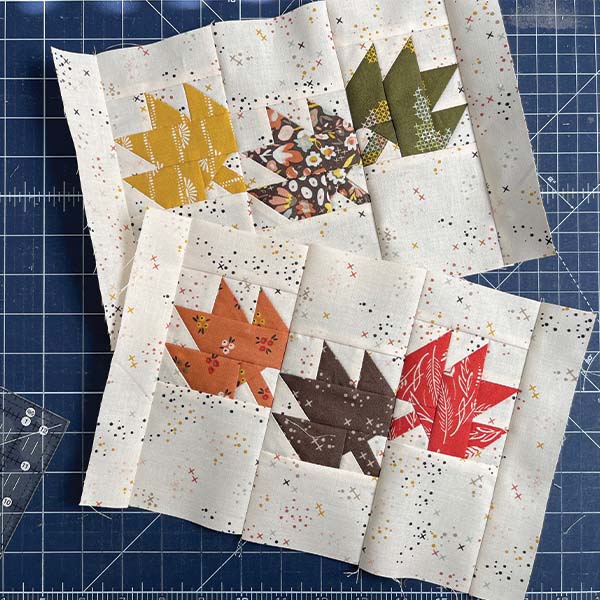
Step 2: Piece the Pouch Exterior
Follow the directions in the pattern to add border strips to the top and bottom of each leaf print. (You can follow the pattern layout or make all your leaves face the same direction.) Then sew the leaf panels together and add the side borders. Make two panels.
Step 3: Quilt & Trim the Exterior
Quilt both exterior panels, as desired. We added wavy lines with a walking foot to make add some “movement” to the leaves. A diagonal grid would be a great choice, too!
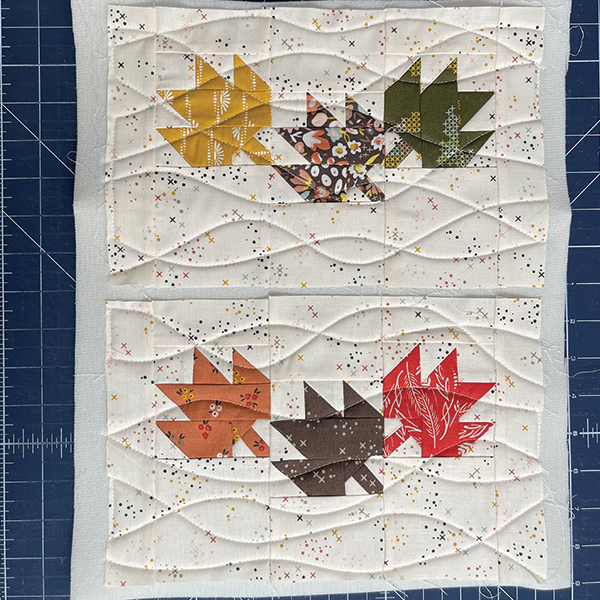
After quilting, trim to size as directed in the pattern and then stay stitch around all edges (approximately 1/8” from the edge).
You’ll trim the lining rectangles in the same manner as the exterior panels.
Step 4: Prepare & Install the Zipper
Follow the directions in the pattern to make and add tabs to the ends of the zipper.
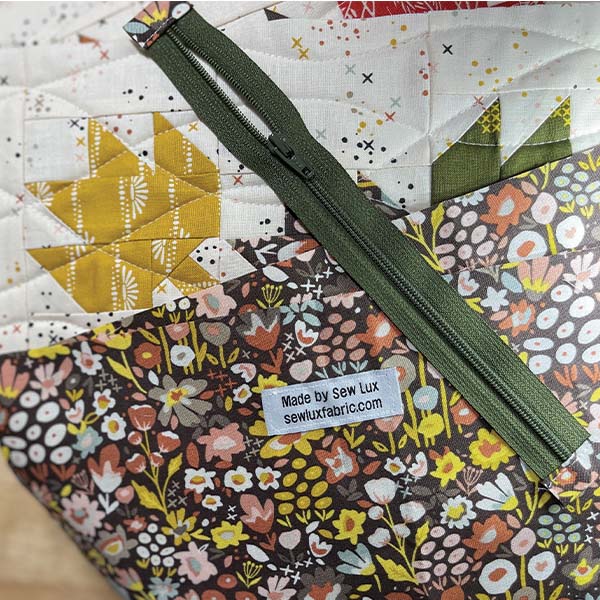
Align the zipper with the top edge of the pouch, centering it and leaving about 1/2" on either side.
Install the zipper using a zipper foot and top stitch the exterior & lining in place. (Refer to video linked below.)
Step 5: Finish the Pouch
Arrange the pouch so that the exterior is RST and the lining pieces are RST. Make sure the zipper is half open and pin or clip in place around all four sides and sew closed, leaving a 3-4" hole in the bottom of the lining.
Once you have sewn all the way around, box the corners by pinching the opening closed and sew shut. Repeat in each corner.
Turn the pouch right sides out through the hole in the bottom of the lining, press well and close the opening by hand or machine.
For more details and video of the steps above and some additional tips, check out the video.
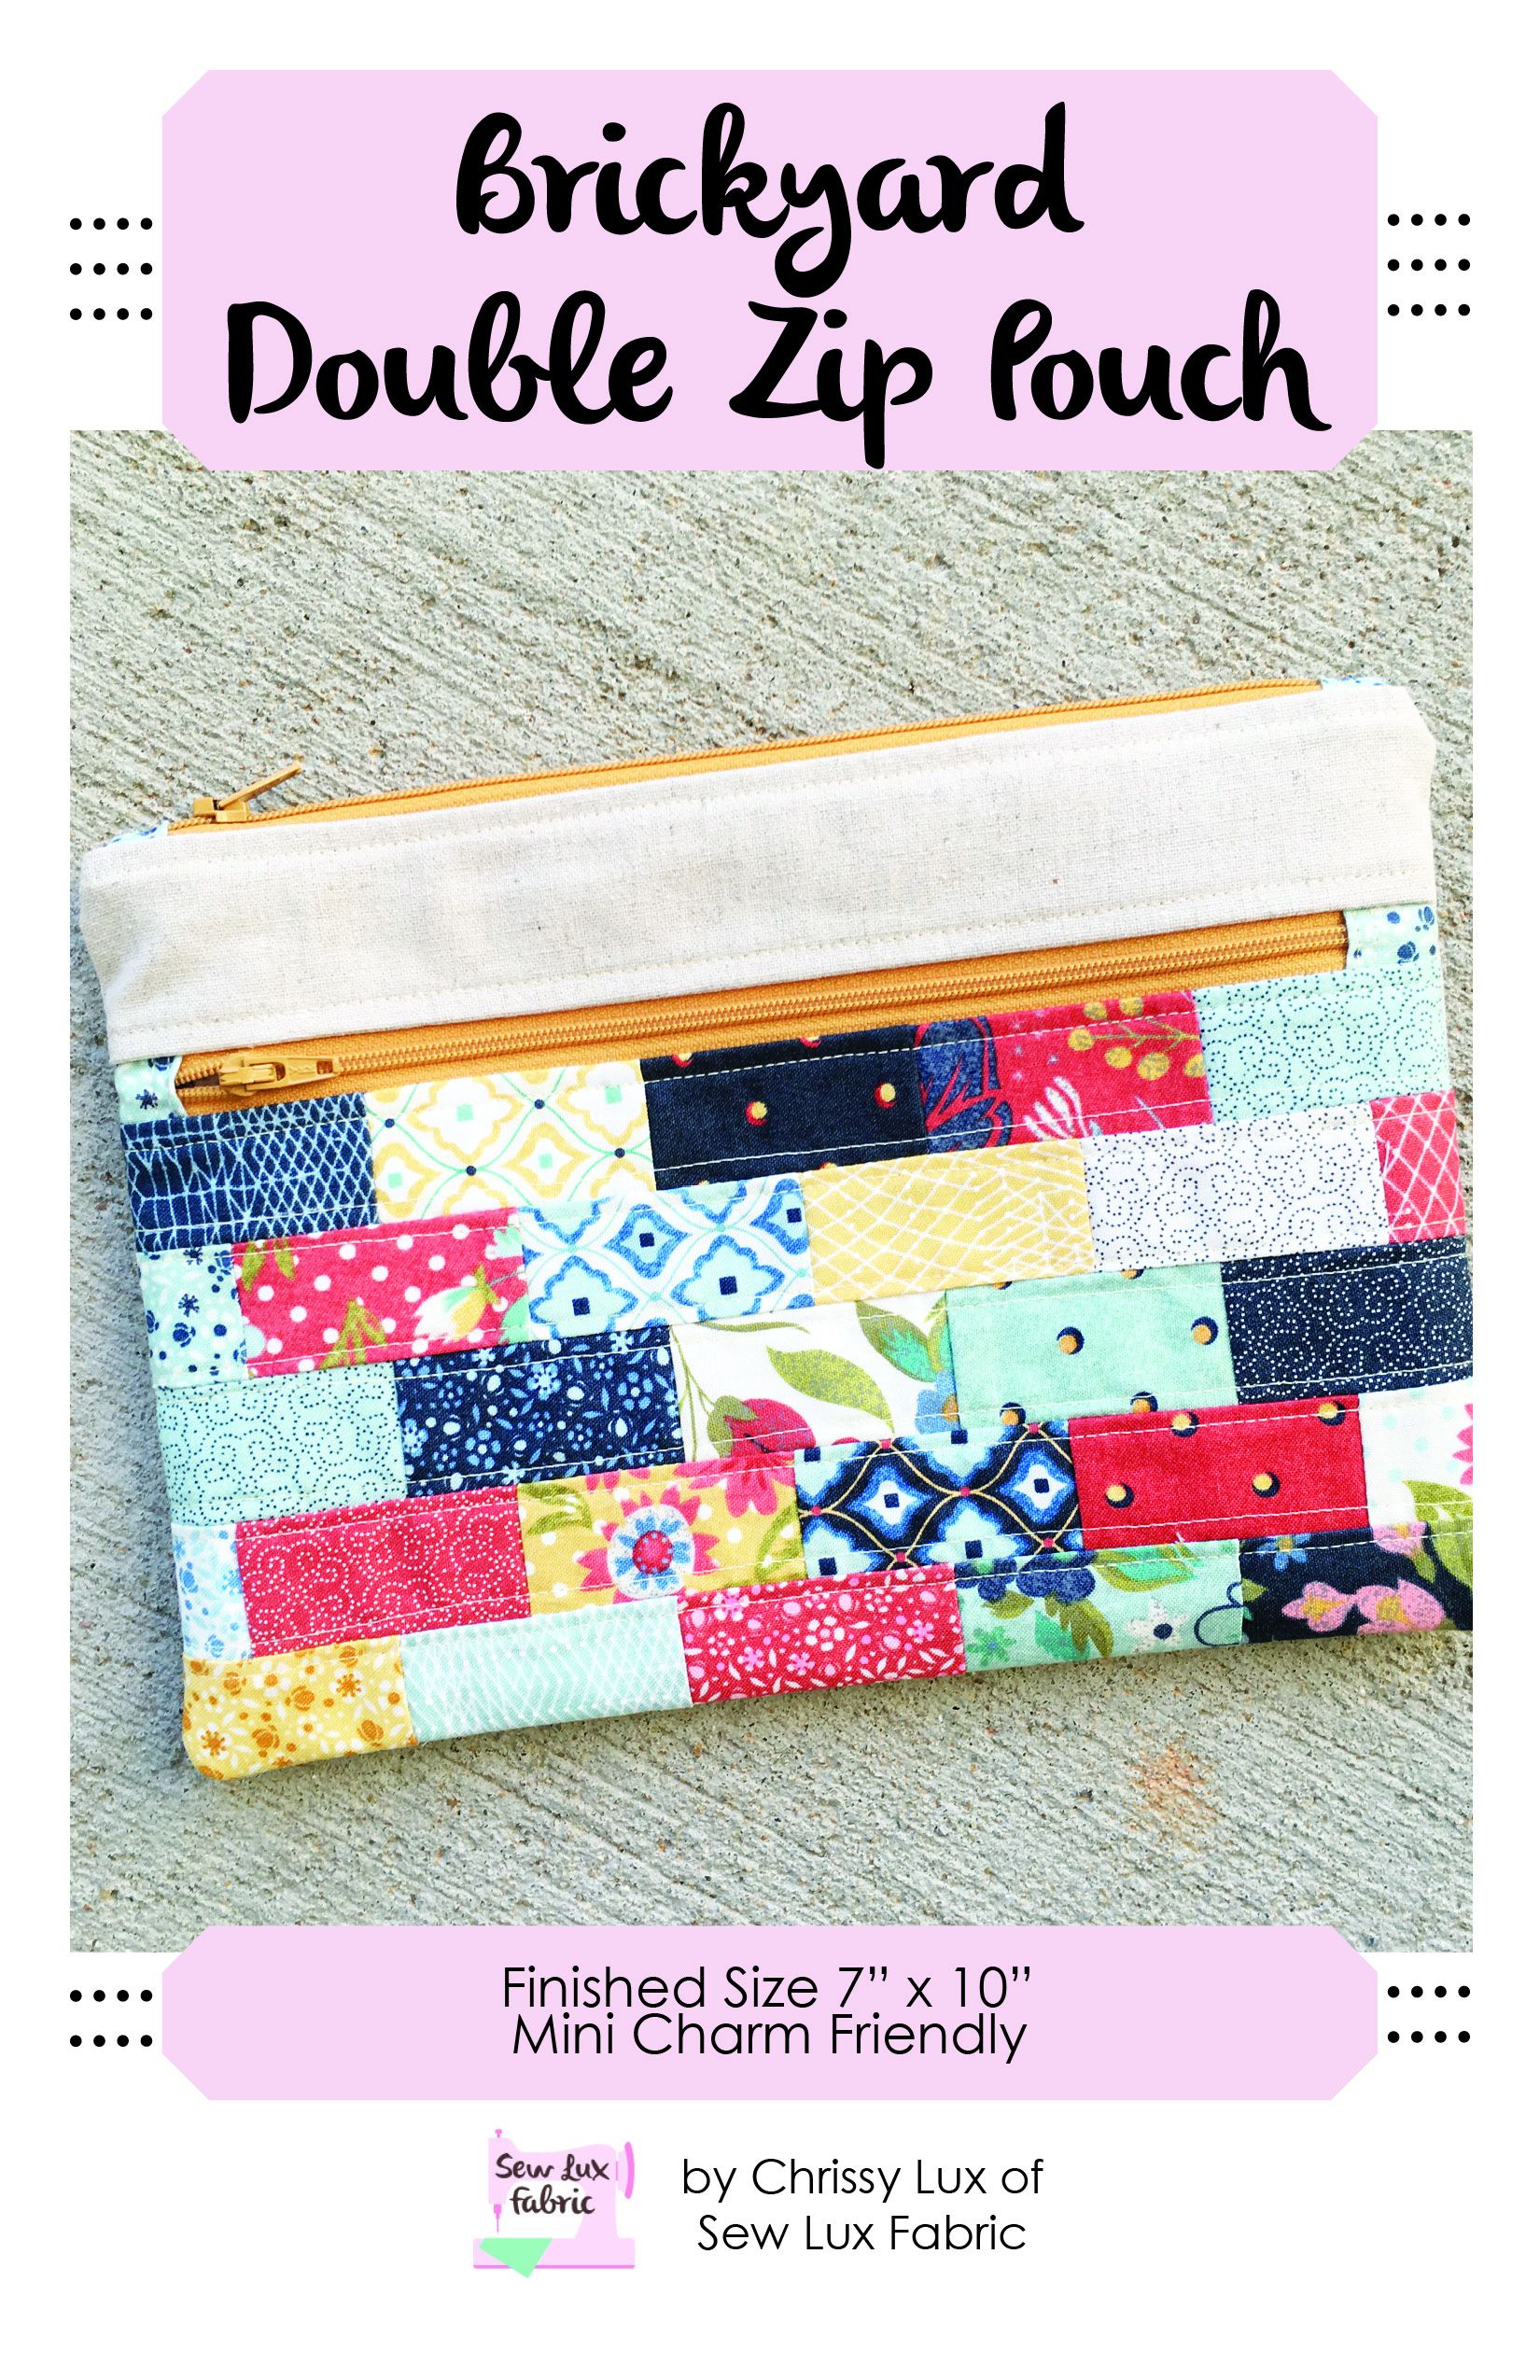
Next month, we will be making the Brickyard Double Zip, a fan favorite at Sew Lux! See you back here on November 16th for our next installment of the Pouch Club Series.
Comments