Welcome to Moda Fabrics!
Woven Star Tutorial
Woven Star Tutorial
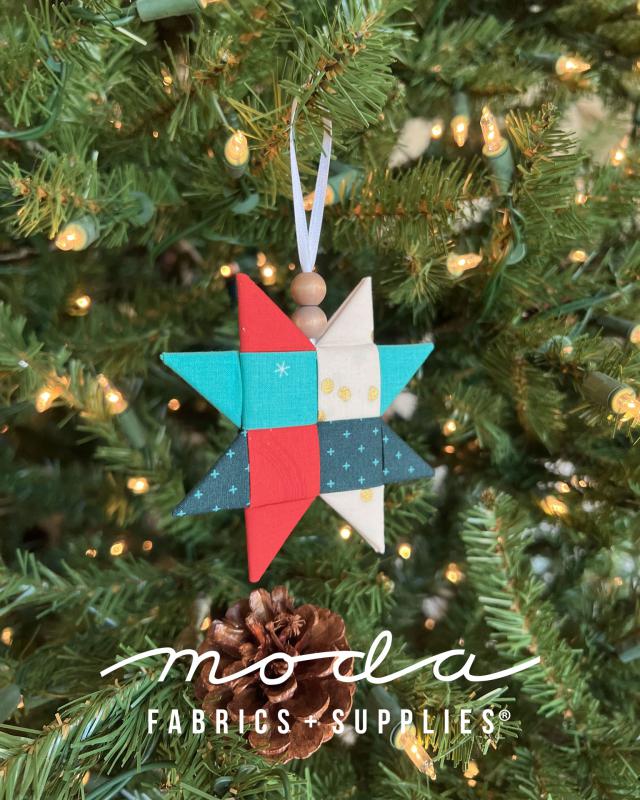
Okay, so hear me out. I know these stars have been making their rounds on the interwebs for years now (and even here a few years ago!), BUT this year, I wanted to get the Moda employees involved so we could create an entire tree filled with just woven stars using fabric from our Moda designers. PERFECT RIGHT!?! We thought so too. SO, here is a refresher on making the stars, we can’t wait to see yours too! Post on your socials using #WovenStarsWithModa
You will need:
- (4) strips of fabric, measuring 3.5" x 12"
- Fabric Glue
- A large eye tapestry needle
-12"-15" of 1/8' ribbon
- Beads (optional)
- Hemostats (for those tricky ends, optional)
- Wonder Clips (optional)
Start with choosing your four prints. Cut them to measure 3.5"x12".
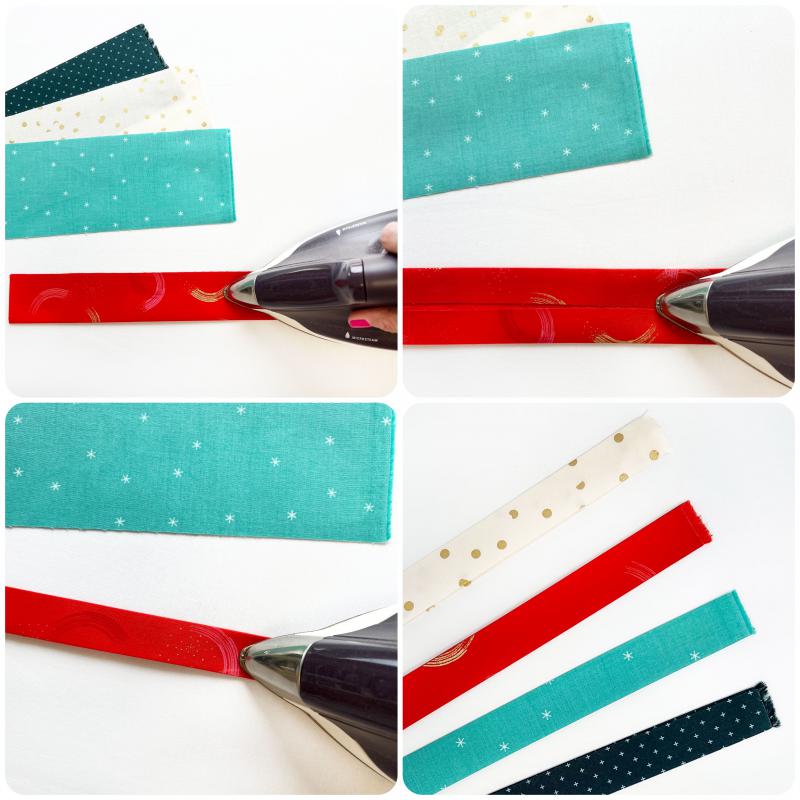
Iron all your pieces in half to crease. Then iron each side into the center to meet at your crease. Fold in half and iron again to get a nice, smooth strip measuring approximately 7/8"x12". (this is essentially a double fold binding strip)


Another little bit of ironing, fold your strip lengthwise so that the top half of your strip is about 1.5”-2" shorter that the bottom half and iron to crease.
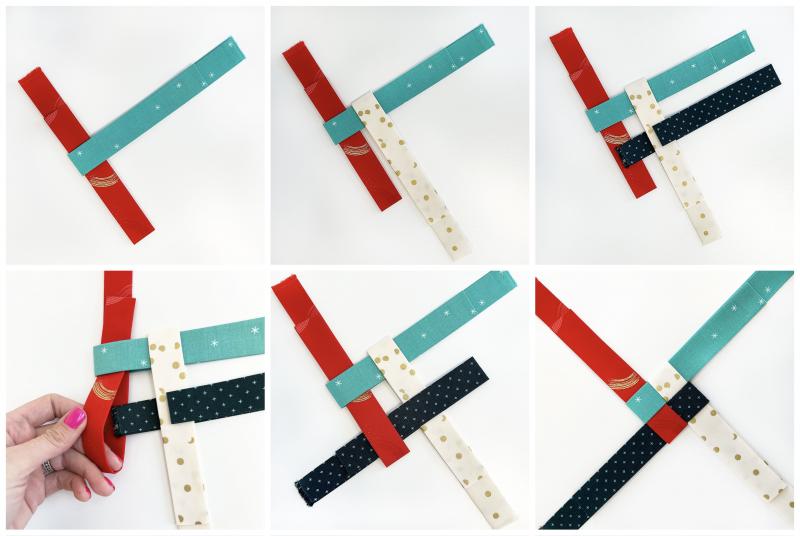
Let's weave our pieces together. With your short ends facing UP, overlap each piece one at a time as shown in the pictures above. For your last piece, overlap the previous piece you added, then slip both ends through your first strip as shown above. Wiggle, pull and tighten your fabric strips until you have a nice, even, tight square in the center, without any gathering.
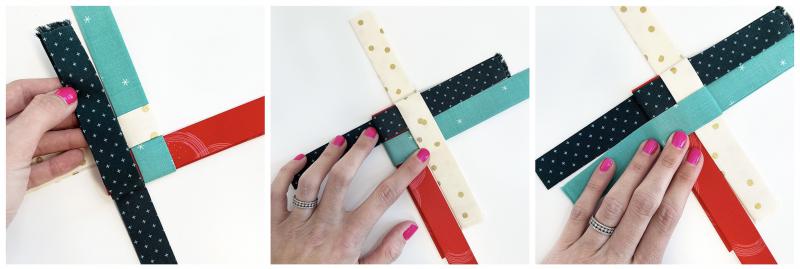
Turn your piece over so the long ends are now on top. Starting in one corner, fold your strip over your piece (image 1). Move along to the next strip and fold over (image 2). Continue with the 3rd piece. On your fourth piece, pull it through the fold you created with your first strip fold (image 3).
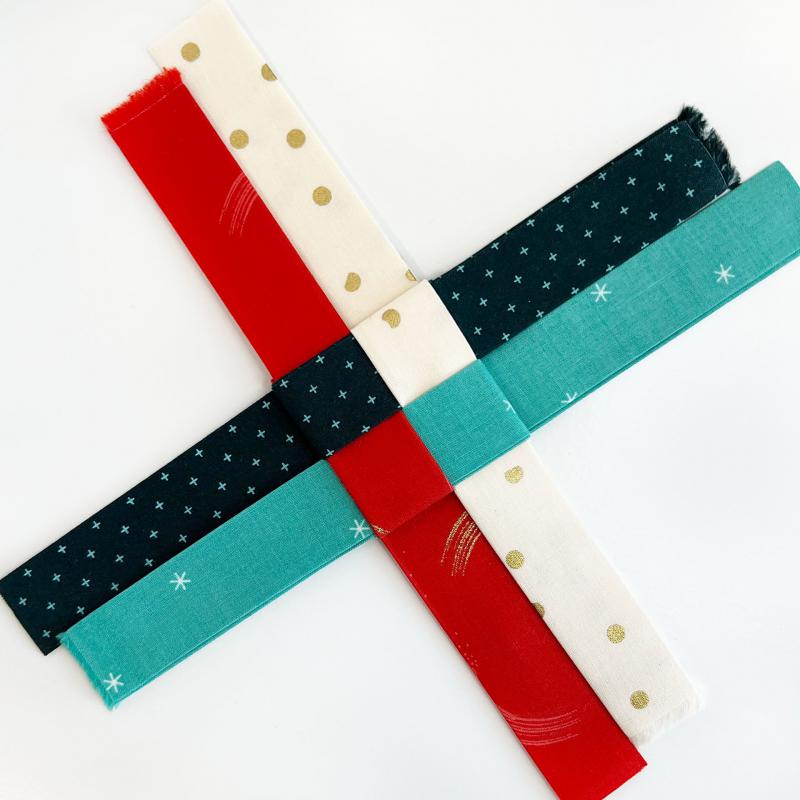
You should have a woven piece that looks like this with all your strip ends measuring approximately the same length.
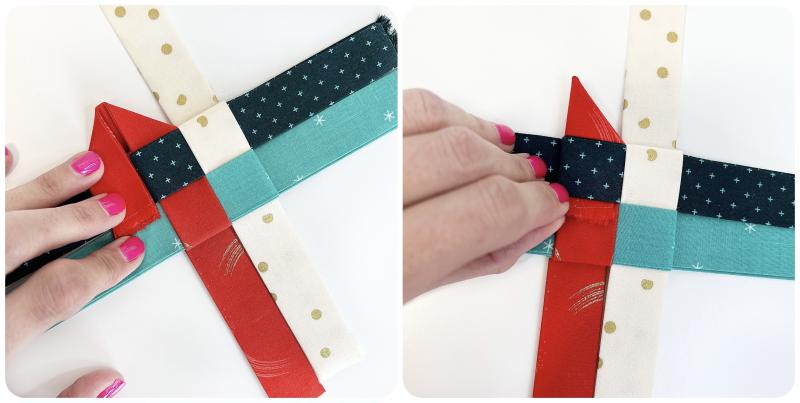
Making the points: Using one of your strips on the "top" of your piece (you should be able to determine this better when looking at your own piece) fold it to the back at an angle and back to the front at another angle (image 1 above). Fold your point in half to create your finished point. You now need to slide the end of your strip into the fold you created as shown above in picture 2. (use your hemostat and wonder clips here if needed) You will have a tiny bit of excess fabric peeking through in the center, don't worry, we'll fix that later.
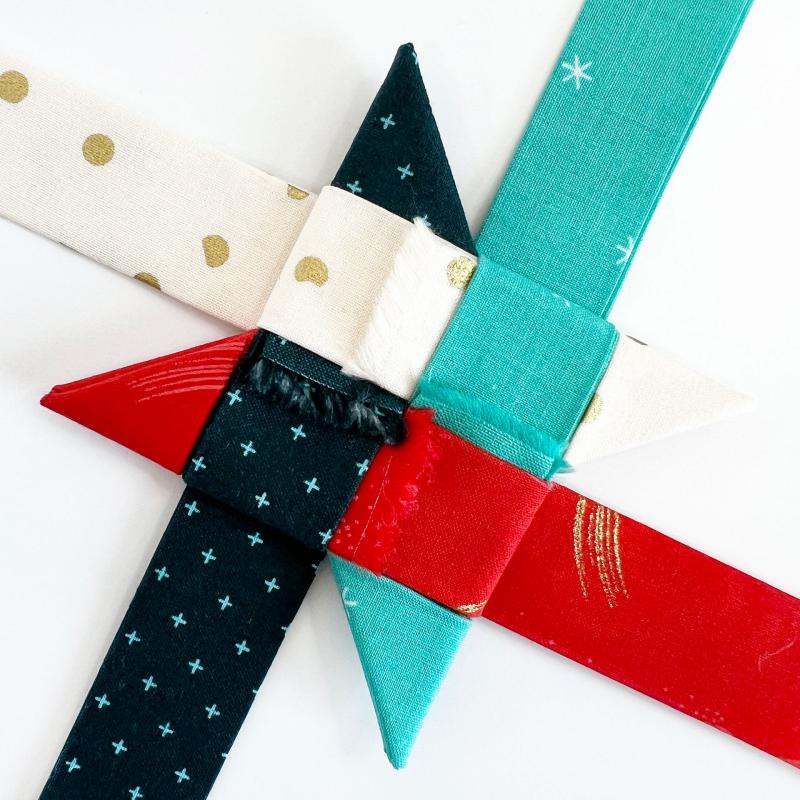
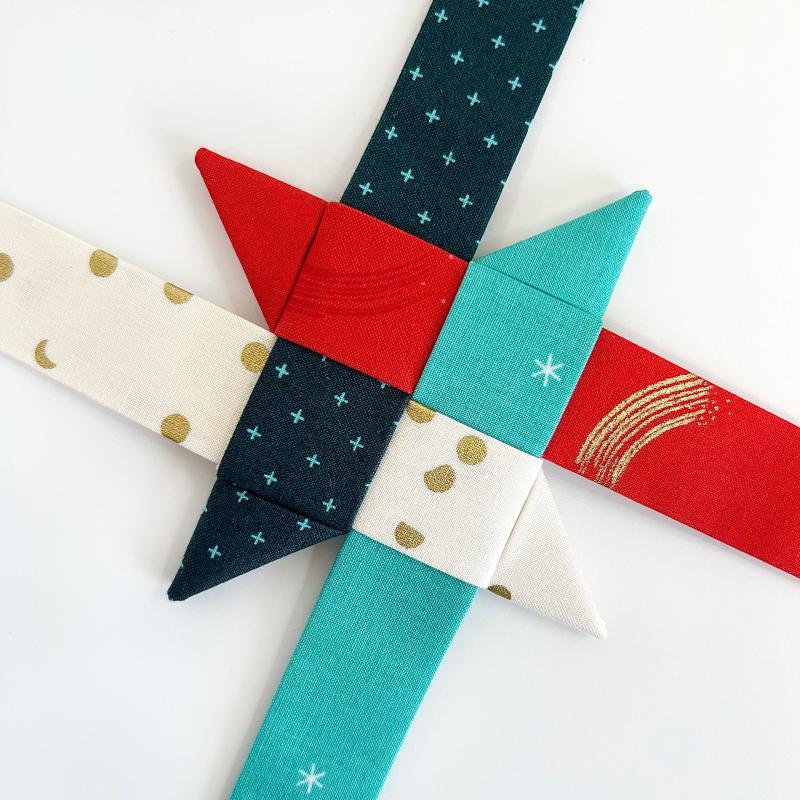
Skip your "back" strip, and continue making points in the same way around the front of your star. You will create 4 points on this side, every other strip. (above) Turn your star over and do the exact same thing on that side. I had to loosen my strips a bit to pull pieces through other pieces, then I just tightened them all back up.
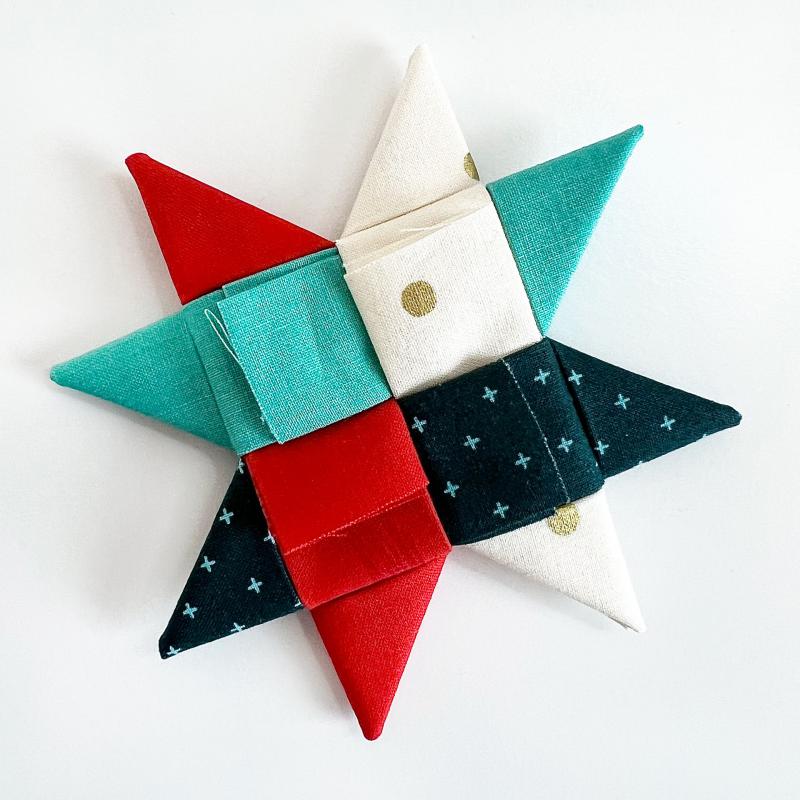
At this point I hope this is all making sense, ;) and, you should have an actual STAR! Yeah!
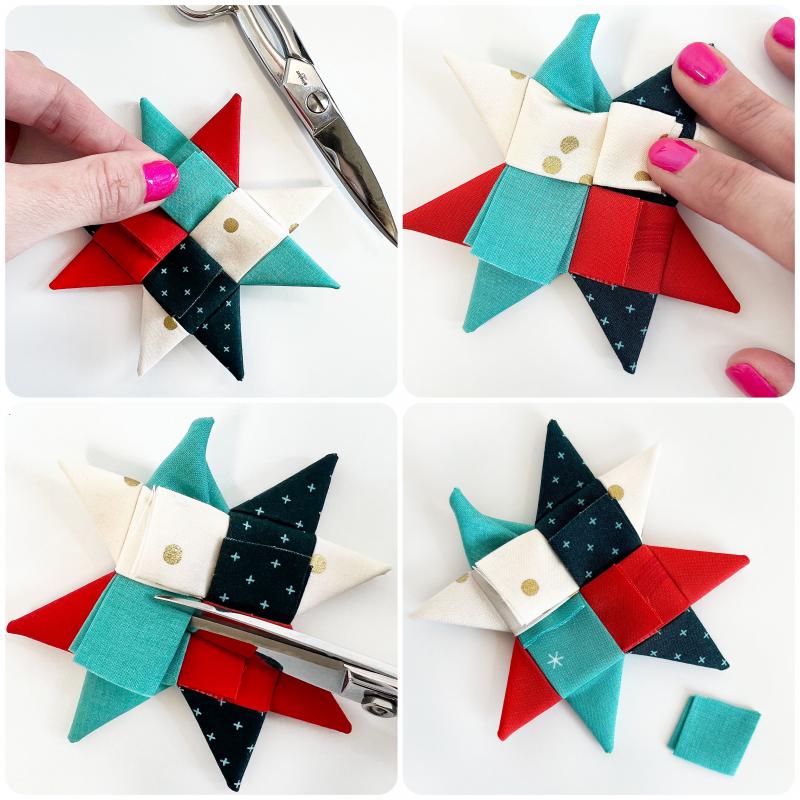
So, let's trim up those ugly ends. Looking at pictures 1 & 2 above, I actually pulled each point further through GENTLY in order to trim the ends enough to hide inside my star. Be careful not to pull your point all the way out, just enough to trim it up. Then pull it back to resemble your point, being VERY CAREFUL again, not to pull it all the way out. Just wiggle it gently until it takes its shape back. Do this with all the ends that are showing in the center of your star.
I totally cranked the steam on my iron and ironed the heck out of my star once all my ends were trimmed. I just wanted a crisp, flat perfectly pointy star. :)
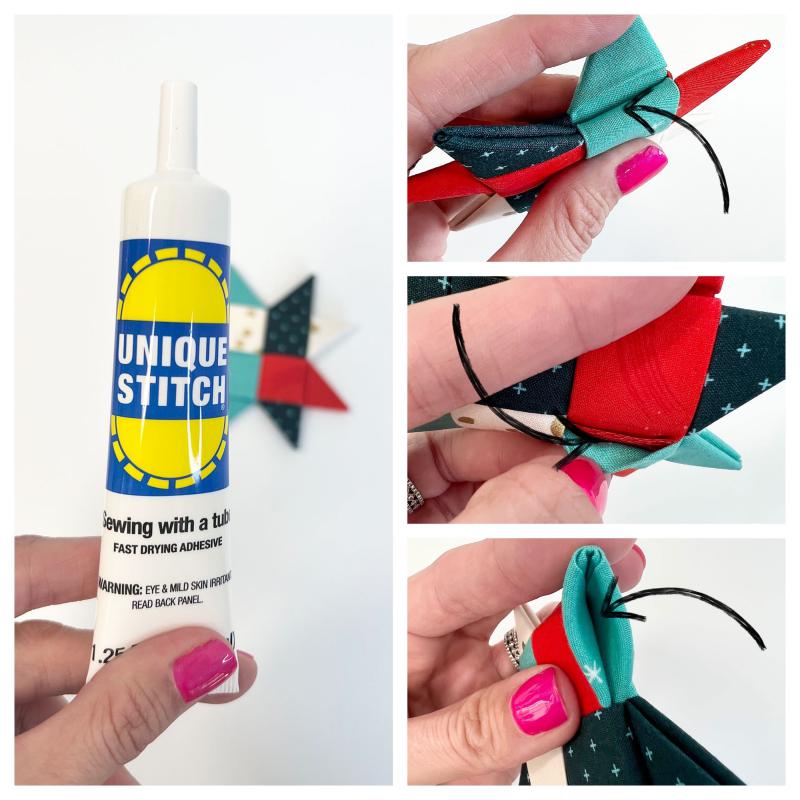
At this point, you can use your best judgement with glue. I was kind of worried about my star falling apart after years of use, or that it would take about 3 seconds for my kids to just completely destroy it. I decided to make mine a little more durable. We used this tube of liquid stitch, fabric glue and it worked perfectly. I put a small bead of glue in as many spaces as I could. Don't get crazy and squeeze glue all over so it's oozing out of every corner. Just dab a little wherever you think it will help to keep your star from coming apart.
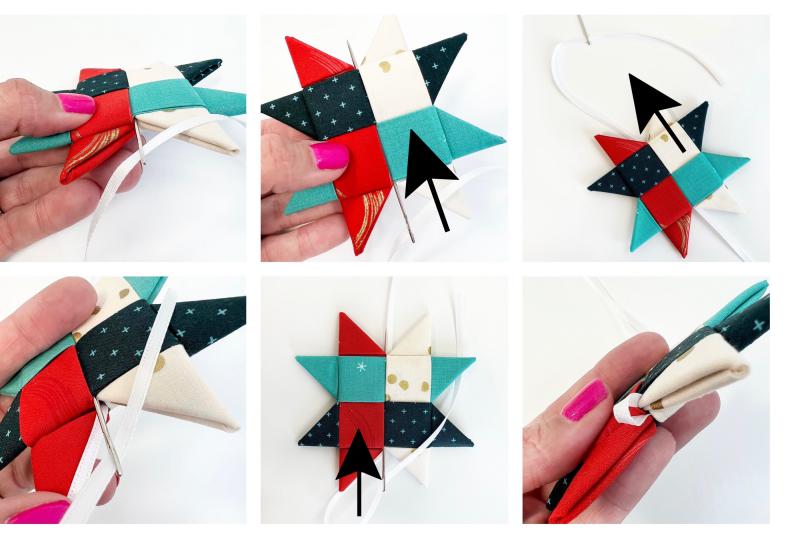
For hanging, I used 1/8" satin ribbon and a tapestry needle to thread it down through the top of the star, out the bottom, back up the other side and out of the top where you started. You now have your two ends of ribbon coming out of the top. You can finish it off from here however you like. I tied a knot, added a decorative bead, tied the ends together and trimmed them up even.
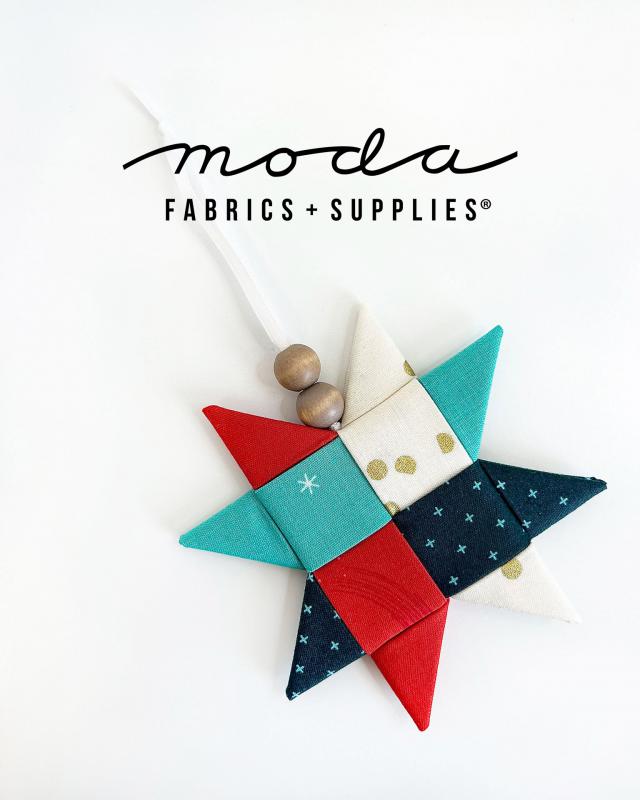
Now, you have this super cute, super easy, super inexpensive star ornament to hand out to all your friends and family this holiday! You can tie these to packages, hang them in windows, put them on your tree, put them on your neighbors tree. Basically, just put them everywhere because, well, they're adorable.
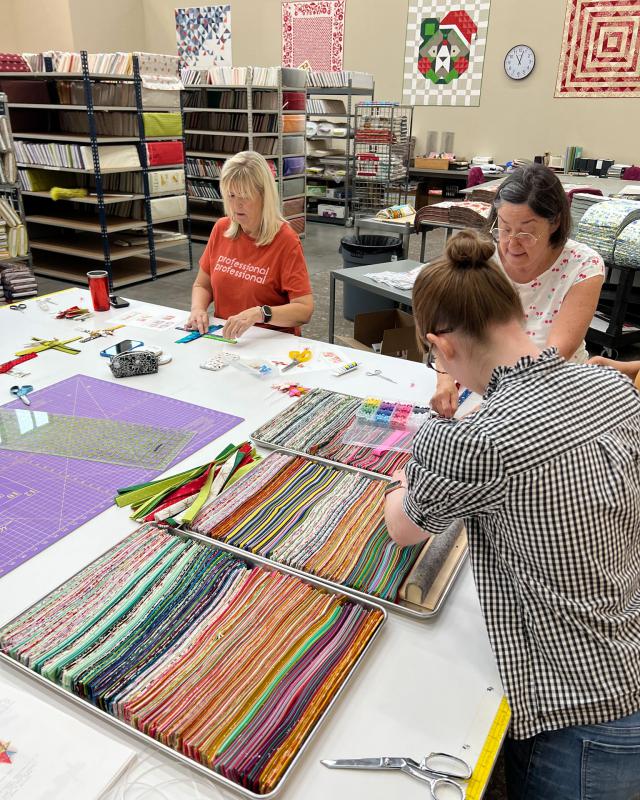
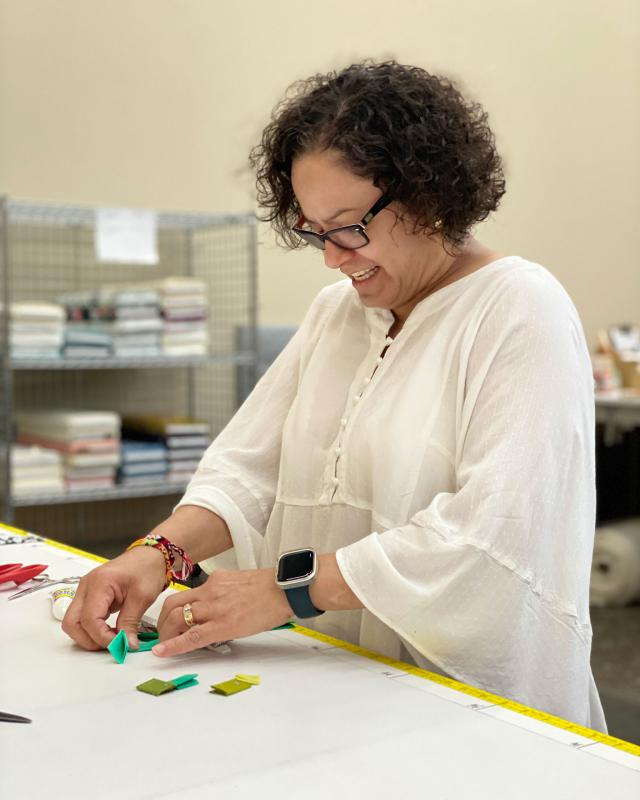
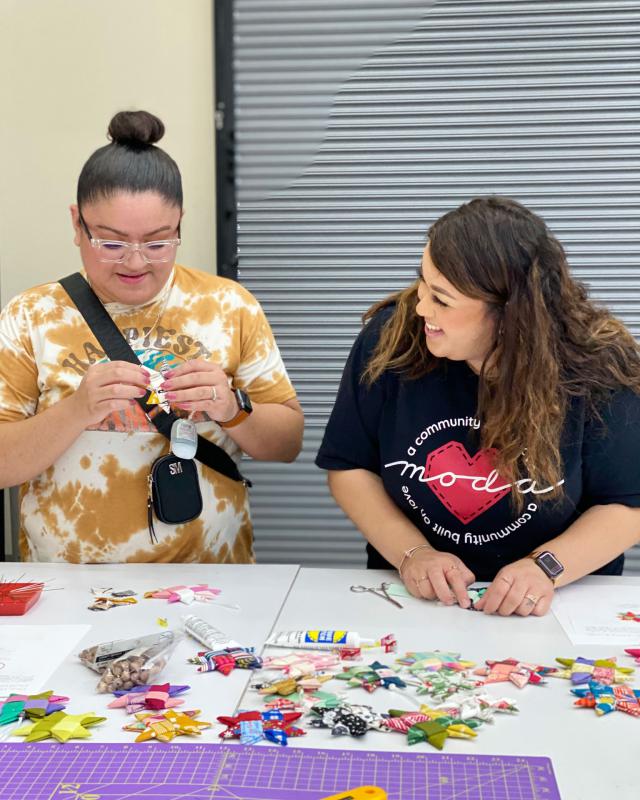
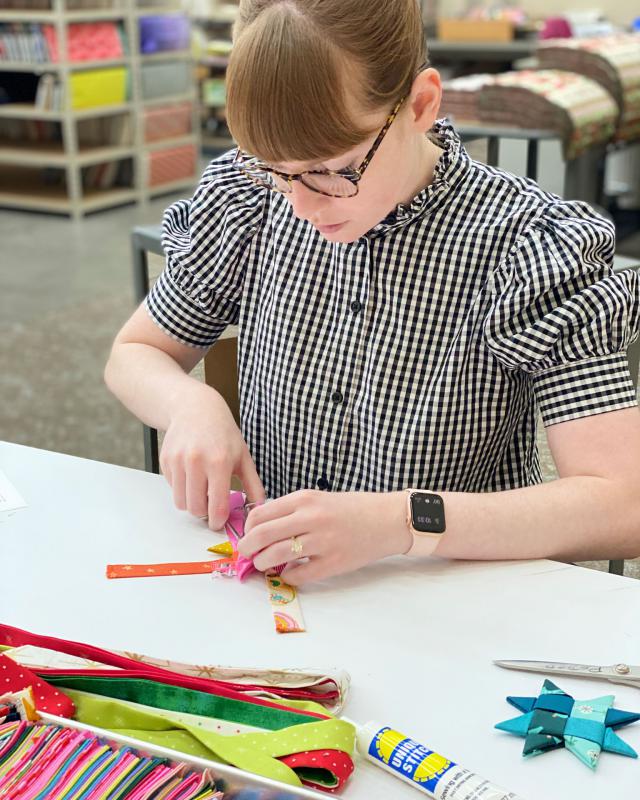
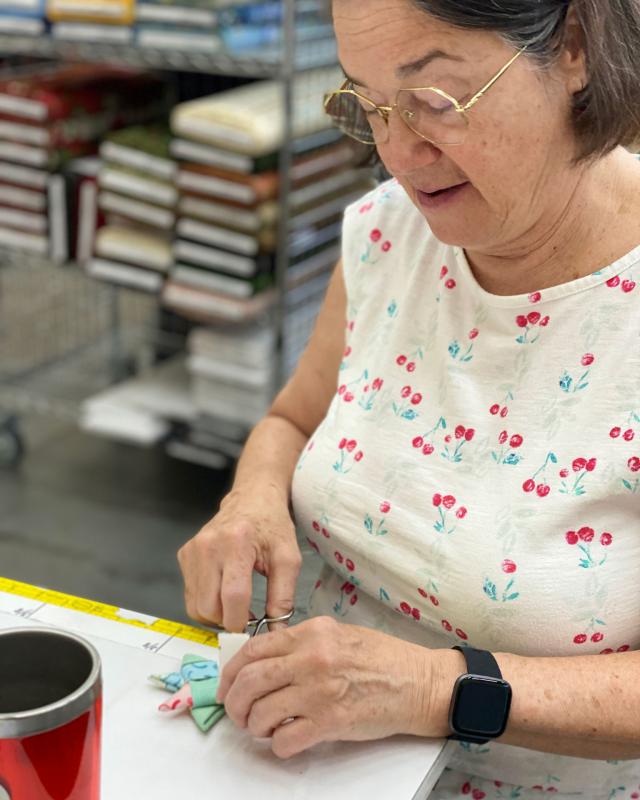
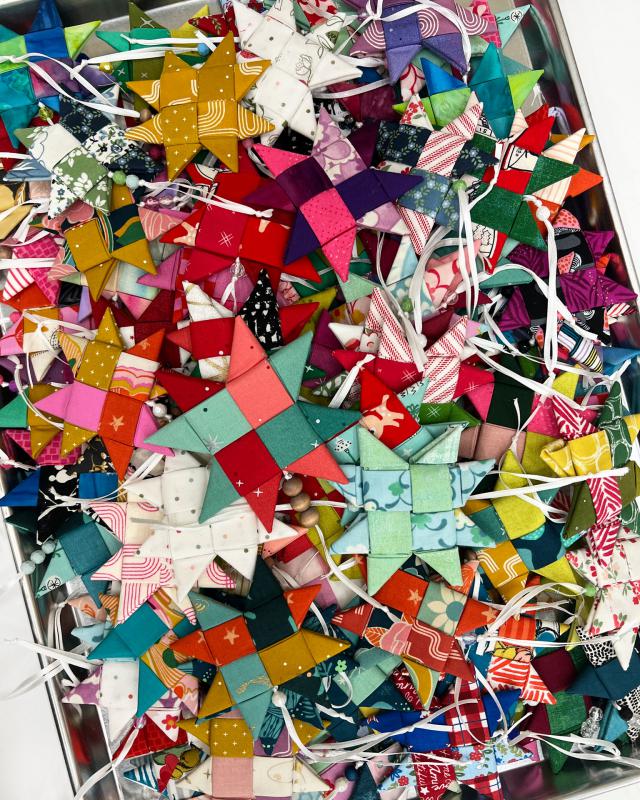
Let's take a look at our friends here at the Moda office getting into the holiday spirit!
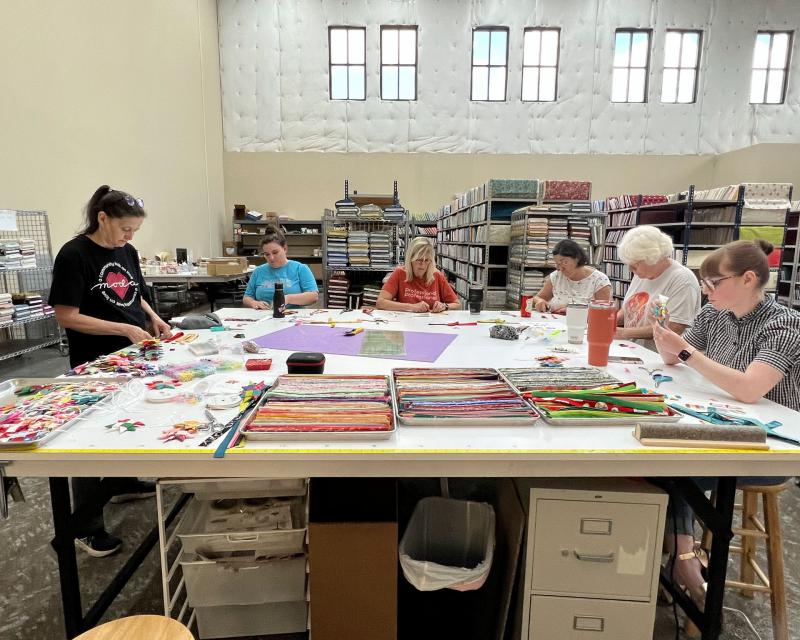
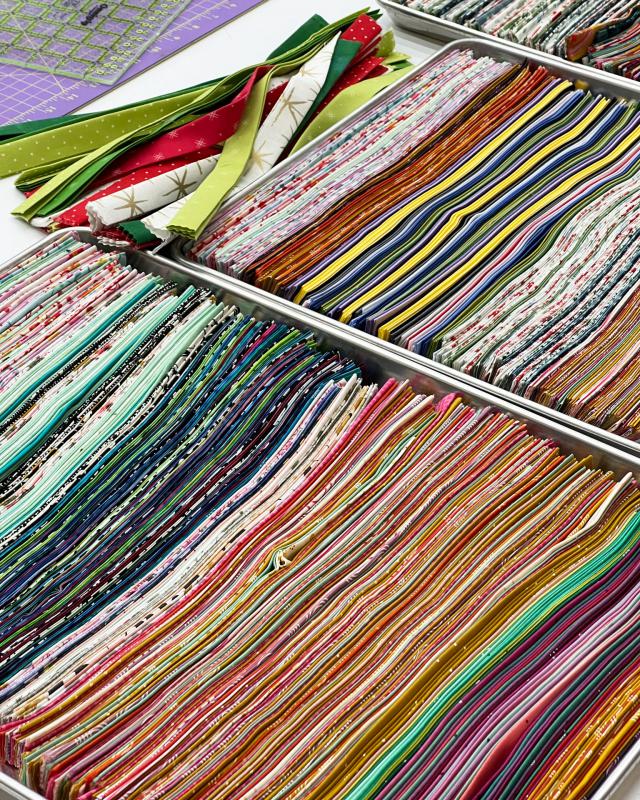
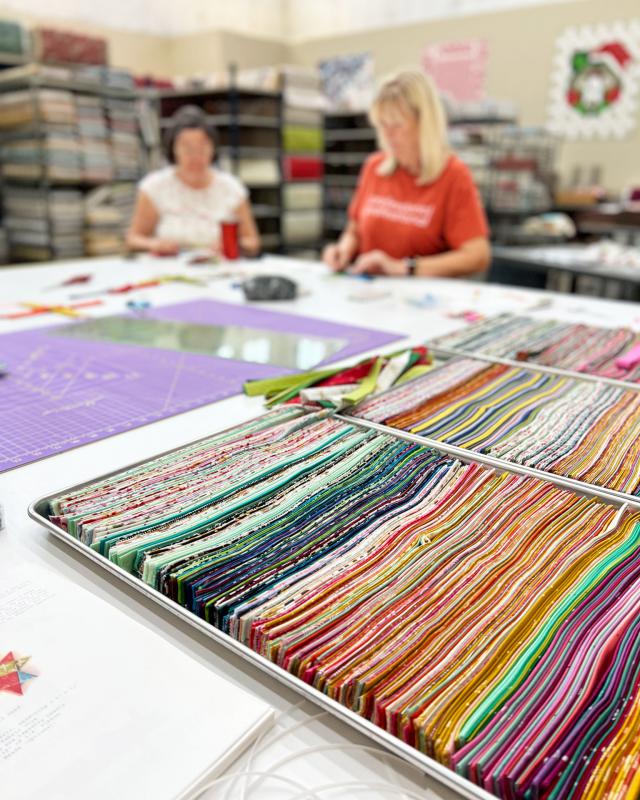
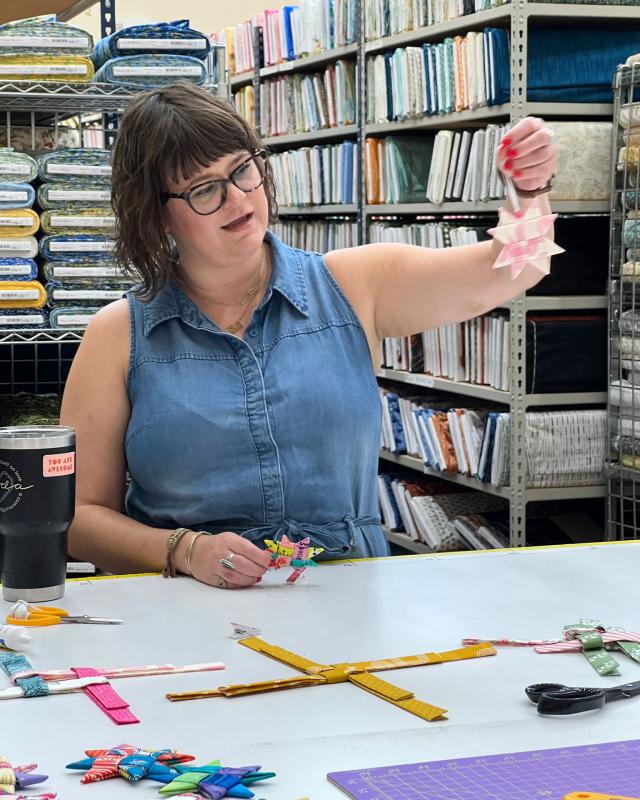
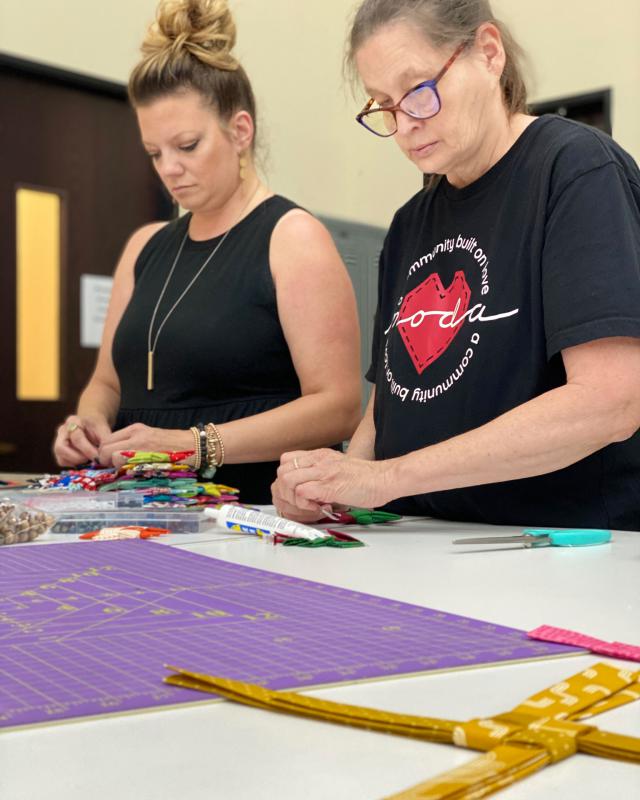
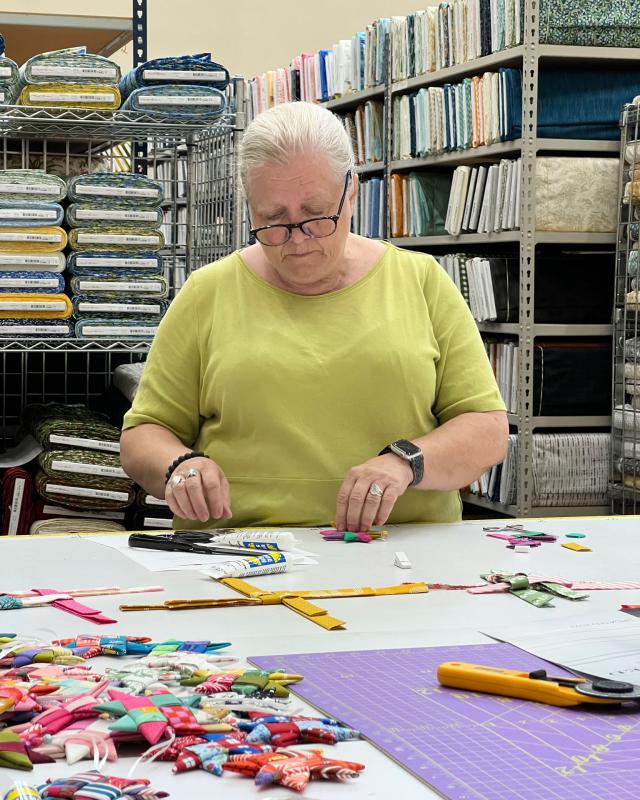
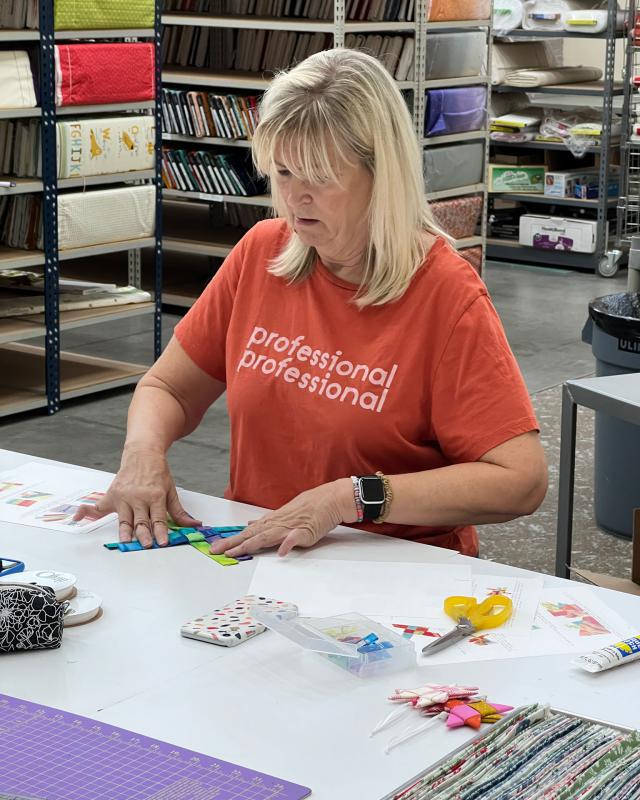
Happy Holidays! <3 MODA

Comments