Welcome to Moda Fabrics!
December 22: Good Tidings
December 22: Good Tidings
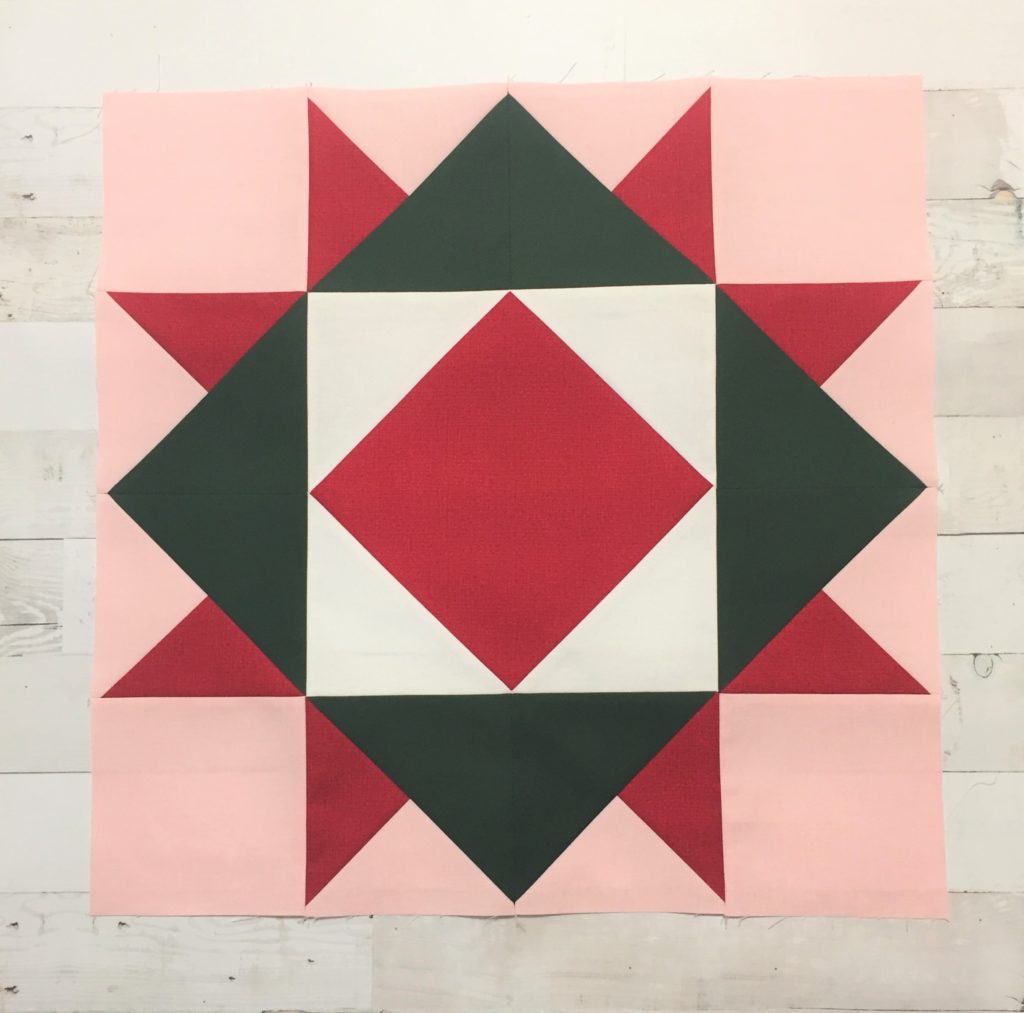
Hello! It's Amanda Wilbert from @piecedjustsew and today I'm sharing my block, Good Tidings for day 22 of Moda Bake Shop's Countdown to Christmas. This block can be made in a 6-inch, 12-inch, or 18-inch finished size. Let's get started!
| 6" block | 12" block | 18" block | |
|---|---|---|---|
| red fabric | (1) 3.5" square | (1) 6.5" square | (1) 9.5" square |
| (2) 3" squares | (2) 4.5" squares | (2) 6" squares | |
| green fabric | (4) 2.5" squares | (4) 4" squares | (4) 5.5" squares |
| white fabric | (4) 2" squares | (4) 3.5" squares | (4) 5" squares |
| pink fabric | (2) 3" squares | (2) 4.5" squares | (2) 6" squares |
| (4) 2" squares | (4) 3.5" squares | (4) 5" squares |
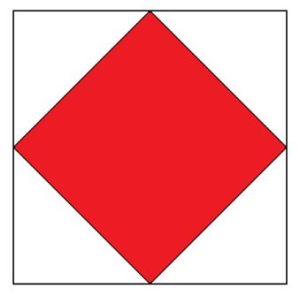
First, we will make the center square-in-a-square unit. You will need the largest red square and the four white squares.
1. Draw a diagonal line from corner to corner on the wrong side of each white square.
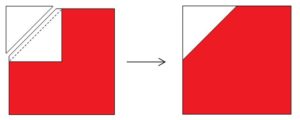
2. Place a white square on a corner of the red square and stitch directly on the line. Trim 1/4" from the the stitching line and press the white square towards the corner.
3. Repeat on the remaining three corners. Your finished unit should measure 3.5" if making the 6" block, 6.5" if making the 12" block, and 9.5" if making the 18" block.
Next, we will make the star point segments. You will need the green squares, the remaining red squares, and the two largest pink squares.
1. Draw a diagonal line from corner to corner on the wrong side of each pink square.
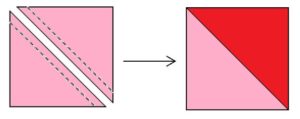
2. Place a pink square and a red square right sides together and stitch 1/4" away on both sides of the drawn line. Trim on the drawn line and press towards the red fabric. Repeat with the remaining red and pink squares. You will have four red and pink half square triangles (HSTs).
Note: At this point, you may want to trim your HSTs to be the same size as the green squares. It is not necessary and I did not trim mine. However, you may feel more comfortable with the next steps if your squares are all the same size.
3. Draw a diagonal line from corner to corner on the wrong side of each green square.
4. Place a green square and a HST from step 2 right sides together, making sure that the drawn line is perpendicular to the seam line. If you did not trim your HSTs, your green square will be smaller than your HST. That's okay. Try to center the green square on the HST. It helps if two corners of the green square line up with the seam line on the HST. This will make it more likely that you will not lose your points later.
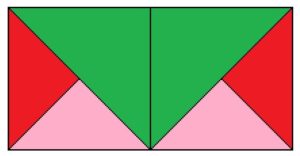
5. Stitch 1/4" away on both sides of the drawn line, trim on the drawn line, and press towards the green fabric. Repeat with the remaining green squares and HSTs. You will have eight units. You will notice that four will be mirror images of the other four, as shown below.
6. Trim each unit to 2" if making the 6" block, 3.5" if making the 12" block, and 5" if making the 18" block. Try to make sure that the seam lines remain in the corners of each unit so that you do not lose the points.
7. Join two mirror image units together as shown below and press the seam open. Repeat for the remaining units to create four star point units.
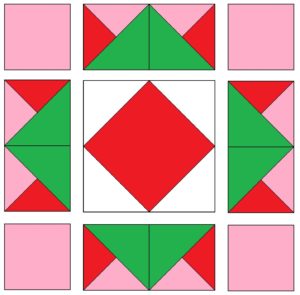
Now, it is time to assemble the block! Arrange all of your sewn pieces plus the remaining pink squares as shown below. Sew the pieces into three horizontal rows, pressing seams open. Then join each row together, pressing seams open.
Your finished block should measure 6.5", 12.5", or 18.5" before sewing it into a quilt.
I hope you enjoy making this block! Be sure to check back tomorrow for another Countdown to Christmas block!
Amanda Wilbert
Instagram: @piecedjustsew
blog: piecedjustsew.blogspot.com
shop: Pieced Just Sew






Comments