Welcome to Moda Fabrics!
All In Good Time Quilt
All In Good Time Quilt
Published:
Feb 17 2017 - 23:00
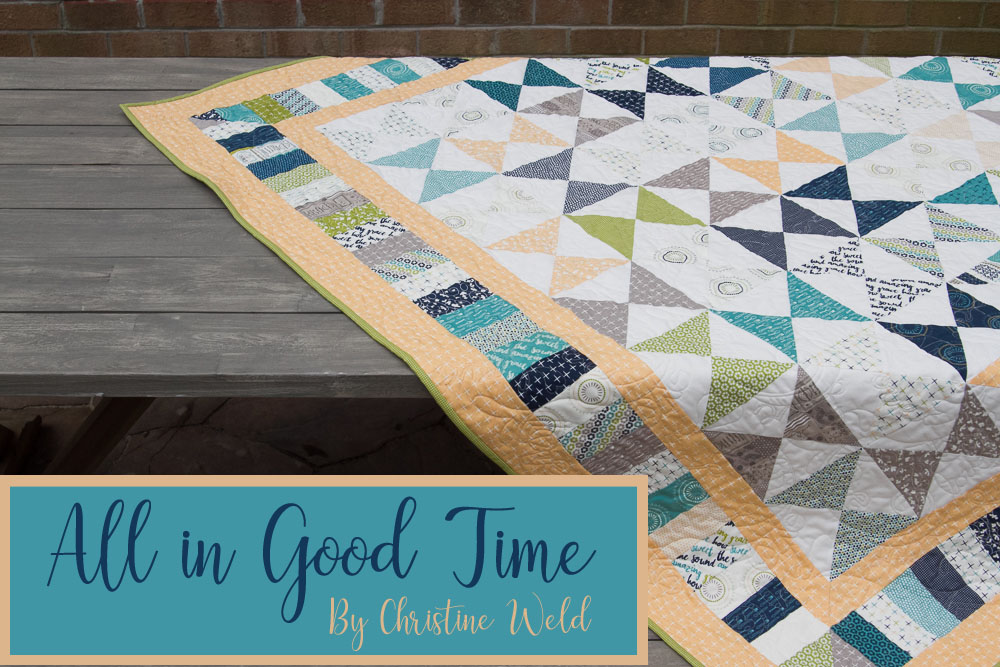

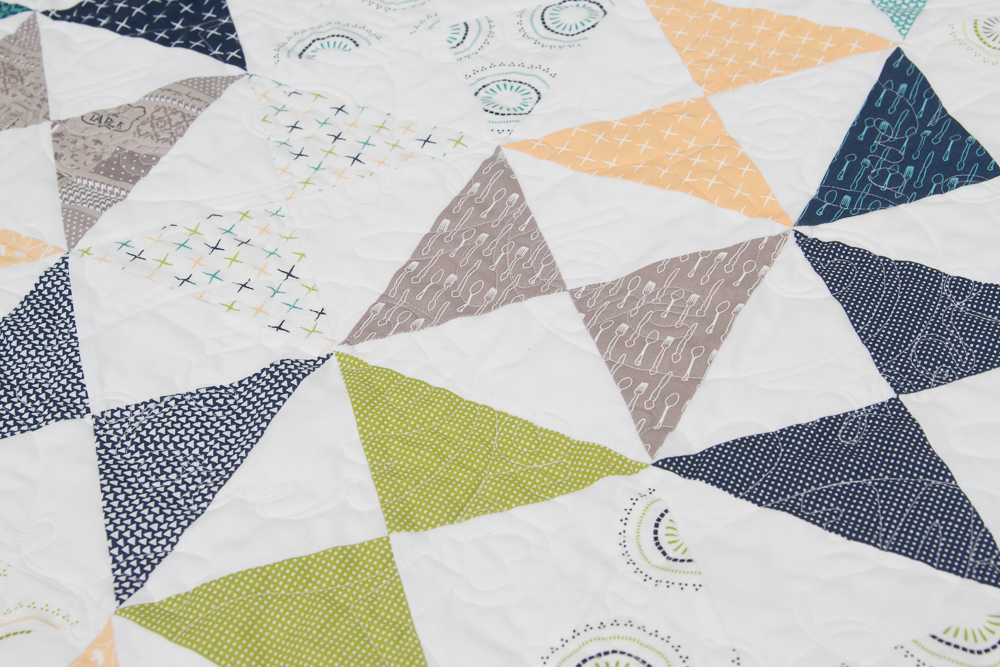
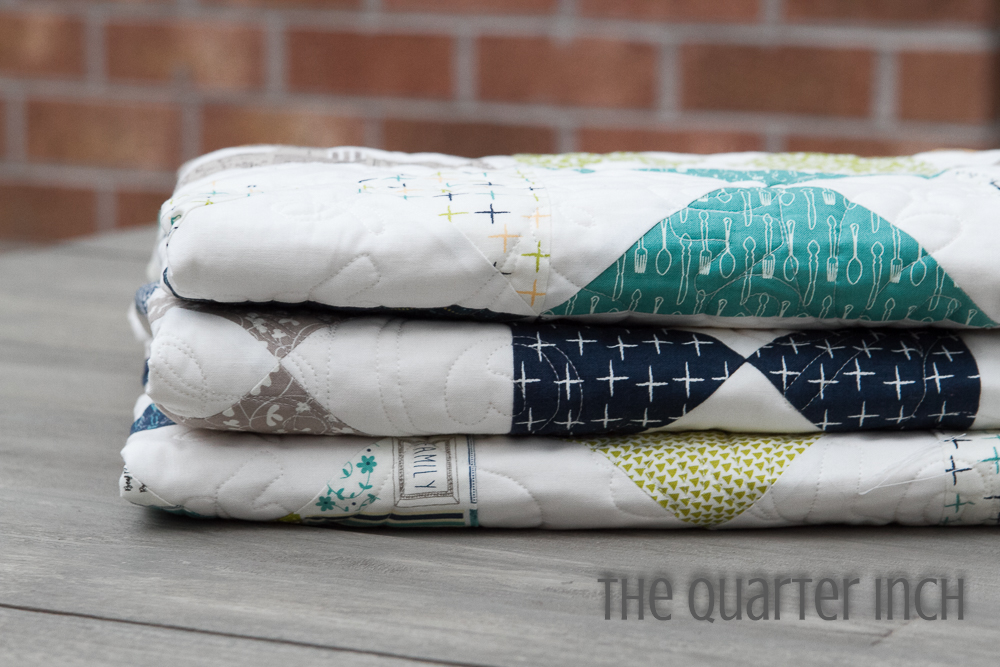
Hourglass is a simple, classic block that packs a big punch. I love how this pattern changes personality with your fabric choice—it can be modern or traditional, youthful or elegant. So, grab any layer cake you have and spend some time with the hourglass block!
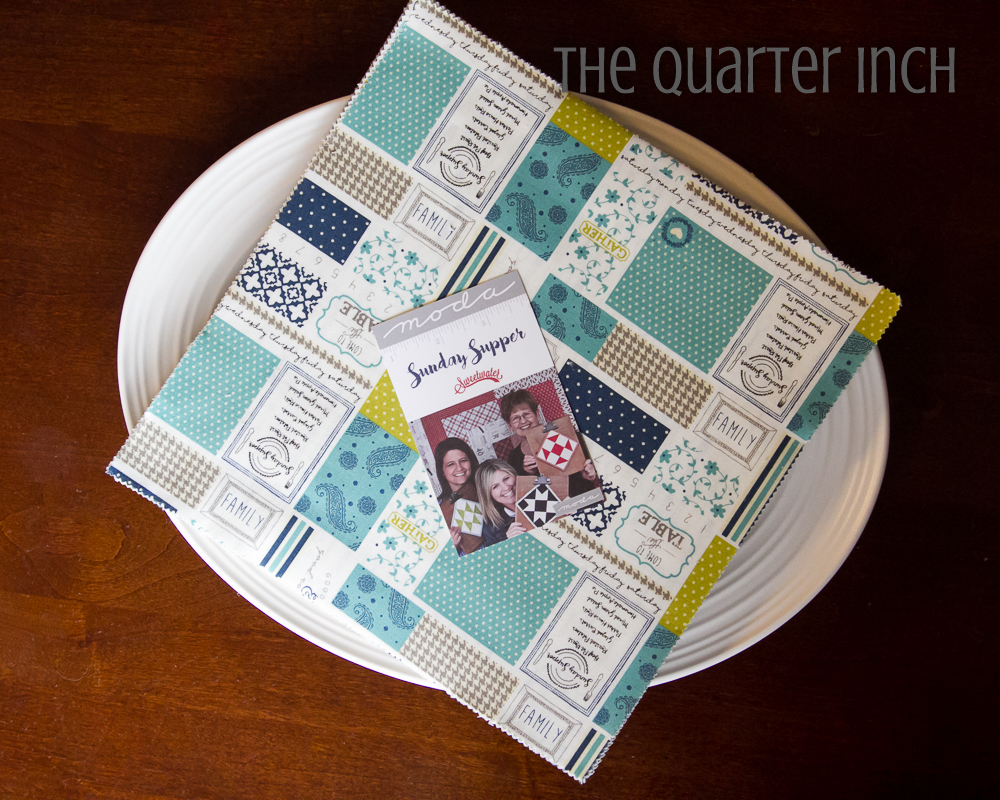
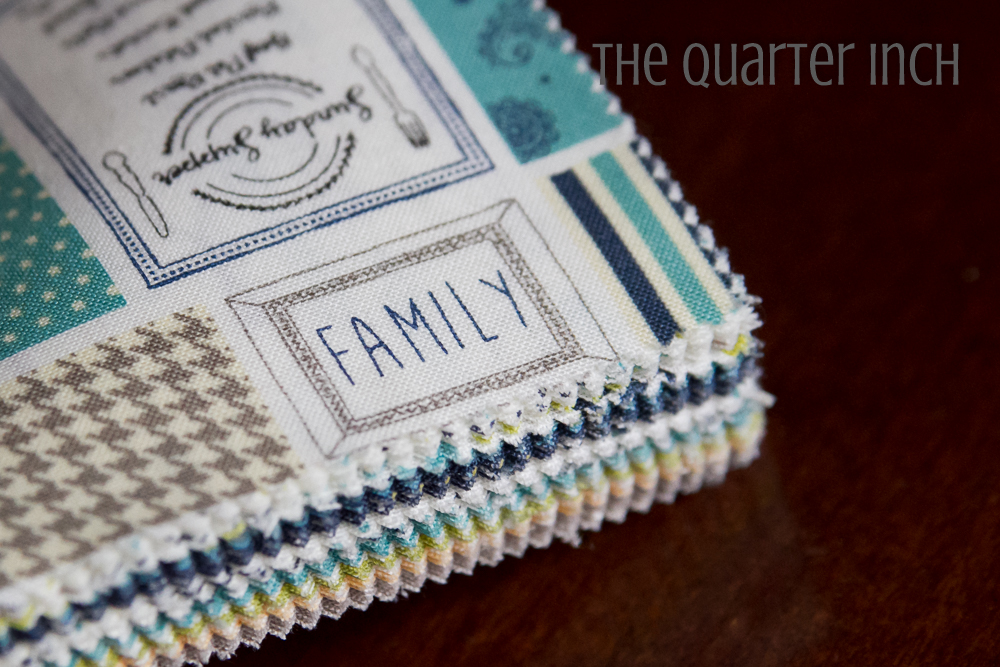
This quilt uses Sunday Supper, Sweetwater’s latest line. Sweetwater never fails to deliver the perfect mix of vintage and modern, and this line is a charming homage to Sunday dinner. Sunday Supper includes two of my favorites—text prints and a fun novelty print—and it features lots of blues and greens, my go-to color palette. All in all, this fabric is a joy to work with!
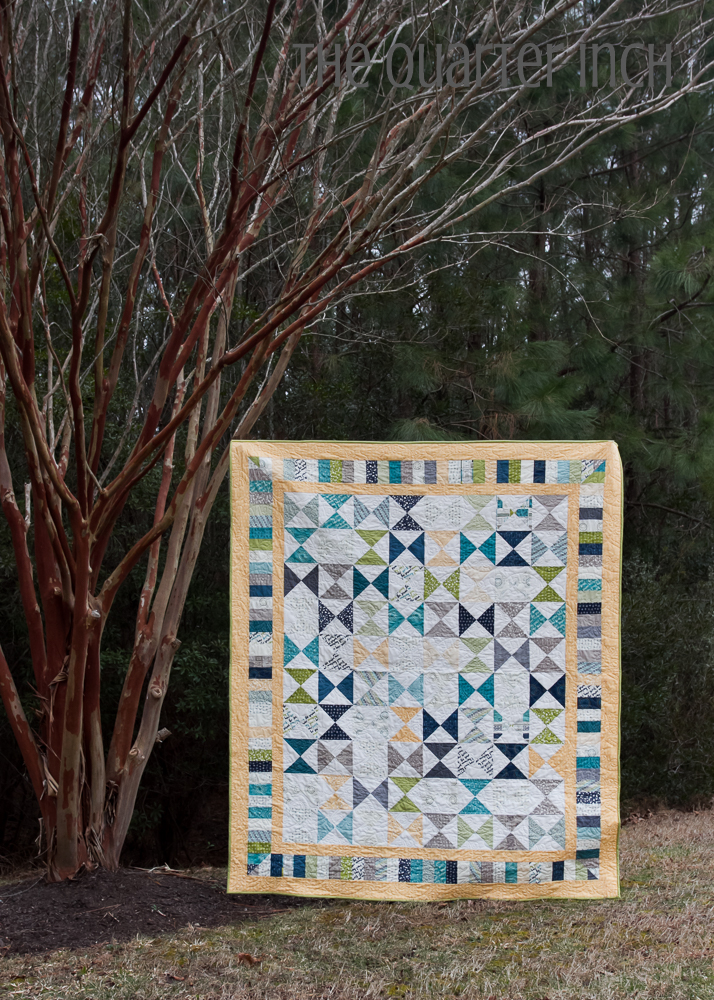
This hourglass quilt with a piano key border finishes at 66" x 78".
![]()
One layer cake (Sunday Supper by Sweetwater)
1 ¾ yards background fabric
1 ½ yards border fabric
5 yards backing fabric
¾ yard binding fabric
![]()
Cutting Instructions
Take 40 of the 42 layer cake squares. Cut a 7 ½” square.
The two remaining pieces should measure 7 ½” by 2 ½” and 10" by 2 ½”. Set these pieces aside with the two extra layer cake squares (they will be used in the border).
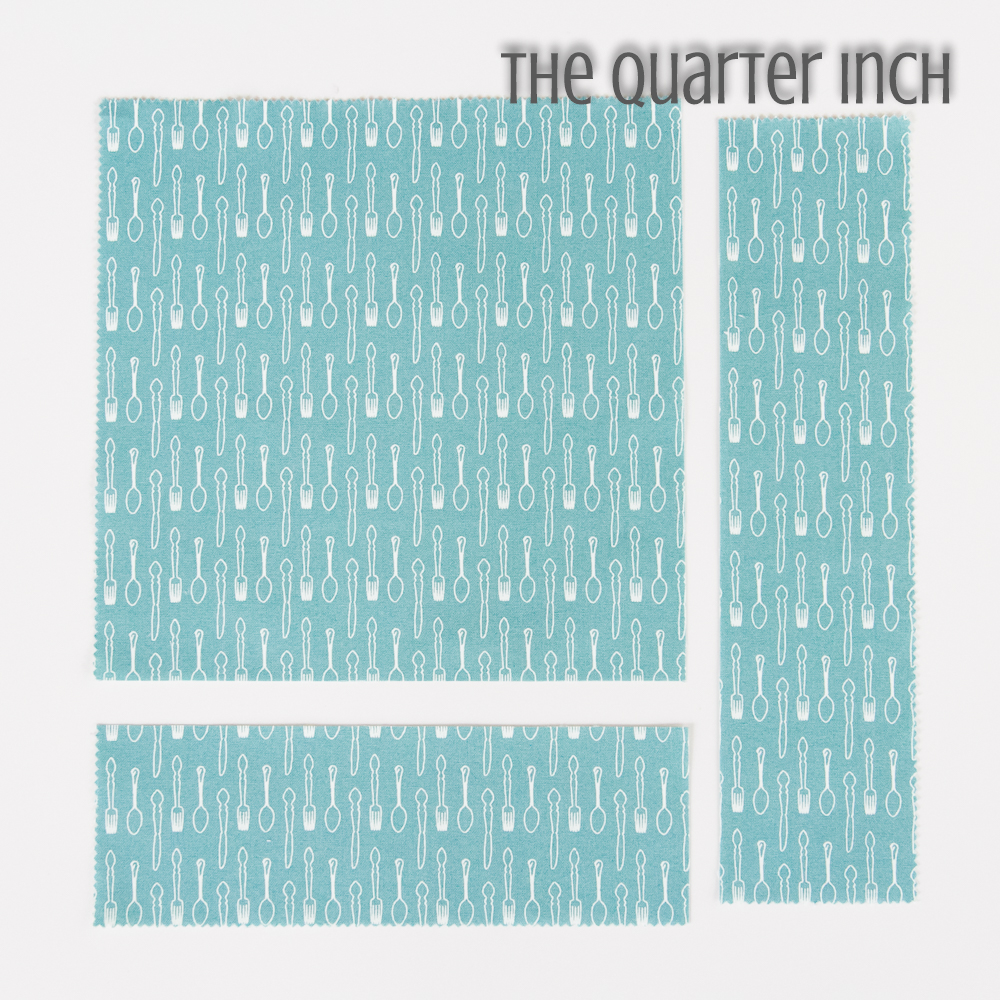
Repeat for a total of 40 7 1/2" squares cut from the layer cake.
Cut 40 7 ½” squares from your background fabric.
Hourglass units:
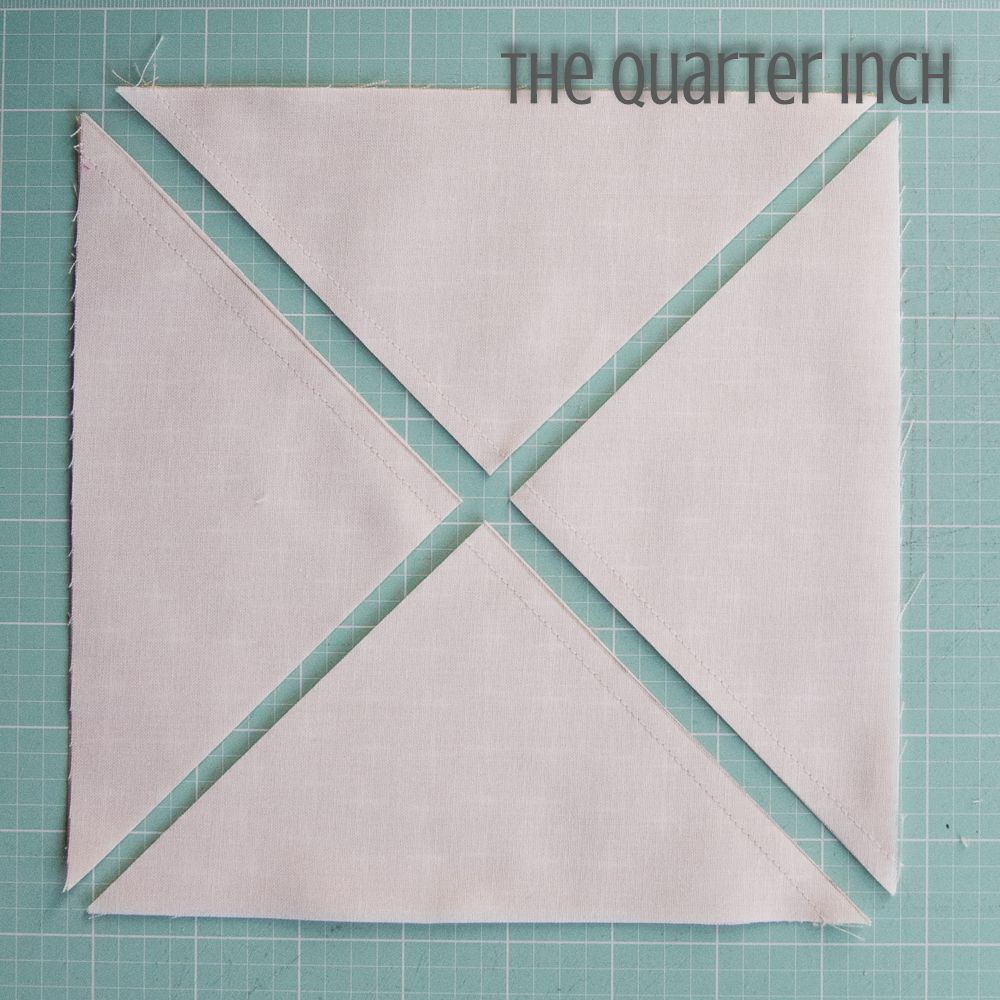
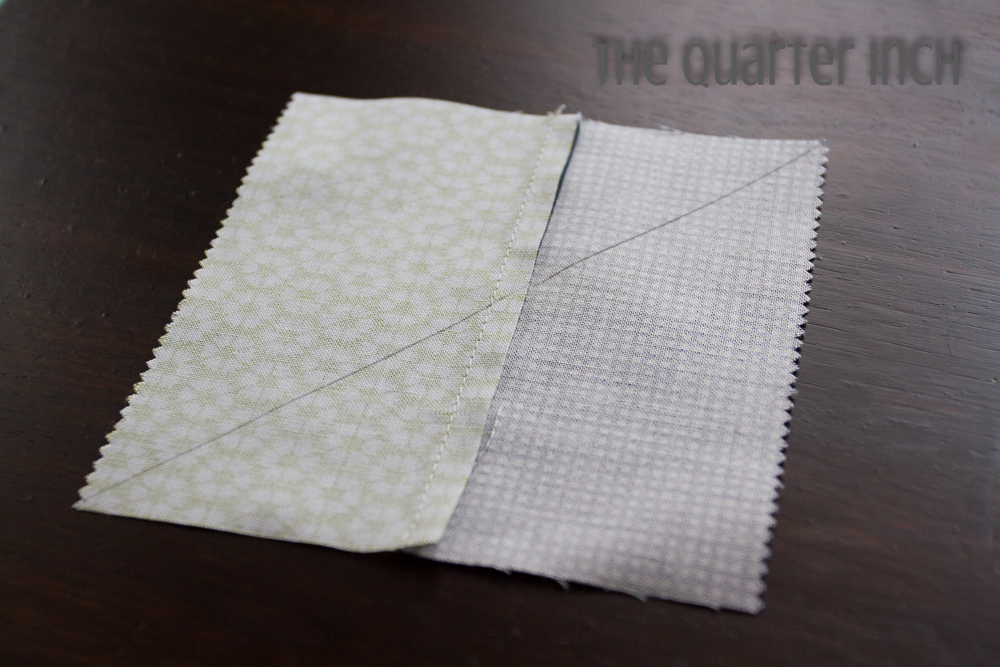
Draw a line diagonally on the wrong side of the squares of background fabric. Place on 7 ½” square of layer cake fabric with one square of background fabric, right sides together.
Sew ¼” away from both sides of the line.
Cut along the drawn line. Do not move the fabric! Cut again, along the other diagonal.
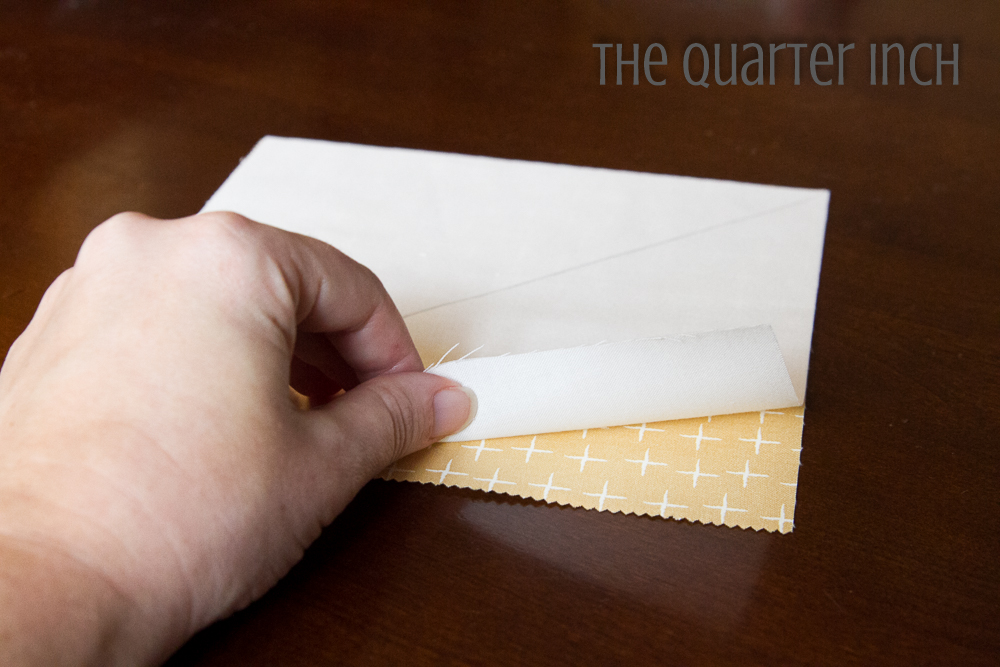
Open and press towards the print.
Position the triangles to make two hourglass squares (one will have the printed fabric on the top and bottom, the other on the sides).
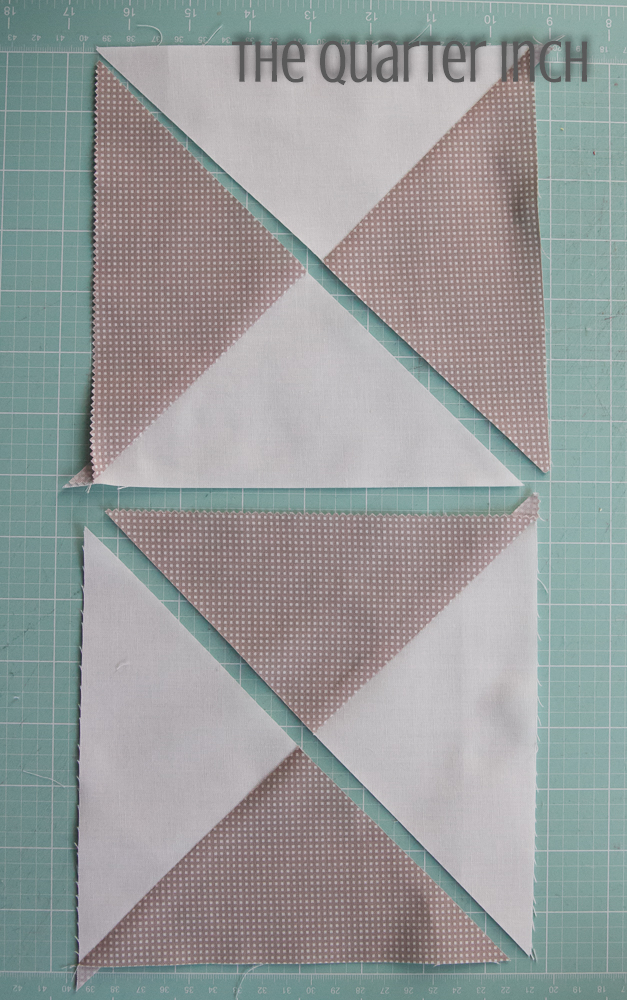
With seams nestled together, pin the triangles and sew together. You will have 80 hourglass blocks.
Note: You can make the hourglass units using the same fabric for both sides of the hourglass, as I did, or you can use two different fabrics for a scrappier look. Both work well for this quilt!
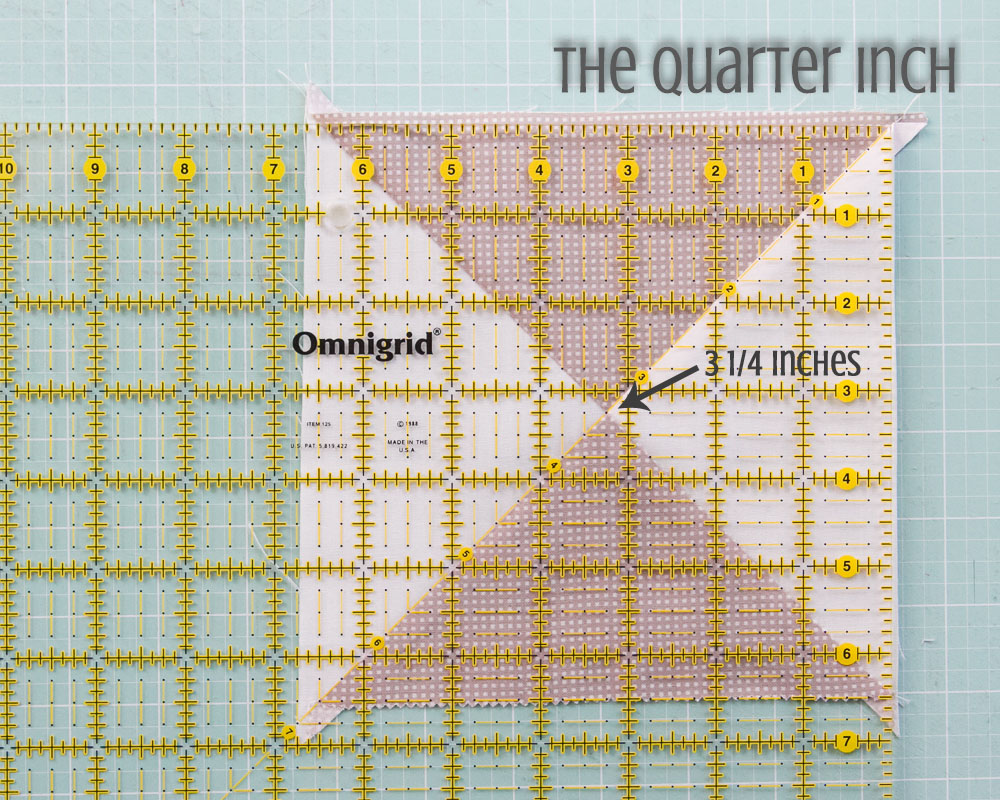
Trim the hourglass blocks to 6 ½”. To trim, line up the 45 degree line on your ruler with one of the seams on the hourglass block, making sure the intersection of the four triangles is on the 3 ¼” line both horizontally and vertically. Trim the right side, rotate and repeat. There will not be much to trim, you are really just squaring up the block.
Sew the hourglass blocks together in rows of eight, alternating the orientation of each block (that is, the "hourglass" will be vertical in the first block, horizontal in the second and so forth). The layer cake fabric is always next to background fabric, not a different layer cake fabric.
When sewing rows together, press the seams open between each row to reduce bulk.
Borders
This quilt has three borders. The first and third borders are cut from yardage, and the middle border is a pieced piano key border.
Border 1
From the border fabric, cut seven strips, 2 ½" wide. Cut one in half and sew each half together with one of the remaining strips. These will be the top and bottom borders. Sew the other four strips together in two pairs.
To miter the corners, sew the shorter border strips to the quilt top and bottom with at least three inches of the border extending past the quilt top on both sides. Stop sewing 1/4" from the edge and backstitch. Repeat on all sides, using the longer border strips for the sides.
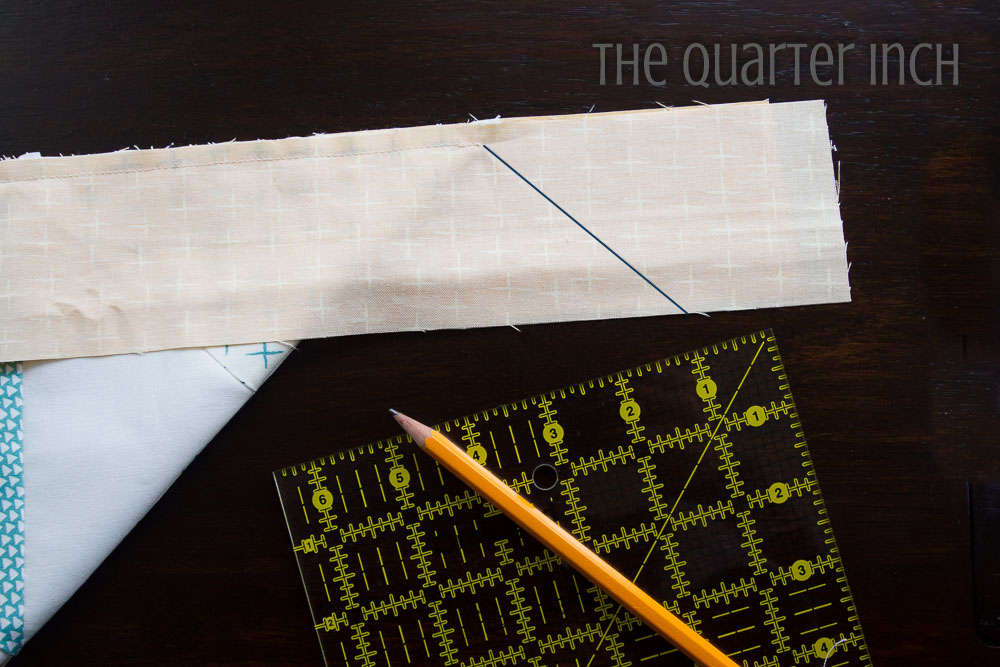
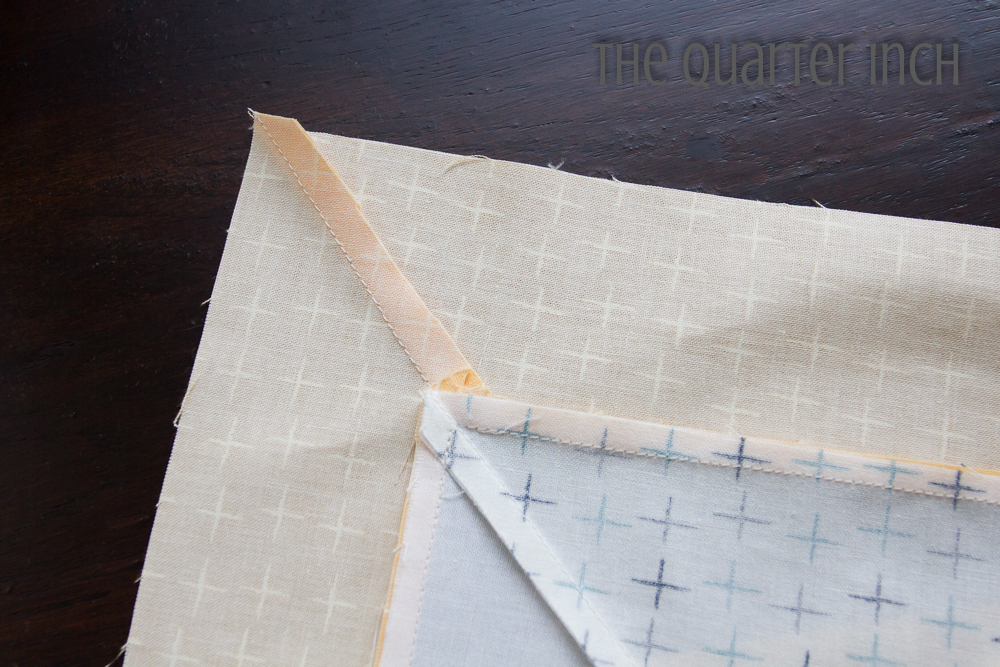
Fold the quilt diagonally, lining up the two border strips. Draw a line at a 45-degree angle, using the folded quilt top as a guide. Make sure the line begins at the point where your stitching stops (1/4" from the edge of the quilt top). Sew on the line. Trim the excess fabric. Repeat for the other three corners.
Border 2
The second border is made of piano keys and uses the extra pieces trimmed from the layer cake squares and the two unused layer cake squares.
Trim each 10" by 2 ½” pieces cut from the layer cake squares to two 4 ½" by 2 ½” pieces. Trim the 7 ½" by 2 ½" pieces to 4 ½" by 2 ½".
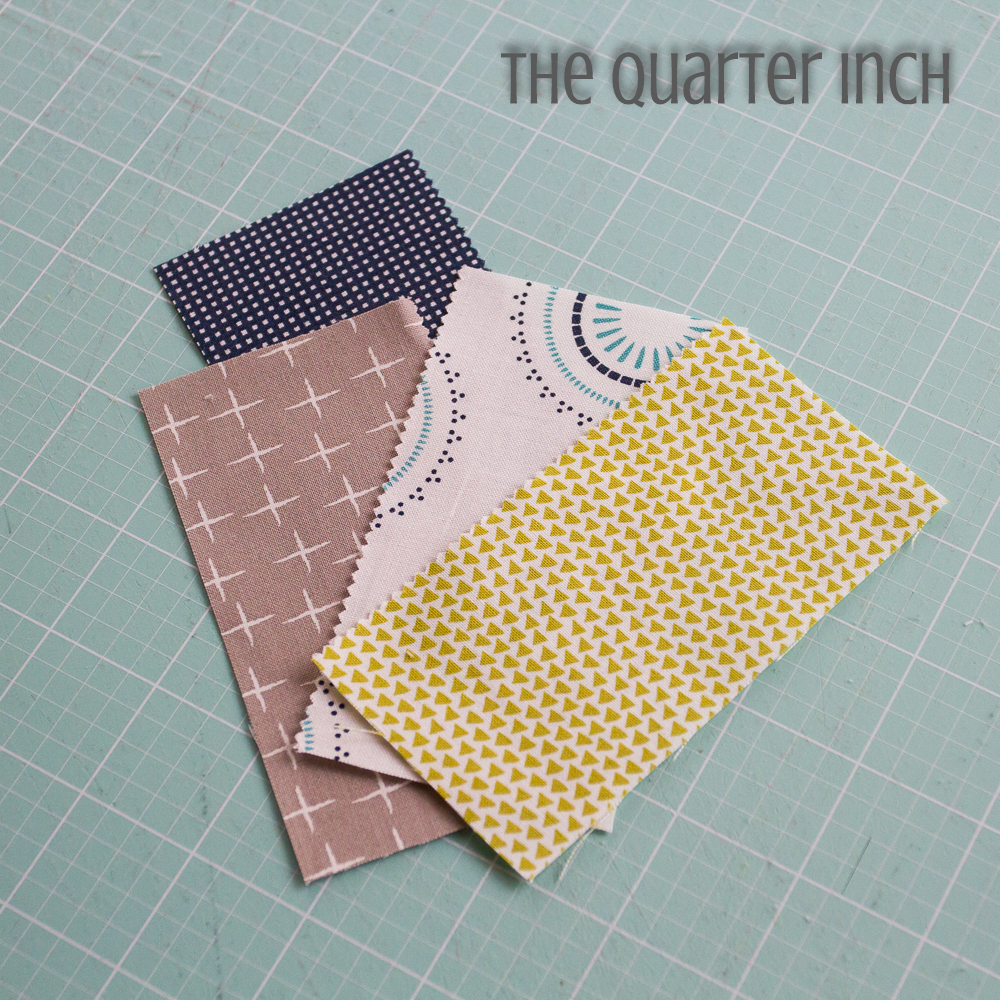
Cut six pieces measuring 4 ½" by 2 ½" from each of the leftover layer cake squares.
You will have a total of 132 4 ½" by 2 ½" pieces.
Sew together 26 pieces for the top section of the border. Make sure your seams are an accurate 1/4"! Repeat for the bottom. Set aside.
Sew together 32 pieces for the left section of the border. Repeat for the right. Set aside.
Corner units
Take four pieces. Sew together in two pairs.
Draw a line diagonally across one of the pairs.
Place the two sewn pairs right sides together and sew on the diagonal line. Trim and press open. Repeat three times.

Take the corner units and sew to the sides of the top and bottom units. Make sure the small pieces are on the outer corners.
Pin the units consisting of 32 pieces to the left and right sides of the quilt top. Tip: Every three piano keys should line up with an hourglass block. Check frequently to make sure your pieces are lining up! Sew.
Pin and sew the top and bottom units to the quilt top.
Border 3
For the final border, cut eight strips, 3 ½" wide from the border fabric. Trim selvages and sew together in pairs. Attach the border to the four sides of the quilt top, mitering the corners again as shown in the instructions for Border 1. Make sure your strips extend at least 4" past the quilt top so you have adequate fabric!
Finishing
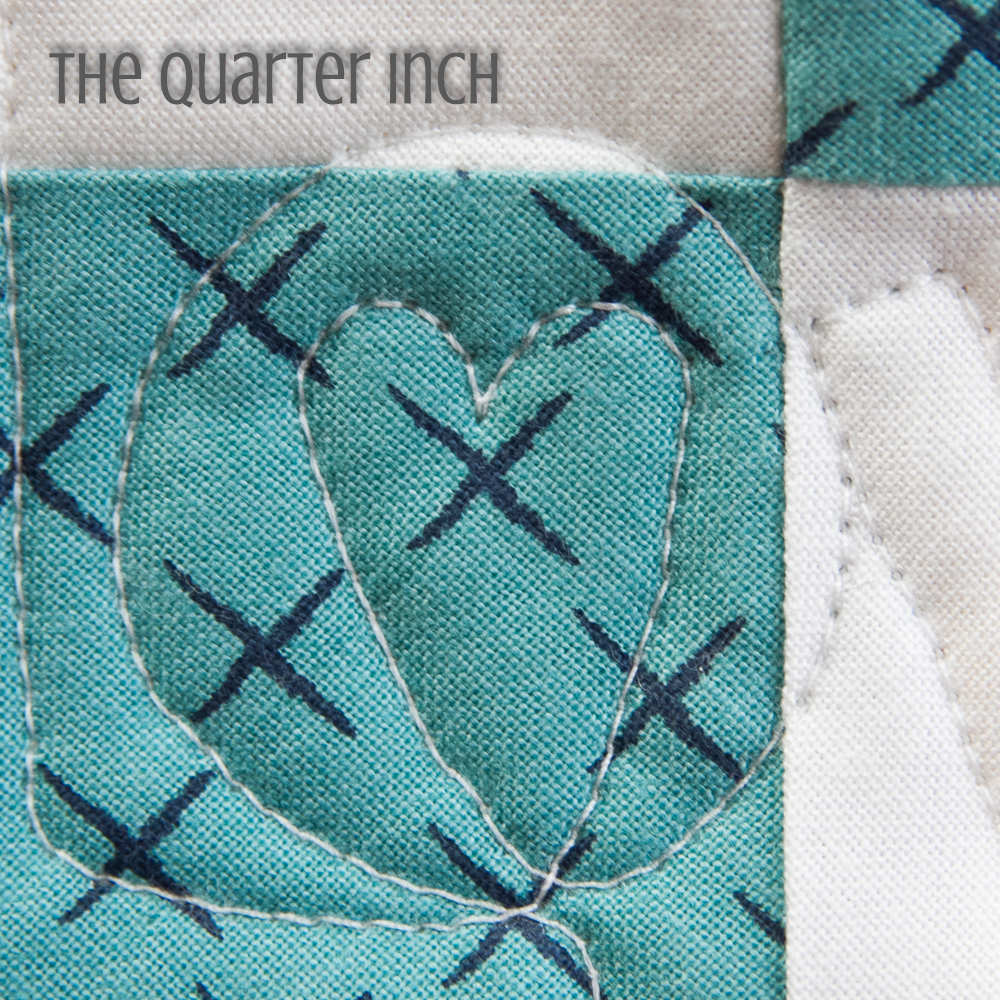
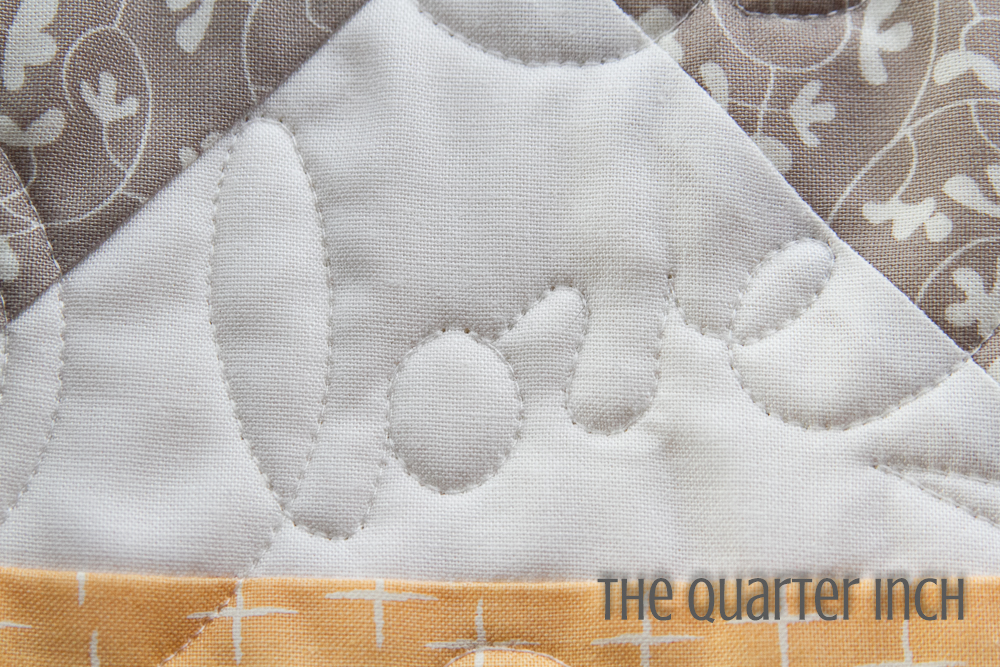
I had a hard time deciding how to quilt his project. Many quilting styles would work, and I couldn't decide on just one! I wanted something just a bit whimsical, but wasn't sure what. After searching some designs, I ended up choosing Love Scribbles. I was inspired by the name of the fabric line and the thoughts of family it inspired. Family is love, and food is often how we show love. So, it seemed appropriate to cover the quilt with love.
![]()
This quilt finishes at 66" x 78". I hope you enjoy making this classic quilt your own and sharing it with family and friends!

Christine Weld
The Quarter Inch
![]()
Posted in:
Comments