Welcome to Moda!
Blooming Flower Girl - TIPS
Blooming Flower Girl - TIPS
Published:
Nov 30 2020 - 06:20
We've always loved Camille Roskelley's patterns - aka Thimble Blossoms. Her quilts always put a modern spin on a classic design. Even better, they look more complicated to make than they really are because she figures out a way to get the look she wants without all the fuss and angst of fussy-piecing.
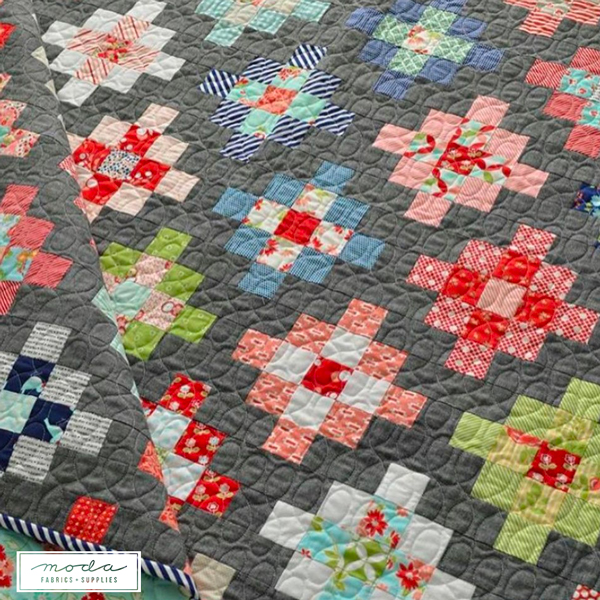
This is Takes The Cake.
But today, we're talking about Flower Girl!
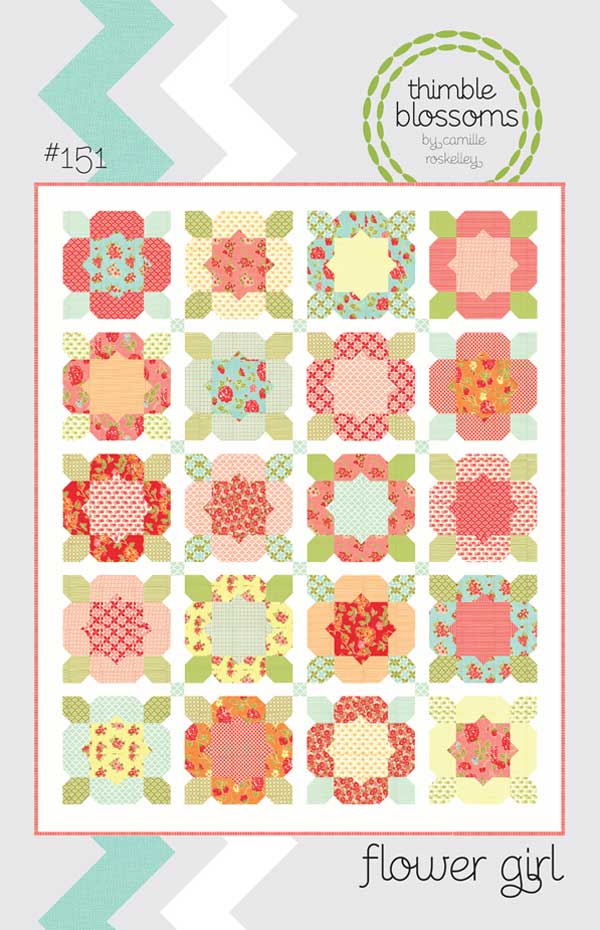
It is Thimble Blossoms #151. (Ask for it at your favorite quilt shop, or find it here.)
There are only a few things to share about the assembly and piecing.
Folded Corners. Aka Connector Corners. Aka flip-and-sew. Using a permanent marker, pencil or chalk, draw a diagonal line from one corner to the opposing corner on the wrong side of the specified square. (It's in the pattern.) Then stitch on the line, trim to a scant ¼" seam, press and you're done. This works beautifully.
Or use a ruler to trim the corners before stitching. Some rulers even have the option of using an over-sized triangle in place of the square, allowing the corner to be trimmed square. For these corners, our go-to rulers these days are the Simple Folded Corners Rulers by Antler Quilt Designs.
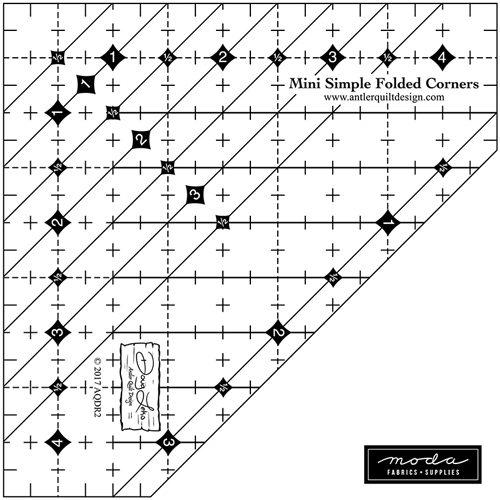
The original ruler measures 8½" x 8½" and is AQDR1. The one shown is the Mini - it measures 4½" x 4½", minus the corner. It's my favorite, and yes, it's also sideways for the picture. It is QADR2.
If you want to be able to trim the corners square, do not cut the 1¾" squares. Follow the instructions that come with the ruler for the size square to cut, and how to use the ruler. (There is also a YouTube video on how to use the ruler.) If you have already everything, this ruler still works for trimming the corners.
Make the leaves first. They're all pieced the same way, and each set of four leaves can then be put with a Flower combination. It's not required, but it helped me stay organized. And I like getting parts-sections done.
Making the Leaves is Step 6 on Page 2.
Putting Flowers Together. Camille and Susan - she made the A Blooming Bunch Flower Girl quilt - both suggest pairing the prints for each block before you start piecing blocks. Susan does that on her design wall, but Wonder Clips, block boards and "stacks" also work.
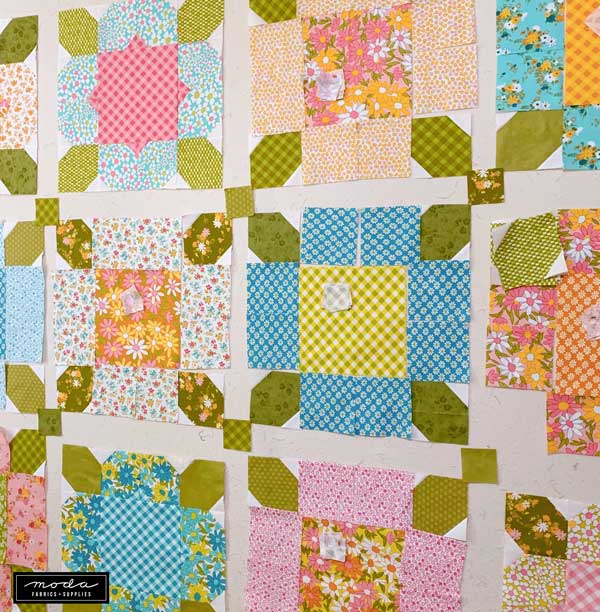
I'm "visual" so this would be my preference as it lets me see if I've made the same combination twice. (Nah... I've never done that before.)
Then it's just following the instructions in the pattern to make each block - twenty of them. You'll be surprised how quickly they go, especially if you're organized.
When the blocks are complete, measure them. Then cut the sashing - the strips should be the same length as the size of the blocks. Add the cornerstones and assemble the quilt top. Add the borders. All that's left is piecing the backing, quilting and binding.
Isn't it gorgeous?
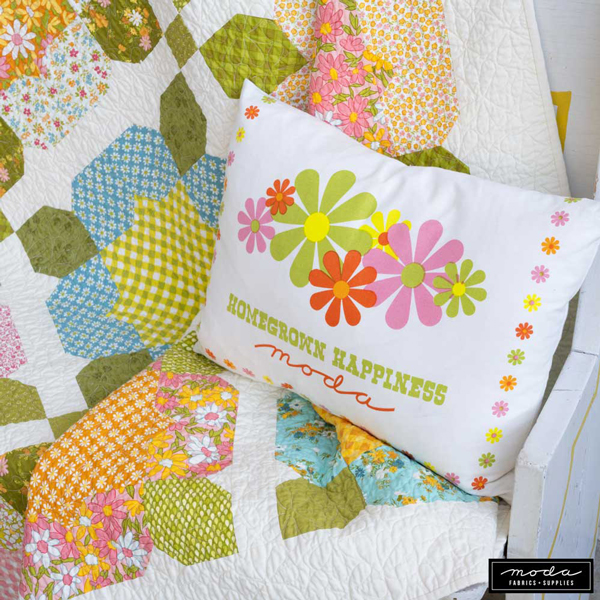
Are you on Facebook and/or Instagram? We hope so as we have a few surprises and giveaways lined up, including a couple of Homegrown Happiness Tea Towels. Designed to celebrate the debut of A Blooming Bunch, shops are snapping them up. But we stashed a few to share during the quilt-along.
If you're stitching along with us, please share progress pictures using - #modabloomingflowerqal.
Every picture counts. A stack of fabric and a pattern. Cutting out pieces. Stacks of squares for each flower.
And if you happen to be wearing white go-go boots and a groovy mini skirt while you're sewing... we definitely want to see that! (In fact, I'm pretty sure you'll win a prize for that.)
So get busy Blooming! And Flowering.
Stay well.
Posted in:
Comments