Welcome to Moda Fabrics!
Pointy objects...
Pointy objects...
Seam rippers. Stilettos. Not the kind you wear.
You probably use one more than you'd like, and most of us don't use the other as much as we could. One is necessary to have, the other is beneficial. Both help with piecing beautiful blocks and quilts.
While I like to pretend that I rarely need a seam ripper, it would be bad sewing karma to push that too hard. The reality is that I have several quilts that I essentially made twice because I did so much un-sewing and re-sewing. My personal record is having to remove the same border three times because I kept getting pieces switched around. It's still not right but it wasn't anything a little Photoshop couldn't fix on the pattern cover.
These are the seam rippers I found in the drawers of my sewing room. The white Clover seam ripper is my favorite. I buy them by the box and I always have an extra box on hand. I like it because the handle fits my hand well, it has a long-ish shaft, a thin point and the blade in the curve is sharp, and it stays that way for longer than most. I like the Seam-Fix and Mini Seam-Fix seam rippers, mostly because the plastic bumpy end really does do a terrific job at removing threads from the un-stitched seam. Genius. The tarnished silver seam ripper was a gift several years ago and while I like it, it'll never take the place of my Clover.
I won't belabor how to use a seam ripper - I think it's safe to say that we all know how. But just in case I'm the only one with any real experience...
Picking every third or fourth stitch with the tip of the seam ripper is the best. When this is done, pick the thread on the other side and it should pull right off/out. Done.
Some people like to hold the strips apart with their fingers and pick the stitches that are in the base of the "v". It's not a good idea because the thread can pull on the fabric fibers somewhat as they're exposed if you pull the strips too much. Now... I have seen folks be able to knick those threads with a small rotary cutter and work their way through a long strip quickly. Color me majorly impressed. And a bit envious. If you can do that, I'm in awe. I can't... not without cutting the fabric and a couple of fingers in the process.
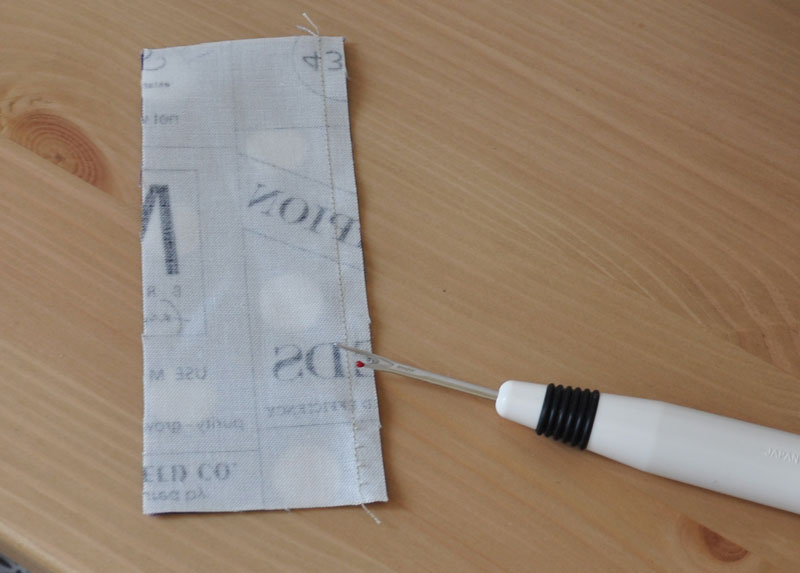
Most of the time, I "un-sew" seams by inserting the inner curve of the seam ripper - the "u" between the point and the smaller point with the little red ball - into the seam and using the blade to cut the length of the seam. The key here is to do it on a flat seam like this one - not one that has been pressed to one side or open. If necessary, press it back to this.
I hope you'll forgive me but I couldn't figure out how to take a picture and use my hands to hold the fabric and the seam ripper all at the same time.
A couple of warnings here - be careful with looser weave fabrics, seams stitched with very small stitches and back-stitches, and slow down when you get to seams. If you're a little wary of this, try it on a couple of strips of scrap fabric. This is the sort of technique that will help you when you've really, really goofed and sewn lots of strips and strip sets together incorrectly. Been there, done that.
Stilettos are so much better because they're about helping you sew, not un-doing a mistake.
What?! So I like to try new things... variety is good.
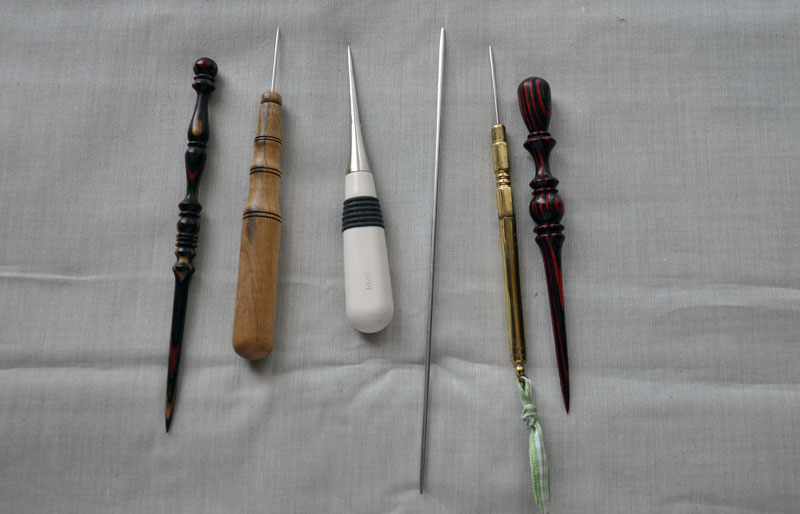
This is what the search in my sewing room turned up. Yes, Clover has a stiletto, actually they have two. The one shown here is a tapered awl but Clover also makes an awl stiletto. It's the same thing - a pointy tool that I can use to guide pieces under the presser foot of my machine. They also make a curved awl that is pretty nifty. My favorite stiletto is one by Collins and it's bamboo - it's not shown because I think I've already packed it for my trip. The other things in the picture include a metal knitting needle - I like them because they're thin and long, a fancy brass one I bought because it was shiny and pretty, and two fancy "laying tools" I bought several years ago on eBay. I use the one on the left the most but truth be told, if I'm going to mangle the tip of something under the needle of my sewing machine, I'd rather it be a $3.00 bamboo stiletto.
And just so you know, the goal is not to mangle anything.
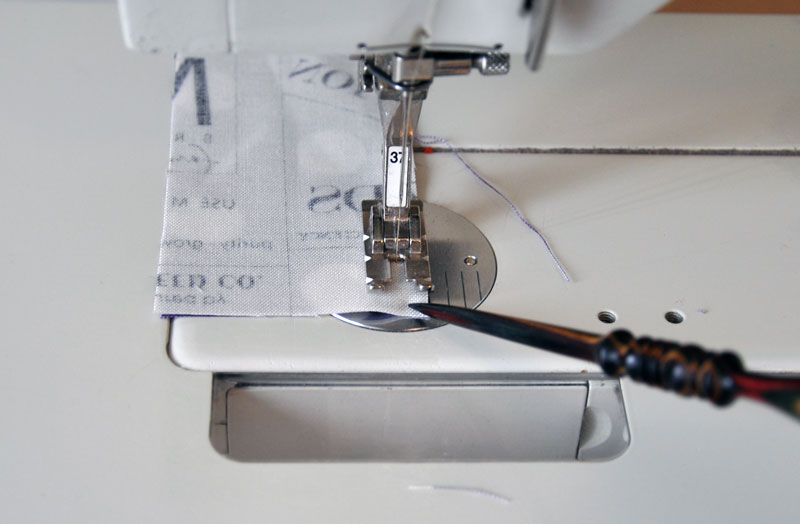
Stilettos are for holding the fabric where you want it to be as it's going under the needle. Most of us are a little reluctant to put our fingers too close to that moving needle, but being able to hold onto the end of the fabric as it goes under the presser foot can make a big difference in your piecing. Have you ever had a seam "fish-tail" at the end of the seam, it sort of curves off in one direction? That makes it hard to match seams and points, affects the size of the pieced unit, and so on. Using a stiletto can help with that, especially when the pieces are small.
Call me crazy but sometimes I get a better, tighter seam junction when I don't pin. And if I do pin, I'm supposed to have removed it by now, right? So how do I keep that seam from being pushed back by the presser foot? That's right, with a stiletto.
Using one takes a little practice, mostly because it will feel odd holding it in your hand while you're stitching. You'll want to keep putting it down, which means stopping to pick it up when you get to seam junctions and the ends of seams. But I think the results will help make it easier to get used to.
And that's it for today.
I hope you have a Happy Wednesday!


Comments