Welcome to Moda Fabrics!
Tip Jar...
Tip Jar...
Do you ever feel like you’ll never know everything you should know?
It’s not the same as stuff you need to know, or even something you’d like to know just because I’m curious. As in, I should know a dozen different ways from my apartment to work. But I need to know how the defroster works on my car.
TIP: Don’t turn on the AC button at the same time.
And I’d like to know why the guy in the huge pick-up truck insists on texting while doing 80 mph when it’s snowing and the roads are a mess.
TIP: He’s a twit. Stay out of his way.
The same can be said for everything having to do with making quilts. I should know it all but I need to know how to thread a needle – hand and machine – and I need to know how to keep my fingers out of the way of my rotary cutter. I’d like to know more about English Paper Piecing.
TIP: Take a class. Meet Katy Jones.
When it comes to what I know about sewing and making quilts, I learned most of it by experience, trial and error – especially that last part, observation and little bits of information I’ve picked up along the way. I’ve read lots and lots of books and taken classes, and I ask a lot of questions of people who know more than I do. I’ve learned that what works for others doesn’t always work for me, and vice versa. And I’ve learned that for all the stuff I know, I can always know more… because I really don’t know that much.
Really. (I can provide references.)
I also learn by trying to find answers to questions I’m asked. If I don't know, I want to find out. So we’re going to make a trade here – I’m going to share some of the things I’ve learned over the years, especially some of the quirky little tips, and you’re going to help me learn about those things I don’t already know but should.
I’ve already started making a list but what have I forgotten? Yes, ¼” seam allowance and that whole “scant” thing is there, as is pre-washing, shrinking, etc. Rotary rulers and cutters – you are cleaning them, right? That seam trick, variously called collapsing, popping and spinning, depending on whom you’re chatting with – and clipping seams. It's on there. Starching and sizing? Done. Binding - width, seams and corners. Squaring up a quilt? Crosswise vs. lengthwise - why it's important to know the difference. Seam allowance, pressing and a whole slew of other "old wives' tales" that really need to be cast aside post-haste.
What do you want to add to my list?
Since I said would trade, I’ll go first. I heard about this from Lissa, who heard about it from Amy Ellis.
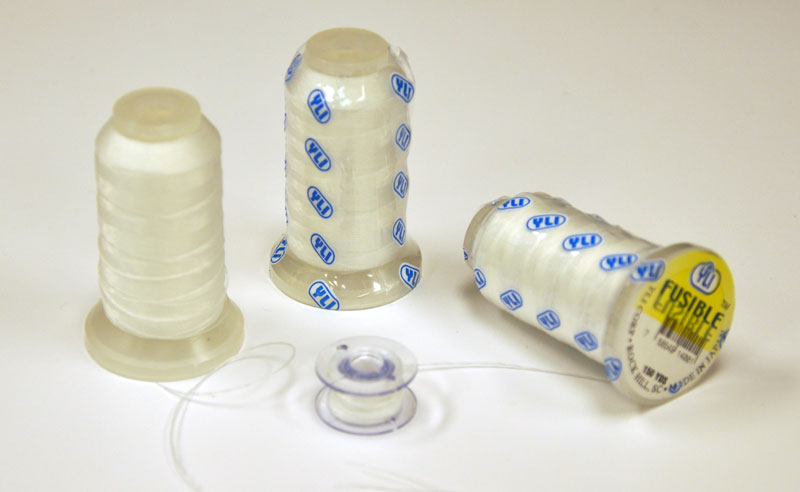
TIP: Use fusible thread to adhere a binding before it gets hand- or machine-stitched down.
First, attach your binding to the quilt as you normally would.
Wind the fusible thread onto the bobbin of your machine using the bobbin winder – do not run it through your machine as the texture of the thread and the tension of the machine can create some problems. I ran across several articles that all suggest not winding the bobbin more than halfway. Since the reasoning made sense and I wasn’t going to need much thread, that’s what I did.
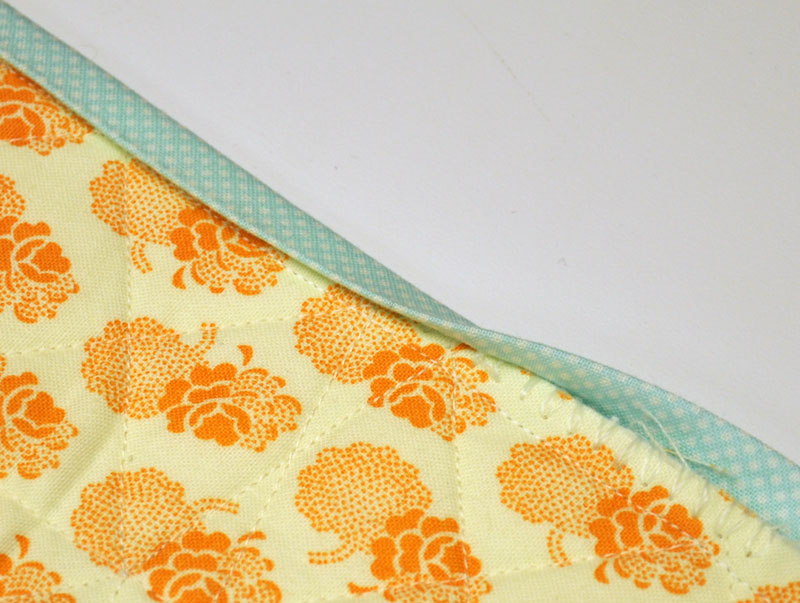
With the fusible thread in the bobbin only, use a zig-zag stitch to sew through all three layers of fabric in the seam allowance of your binding. Zig-zagging around the mitered corner was easily done, I stitched right up to the fold-seam then turned the corner and continued stitching.
I know... it's hard to see but that's the white fusible thread on the white background of the backing.
Fold the binding to the back and press it in place. Voila!
The binding is adhered to the backing but the edge is still loose. If you were machine stitching the binding, this could easily be applied either front-to-back or back-to-front. No pins. No clips.
Pretty cool. But now I have a different problem… what am I going to do with all my boxes of binding clips?
Ask anyone who knows me... I have a lot of them.
TIP: Use binding clips for English Paper Piecing. (Tip coming soon.)


Comments