Welcome to Moda Fabrics!
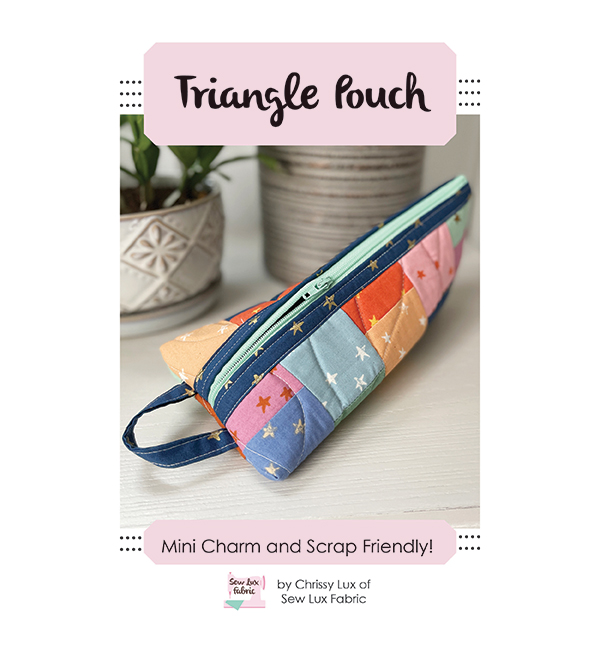
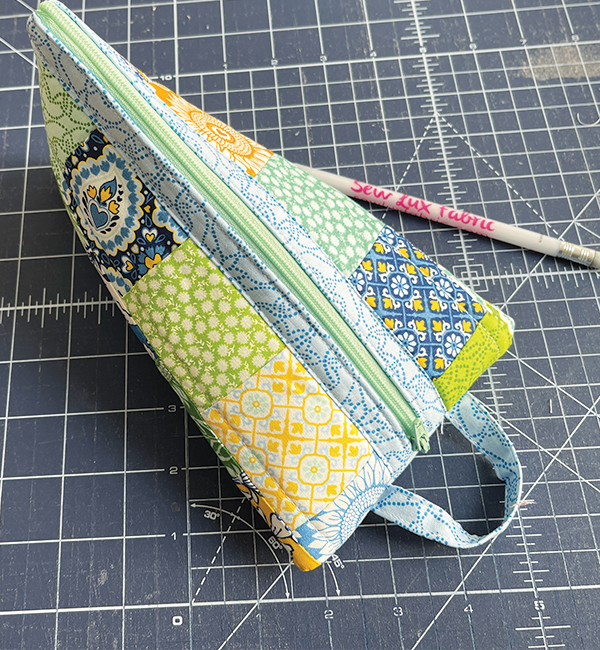
POUCH CLUB: TRIANGLE POUCH
POUCH CLUB: TRIANGLE POUCH
Published:
Sep 21 2023 - 07:00
Materials Needed:
You will need the following to complete this project:
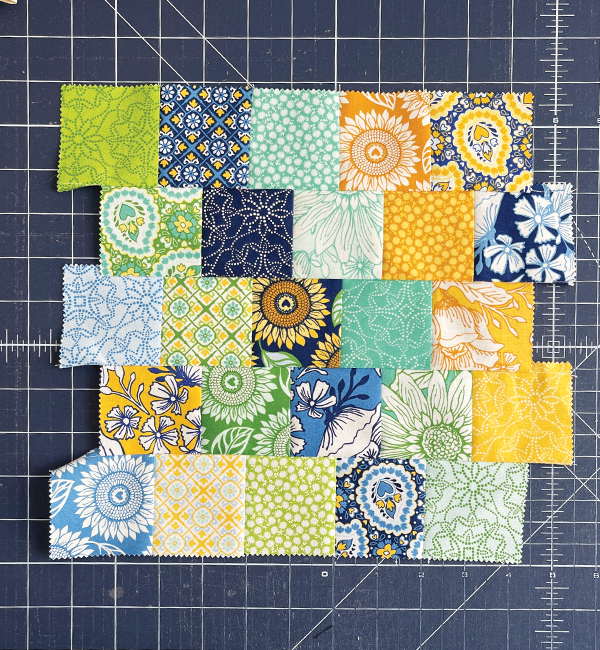
- 1 Mini Charm Pack
- 1 FQ Lining/Binding
- 16" or longer zipper
- 14" x 14" Soft & Stable or preferred batting
- Triangle Pouch Pattern SLF2271
Paper and PDF patterns as well as kits are available in our shop at Sew Lux Fabric or ask your local quilt shop to carry the paper pattern and kit one up for you!
Note: This pattern includes binding seams. Be sure to check out the video on our YouTube channel linked at the end of this post for additional tips and demonstration of this skill.
Step 1: Piece the Units
Follow the directions in the pattern to cut all pieces for the pouch. Sew together five rows of five squares and then sew them together in an offset pattern.
Step 2: Baste & Quilt the Pouch Body
Layer the pieced exterior, Soft & Stable and lining square. Baste and quilt as desired - we usually use a spray baste and you can quilt this with wavy lines, straight lines or FMQ - whatever is your preference!
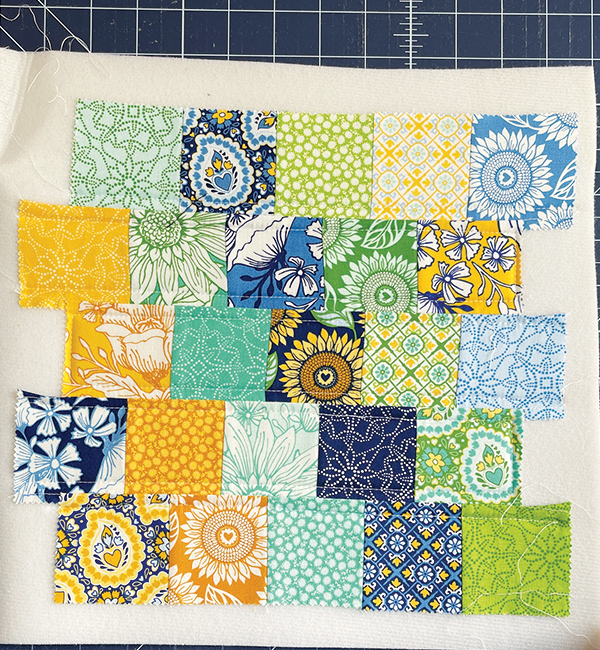
After quilting, trim to size as directed in the pattern and then stay stitch around all edges (approximately 1/8" from the edge).
Step 3: Binding the Edges & Install the Zipper
Fold two binding strips in half lengthwise and press the crease. Align the raw edges with the edge of one short side of the pouch body and sew to the wrong (lining) side.
Wrap the binding around to the front and topstitch in place to secure the binding. Then repeat this process on the opposite side of the pouch body.
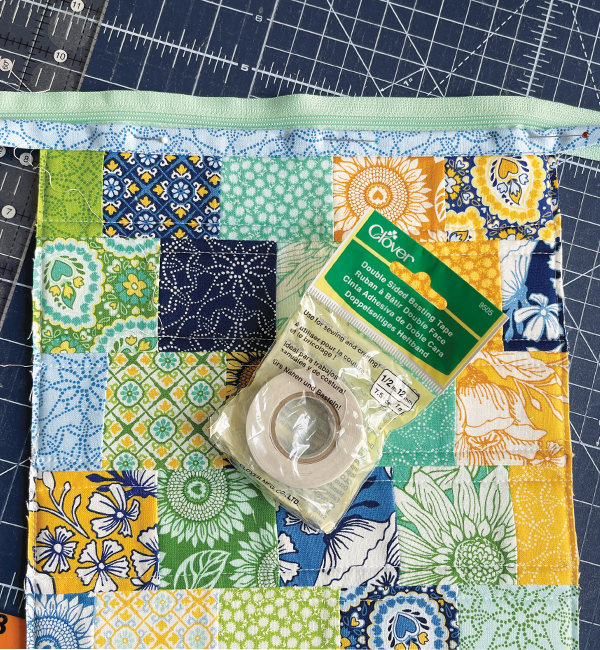
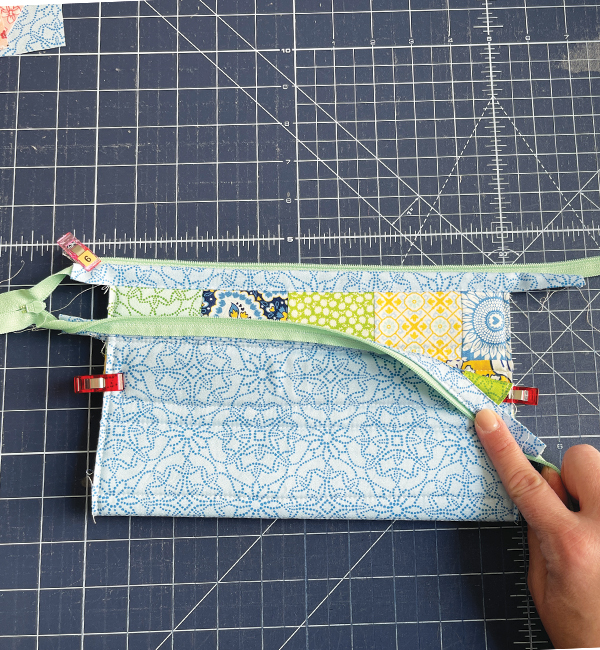
To install the zipper, you'll place a bound edge on top of the zipper tape - be sure to leave excess zipper past both ends of the pouch to have room to manipulate the bag under your machine. Topstitch along the edge of the binding to secure the zipper. (Check out the video for how we use double-sided seam tape to keep everything in place during this step.)

Fold the pouch in half, right sides together, to attach the opposite edge of the zipper to the bag. You'll need to open the zipper and manipulate it to align it properly. See photo (and video link at the end of this post).
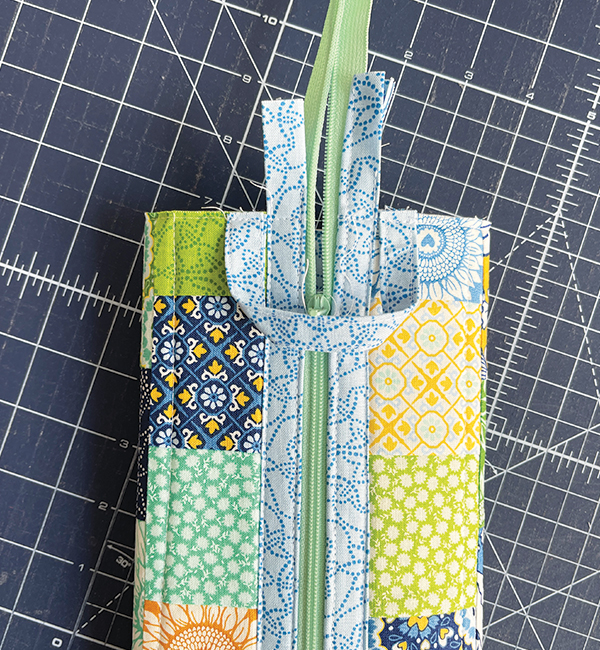
Step 4: Make & Attach the Loop
Follow the directions to make and attach a loop to the open end of the zipper.
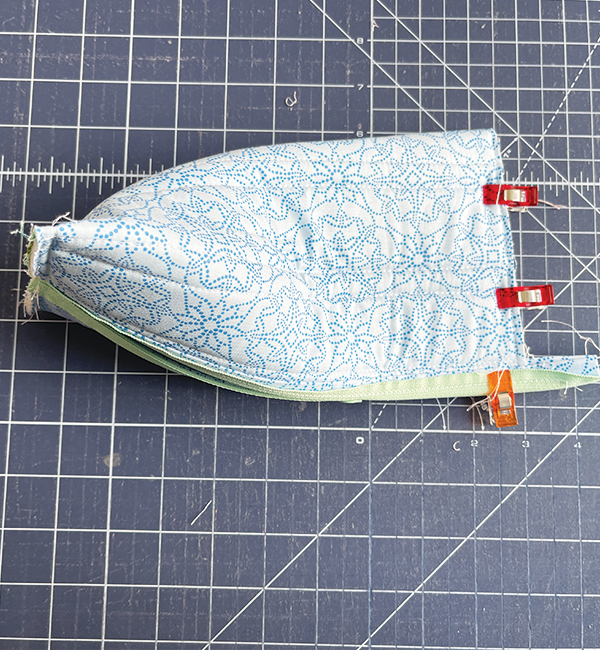
Step 5: Assemble the Pouch & Bind the Seams
Turn the inside out to create a tube. Keep the zipper centered and flatten the bag. Stitch the end closed (move the zipper pull back toward the center first!). Pinch the opposite end to close it vertically, to create the triangle shape. Sew that end closed as well.
Bind each raw edge.
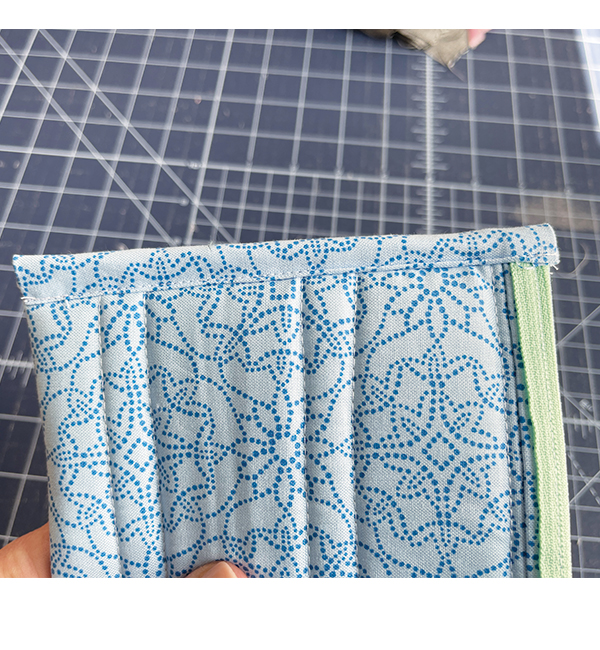
Tur turn the pouch right sides out and enjoy!
For more details and video of the steps above and some additional tips, check out the video.
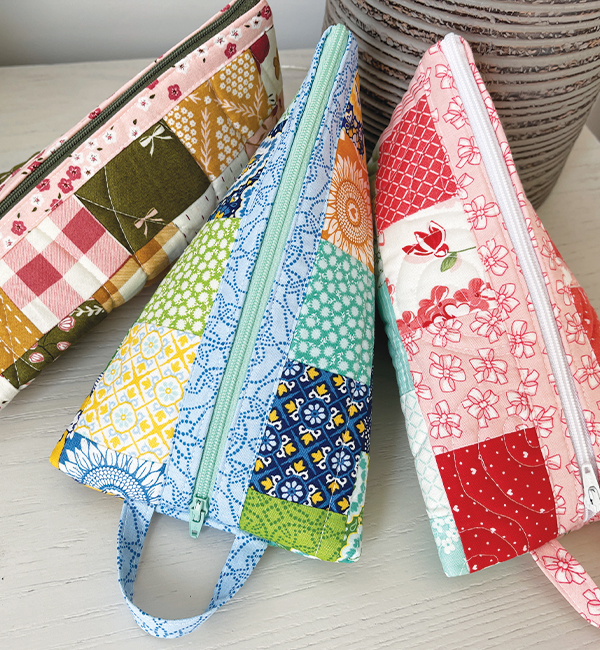
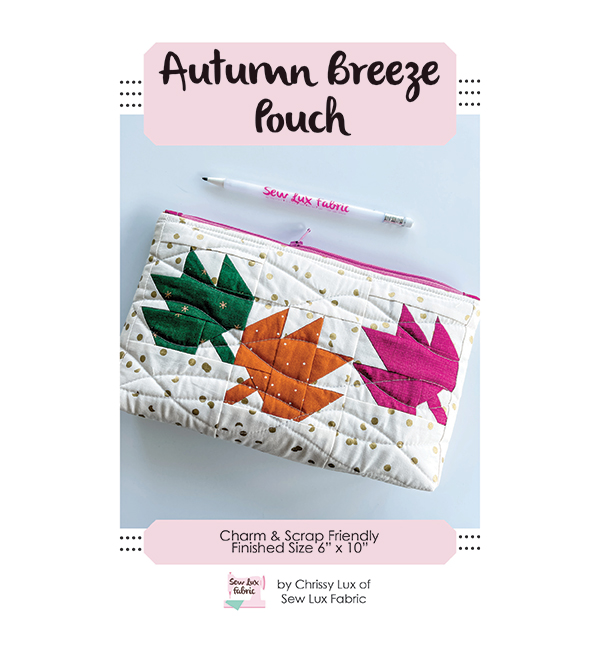
Next month, we will be making the Autumn Breeze Pouch to celebrate the season. See you back here on Octobr 19th for our next installment of the Pouch Club Series.
Posted in:
Comments