Welcome to Moda Fabrics!
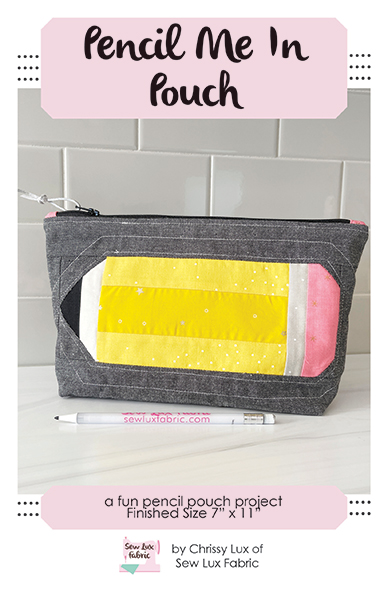
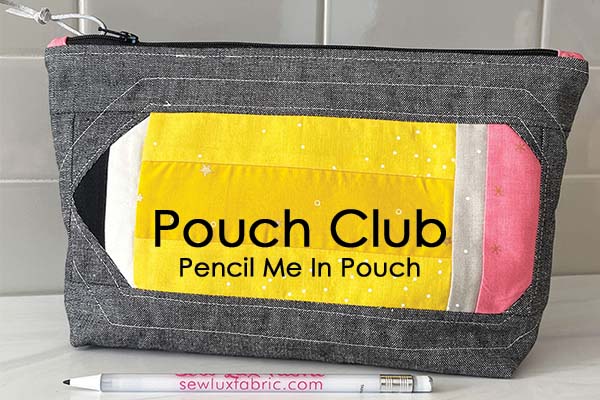
POUCH CLUB: PENCIL ME IN POUCH
POUCH CLUB: PENCIL ME IN POUCH
Published:
Aug 17 2023 - 08:00
Materials Needed:
You will need the following to complete this project:
- 2 Yellow F16s (or Layer Cake squares)
- 1 Black F16 (or Charm Square)
- 1 White F16 (or Charm Square)
- 1 Grey F16 (or Charm Square)
- 1 Pink F16 (or Charm Square)
- 1 FQ Black Crossweave (Exterior)
- 1 FQ Lining
- 1 12" zipper
- 1/3 yard SF-101 Fusible Interfacing
- Pencil Me In Pouch Pattern SLF2281
Paper and PDF patterns as well as kits are available in our shop at Sew Lux Fabric or ask your local quilt shop to carry the paper pattern and kit one up for you!
Note: This pattern includes small patchwork, boxed corners, and a tabbed zipper. Be sure to check out the video linked at the end of this post for additional tips and demonstration of these skills.
Step 1: Piece the Units
Follow the directions in the pattern to cut all your pieces from the fabrics.
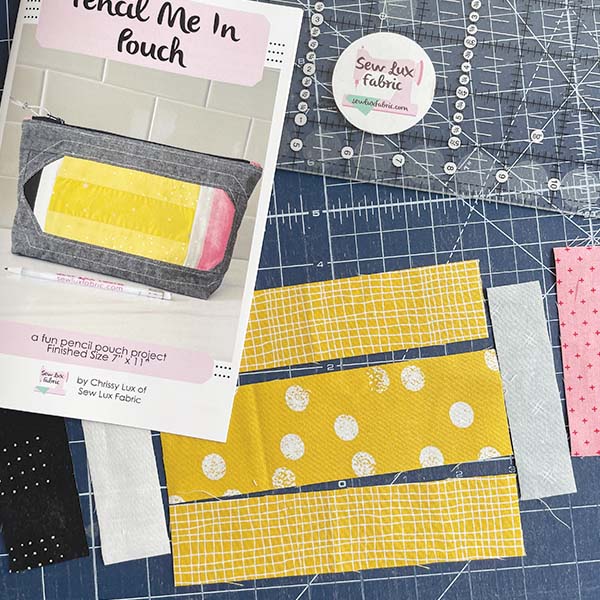
Step 2: PIece the Pencil Unit
You will piece the pencil in sections - the pencil point unit, the main body unit, and the eraser unit.
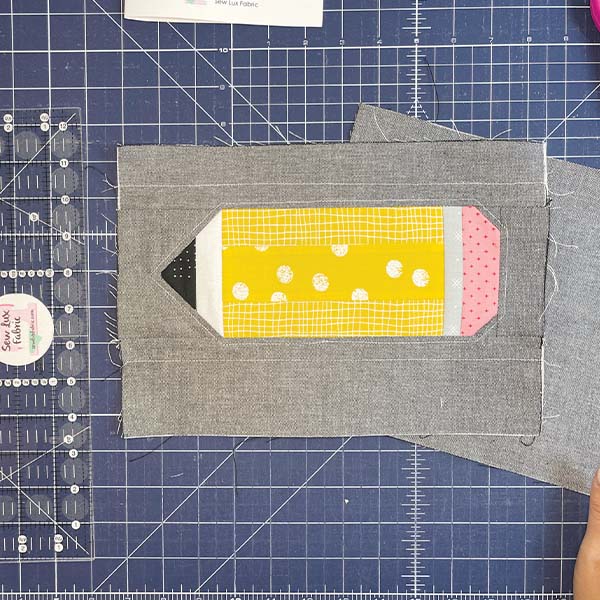
For the pencil point and eraser units, you will add some exterior fabric corner triangles by sewing some diagaonal seams. Follow the pattern and watch the video for more info on this step, if needed.
Step 3: Add Borders & Prepare the Exterior
One you have your pencil complete, you'll add the borders. First the border strips to the left and right side and then to the top and bottom.
Adhere interfacing to the WRONG side of both the exterior front as well as the exterior back of the pouch.
Add any decorative stitching to the pouch before moving forward.
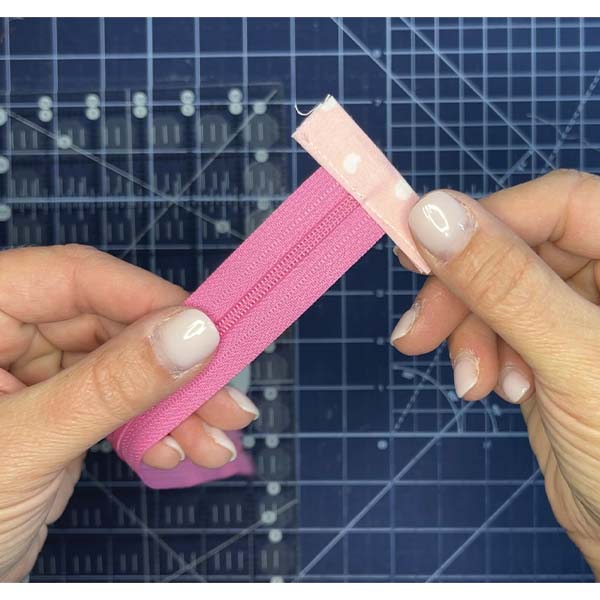
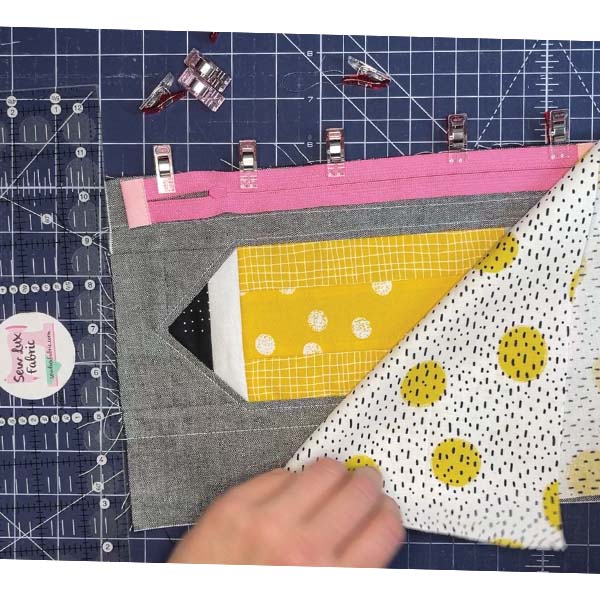
Step 4: Pepare & Install the Zipper
Follow the directions in the pattern to make and add tabs to the ends of the zipper.
Align the zipper with the top edge of the pouch, centering it leaving about 1/2" on either side.
Install the zipper using a zipper foot and top stitch the exterior & lining in place. (Refer to video linked below.)
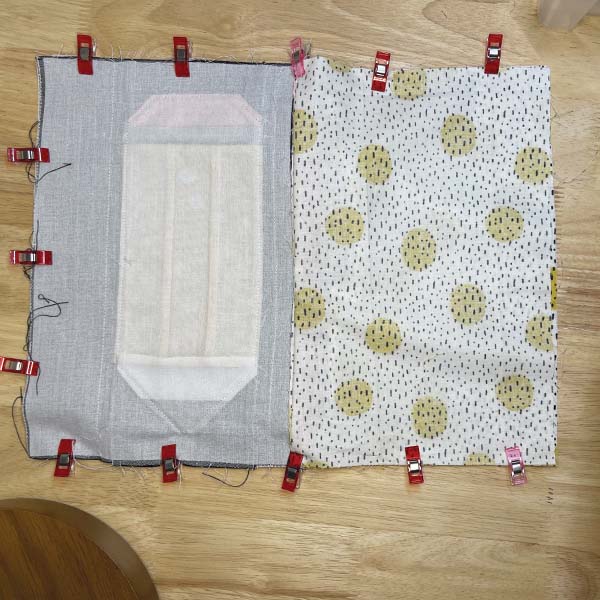
Step 5: Finish the Pouch
Arrange the pouch so that the exterior is RST and the lining pieces are RST. Make sure the zipper is half open and pin or clip in place around all four sides and sew closed, leaving a 3-4" hole in the bottom of the lining.
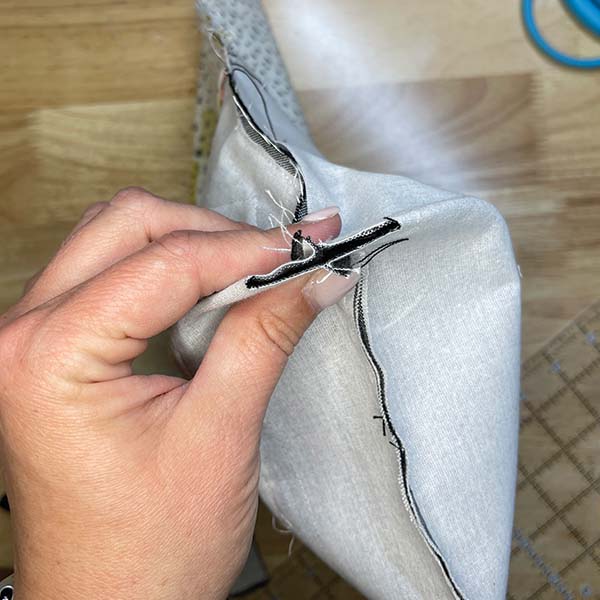
Once you have sewn all the way around, box the corners by marking a 1" square in each bottom corner of the exterior and the lining. Trim out the square and pinch the opening closed and sew shut. Repeat in each corner.
Turn the pouch right sides out through the hole in the bottom of the lining, press well and close the opening by hand or machine.
For more details and video of the steps above and some additional tips, check out the video.
This pouch is a fun one to customize ... add embroidery, piece the pencil body in a variety of colors or incorporate selvages, use school colors ... the possibilities are endless!
This pouch was created by one of my friends (Asha P) who added an embroidered name to make this a gift for her child's teacher.

Next month, we will be making the Triangle Pouch - a fun shape to feature your favorite Mini Charm Collection. See you back here on September 21st for our next installment of the Pouch Club Series.
Posted in:
Comments