Welcome to Moda Fabrics!
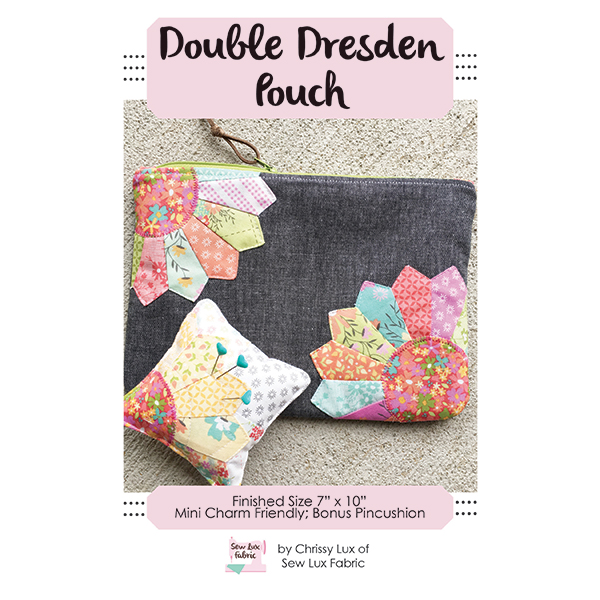
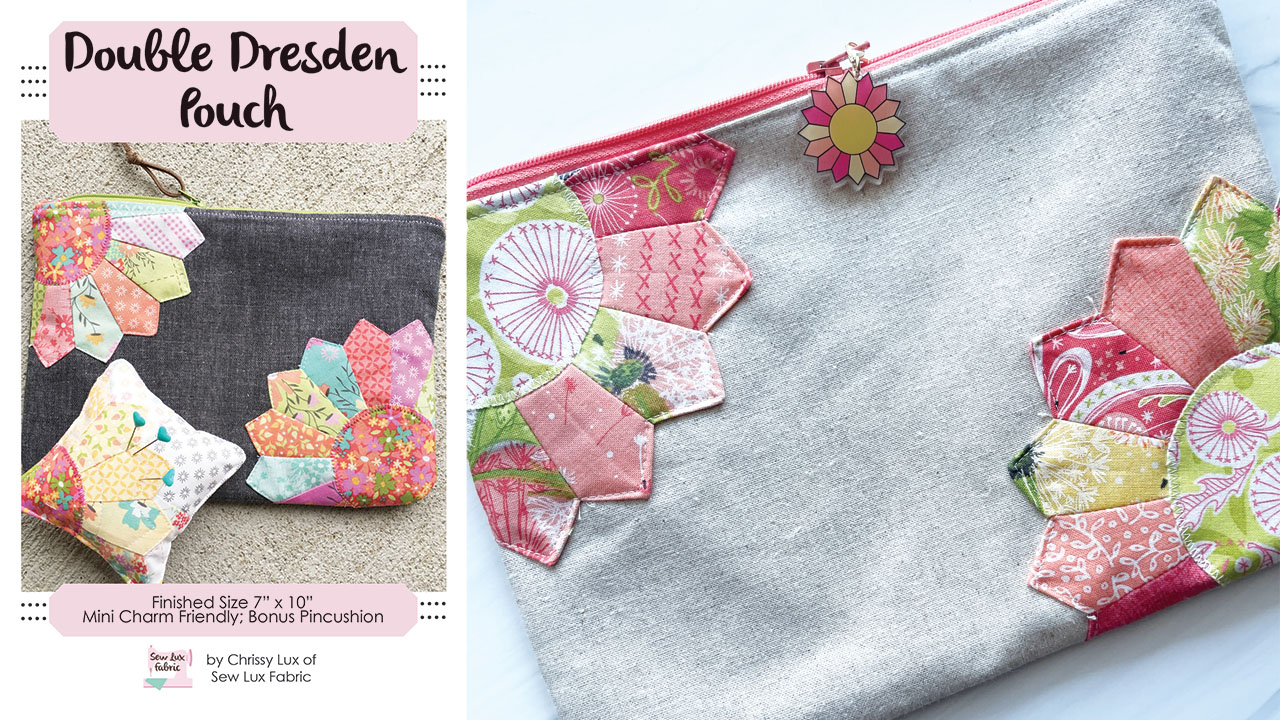
POUCH CLUB: DOUBLE DRESDEN
POUCH CLUB: DOUBLE DRESDEN
Published:
Dec 21 2023 - 08:00
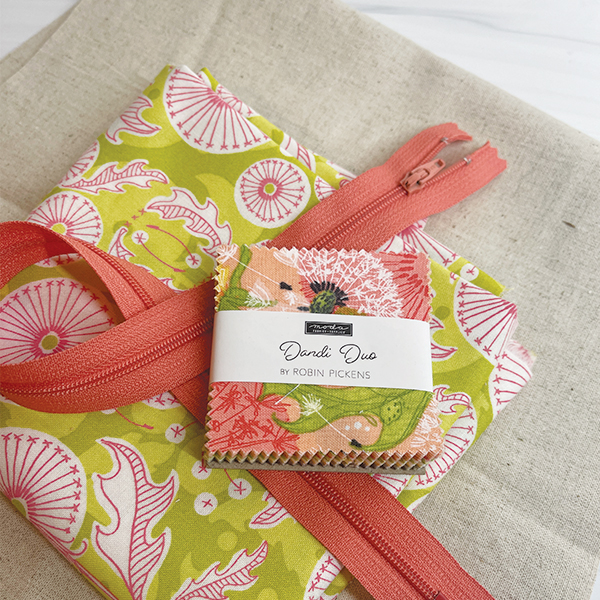
Materials Needed:
You will need the following to complete this project:
- 1 Mini Charm Pack
- 1 FQ Linen for Exterior
- 1 FQ for Lining
- (1) 12" or longer zippers
- 1/3 yard Interfacing (Pellon SF101 or similar)
- Double Dresden Pouch Pattern SLF1812
Paper and PDF patterns as well as kits are available in our shop at Sew Lux Fabric or ask your local quilt shop to carry the paper pattern and kit one up for you!
Note: Be sure to check out the video on our YouTube channel linked at the end of this post for additional tips and video to support this tutorial.
For this pouch, we are using the new Dandi Duo collection by Robin Pickens.
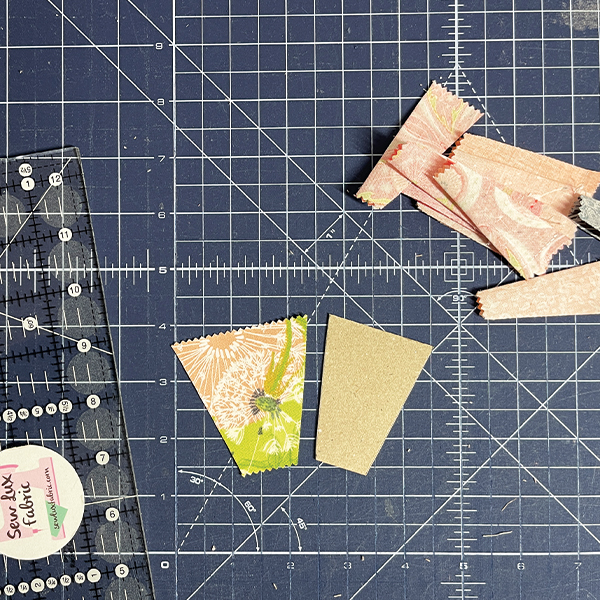
Step 1: Prepare the Dresden Blades
Follow the directions in the pattern to create a mini dresden template. We like to use the cardboard backing from the Mini Charm pack to make a sturdy template.
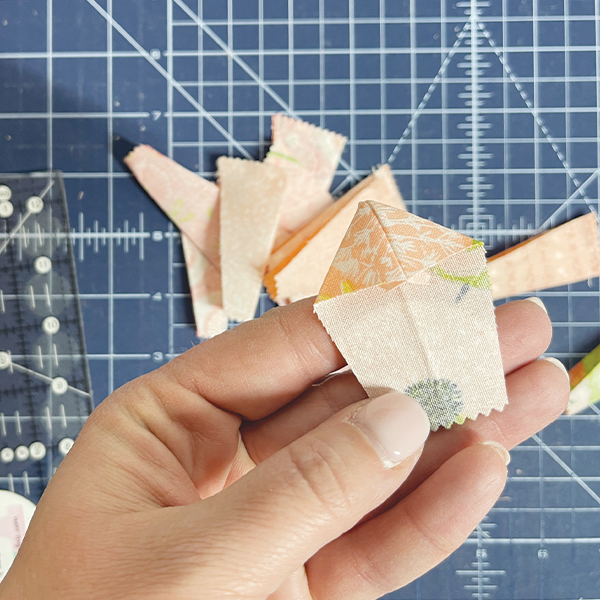
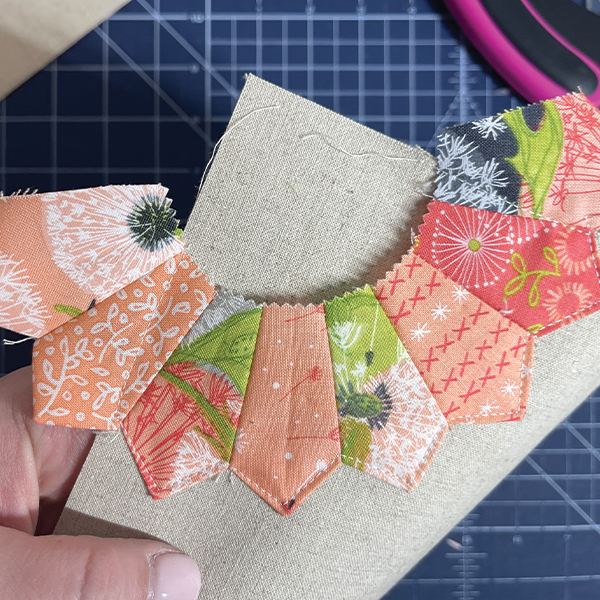
Then cut out 18 dresden blades. You'll fold them in half lengthwise with right sides together (RST) and sew along the top edge - be sure to backstitch at both ends of your stitching so they don't come apart when flipped right side out.
After turning the blades right sides out, carefully push out the point and press the seam open.
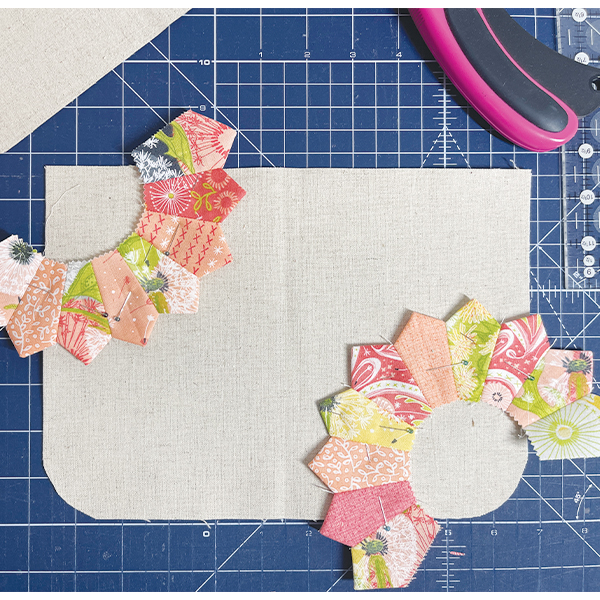
Join blades into two partial dresden plates as directed in the pattern being sure to backstitch as you sew. Press the seams open to reduce bulk.
Step 2: Prepare the Exterior
Follow the directions in the pattern to adhere interfacing and curve the bottom corners of the exterior and lining rectangles.
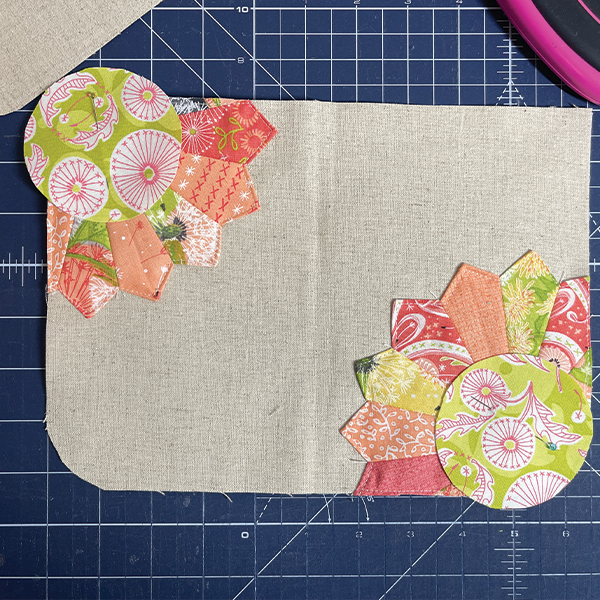
Arrange the partial dresden plates in opposite corners, being sure that when the center applique is attached the raw edges of the dresden plates and the edge of the exterior rectangle will be covered by the center circle.
Pin dresden plates in place and topstitch. Remove excess dresden plate fabric that extends beyond the exterior rectangle.
Follow the directions in the pattern to make two applique circles. You can use fusible web or a lightweight interfacing.
Place the circles and pin in place. Stitch to secure - we used a zig zag stitch. (Watch the video to see this step.)
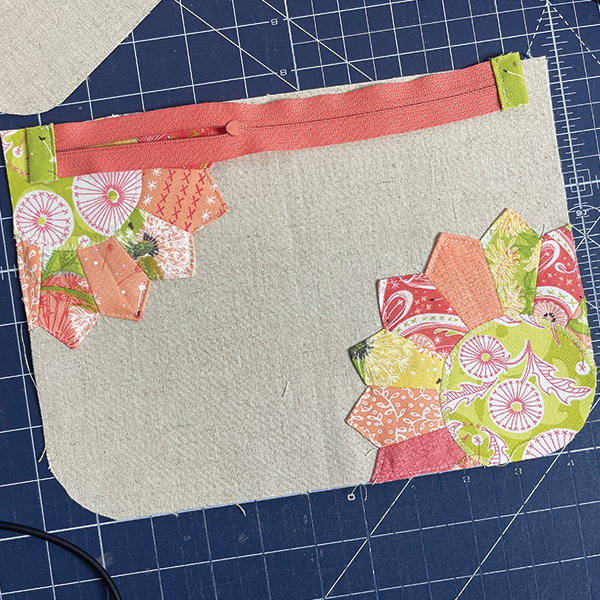
Step 3: Prepare & Install the Zipper
Follow the directions in the pattern to make and add tabs to the ends of the zipper.
Align the zipper with the top edge of the pouch, centering it and leaving about 1/2" on either side.
Install the zipper using a zipper foot and top stitch the exterior & lining in place. (Refer to video linked below.)
Step 4: Finish the Pouch
Arrange the pouch so that the exterior is RST and the lining pieces are RST. Make sure the zipper is half open and pin or clip in place around all four sides and sew closed, leaving a 3-4" hole in the bottom of the lining.
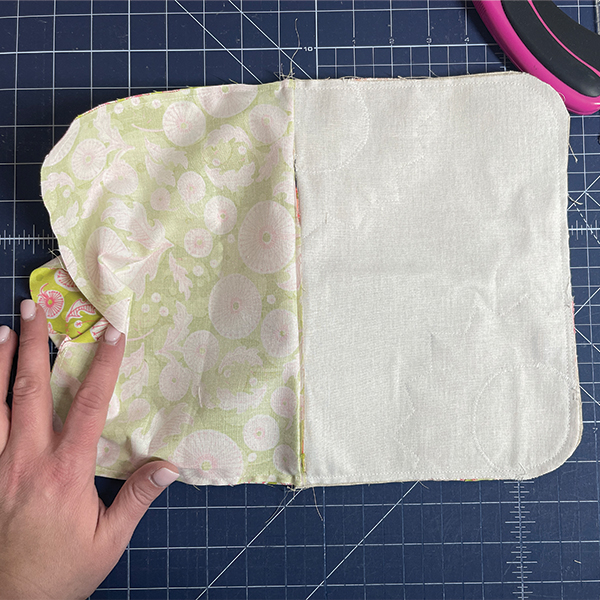
Turn the pouch right sides out through the hole in the bottom of the lining, press well and close the opening by hand or machine.
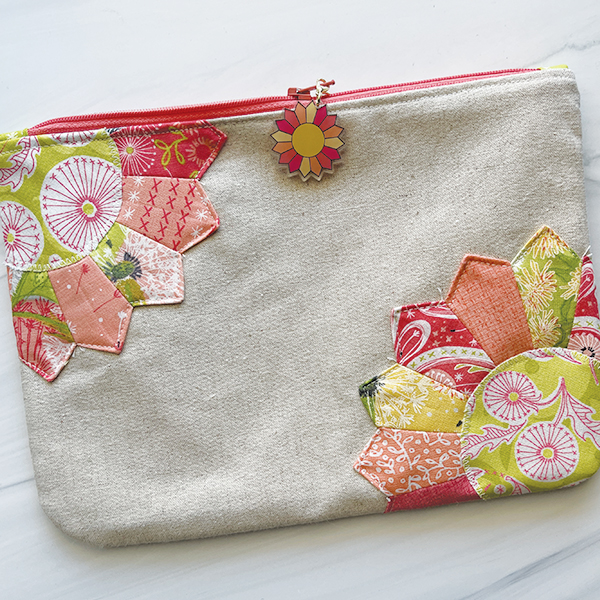
These cute little acrylic zipper pulls make for a fun addition! (sku: CL1412)

For more details and video of the steps above and some additional tips, check out the video.
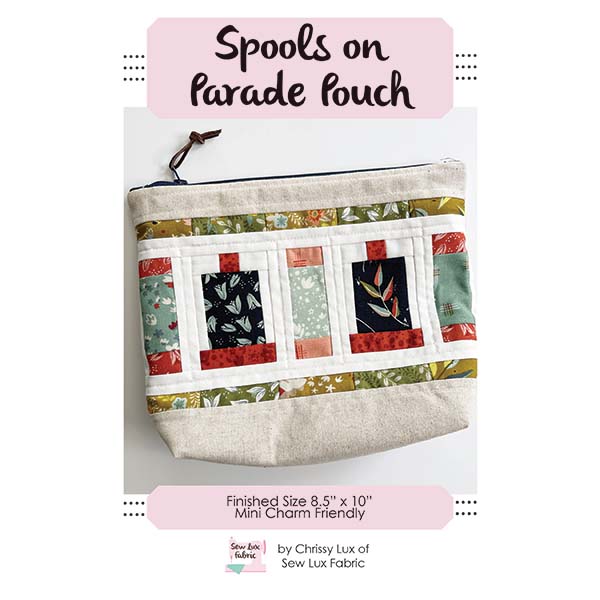
Next month, we will be making the Spools on Parade Pouch, a fan favorite at Sew Lux! See you back here on January 18 for our next installment of the Pouch Club Series. You can also check out our 2024 Club offerings here so you never miss a kit or pattern!
Posted in:
Comments