Welcome to Moda Fabrics!
Jolly Little Log Cabins
Jolly Little Log Cabins
Published:
May 29 2019 - 23:00
![]()
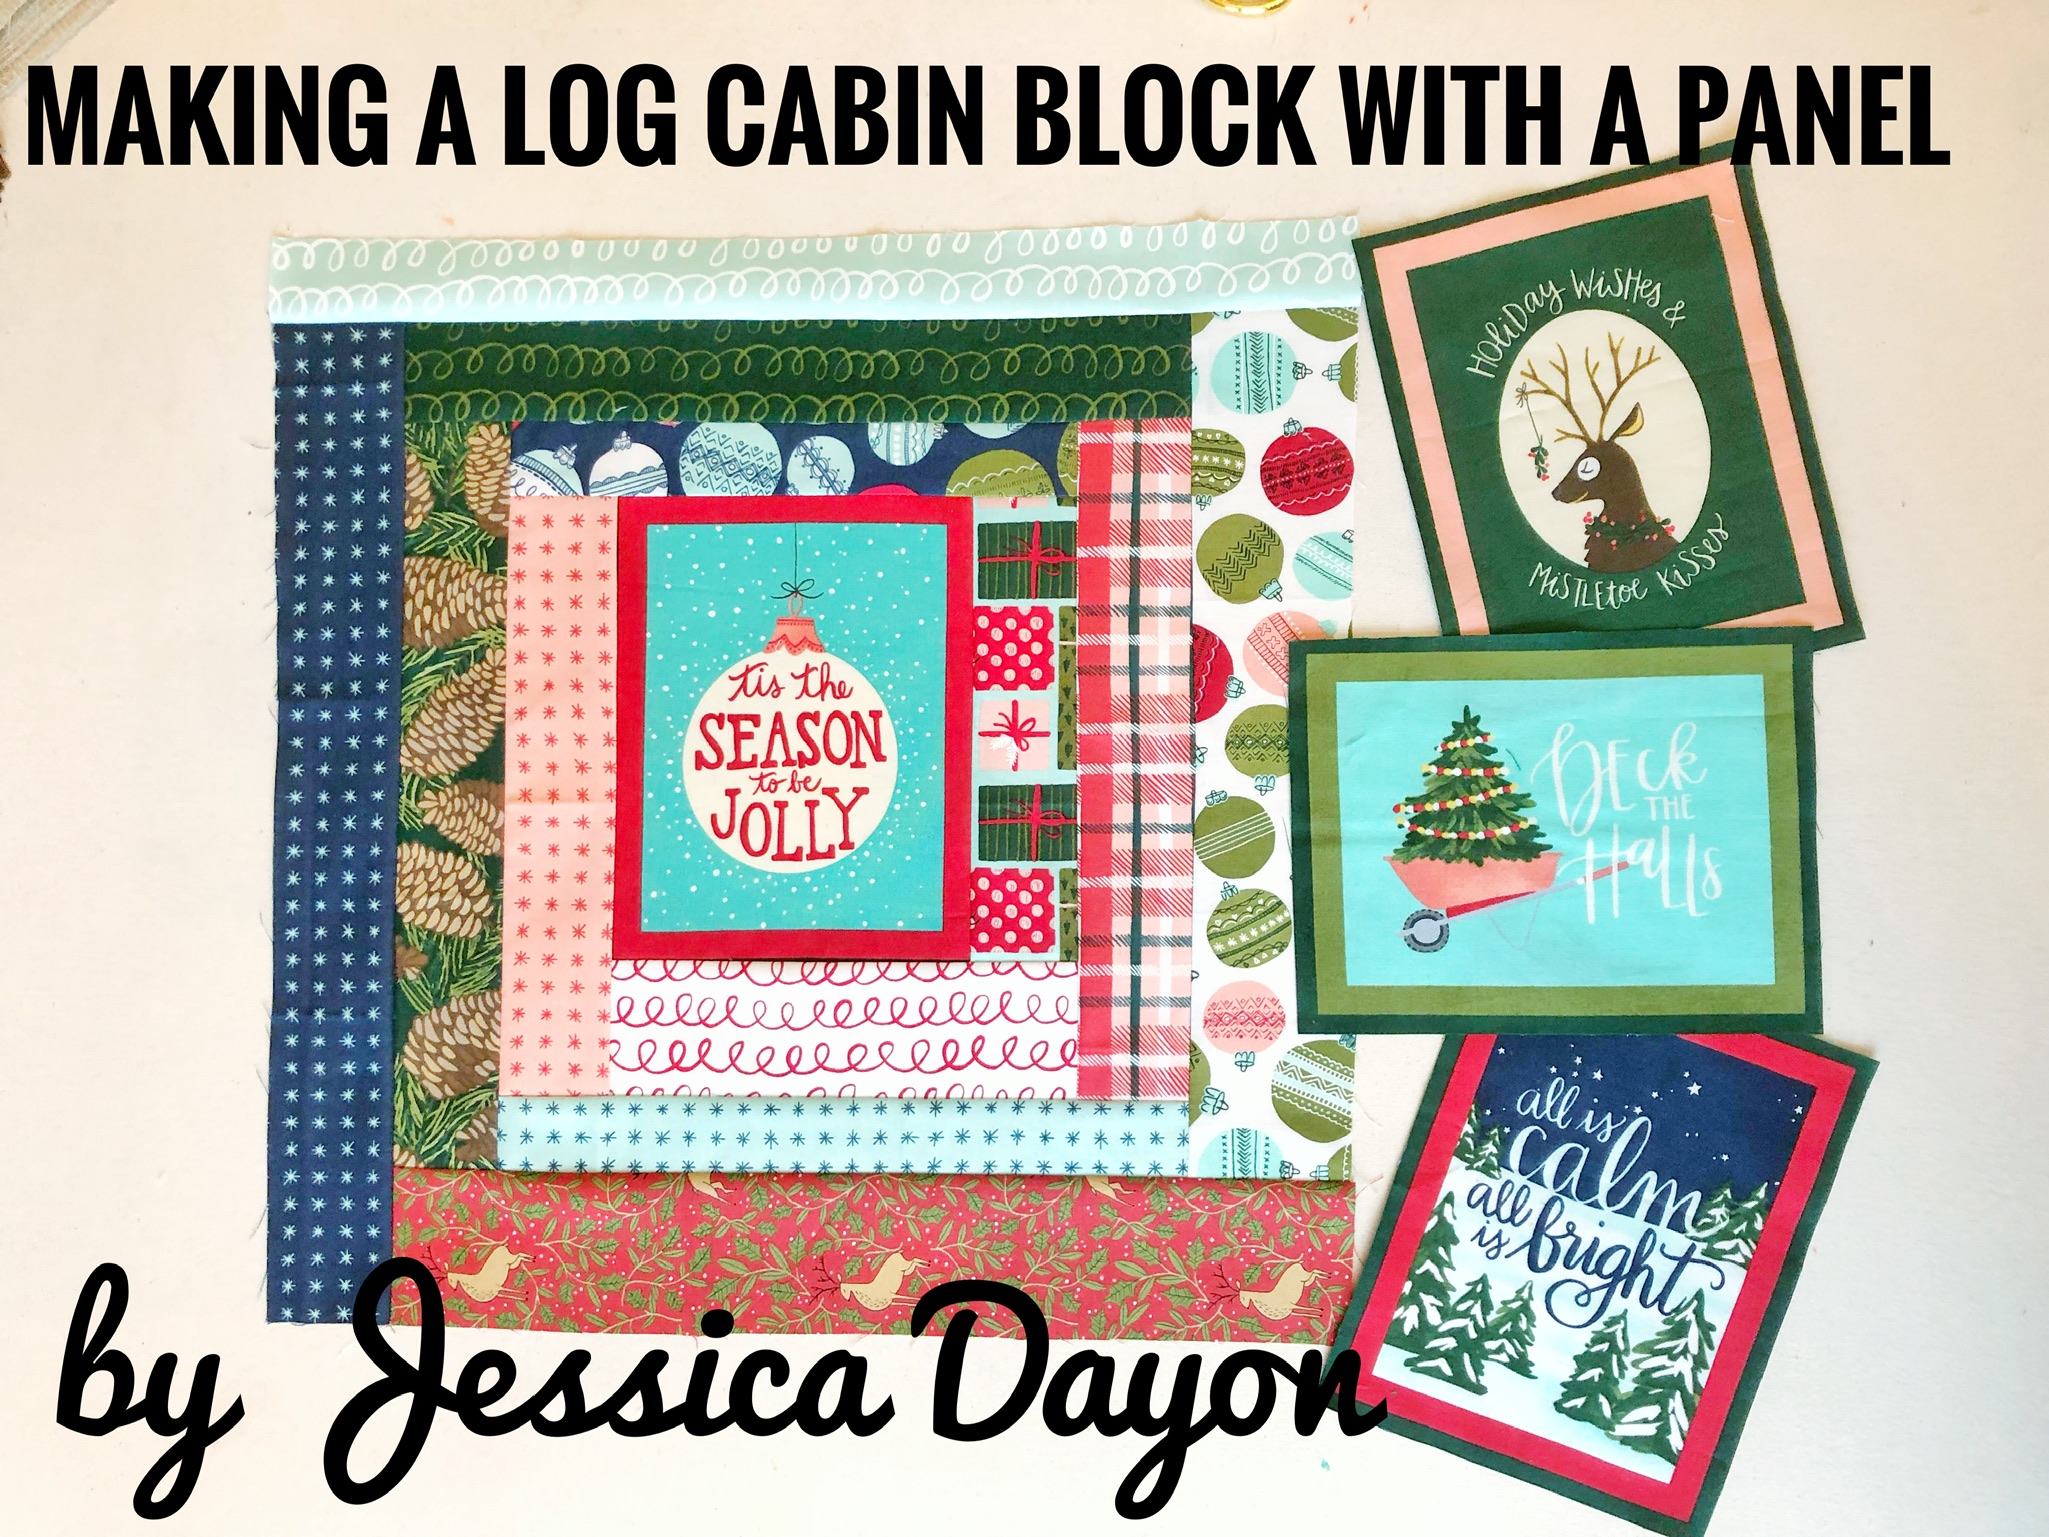
Hi, Everyone! It is Jessica Dayon (@jessicadayon) and today I'm here to share an idea on how to incorporate a quilt panel into a quilt block!
I really love quilt panels but I often struggle with how to actually use them in a quilt. Today I am going to show you how to make a log cabin style block with a quilt panel! You'll be able to use this method and make any size quilt you'd like!
This quilt block finishes at 14.5" x 14.5"
![]()
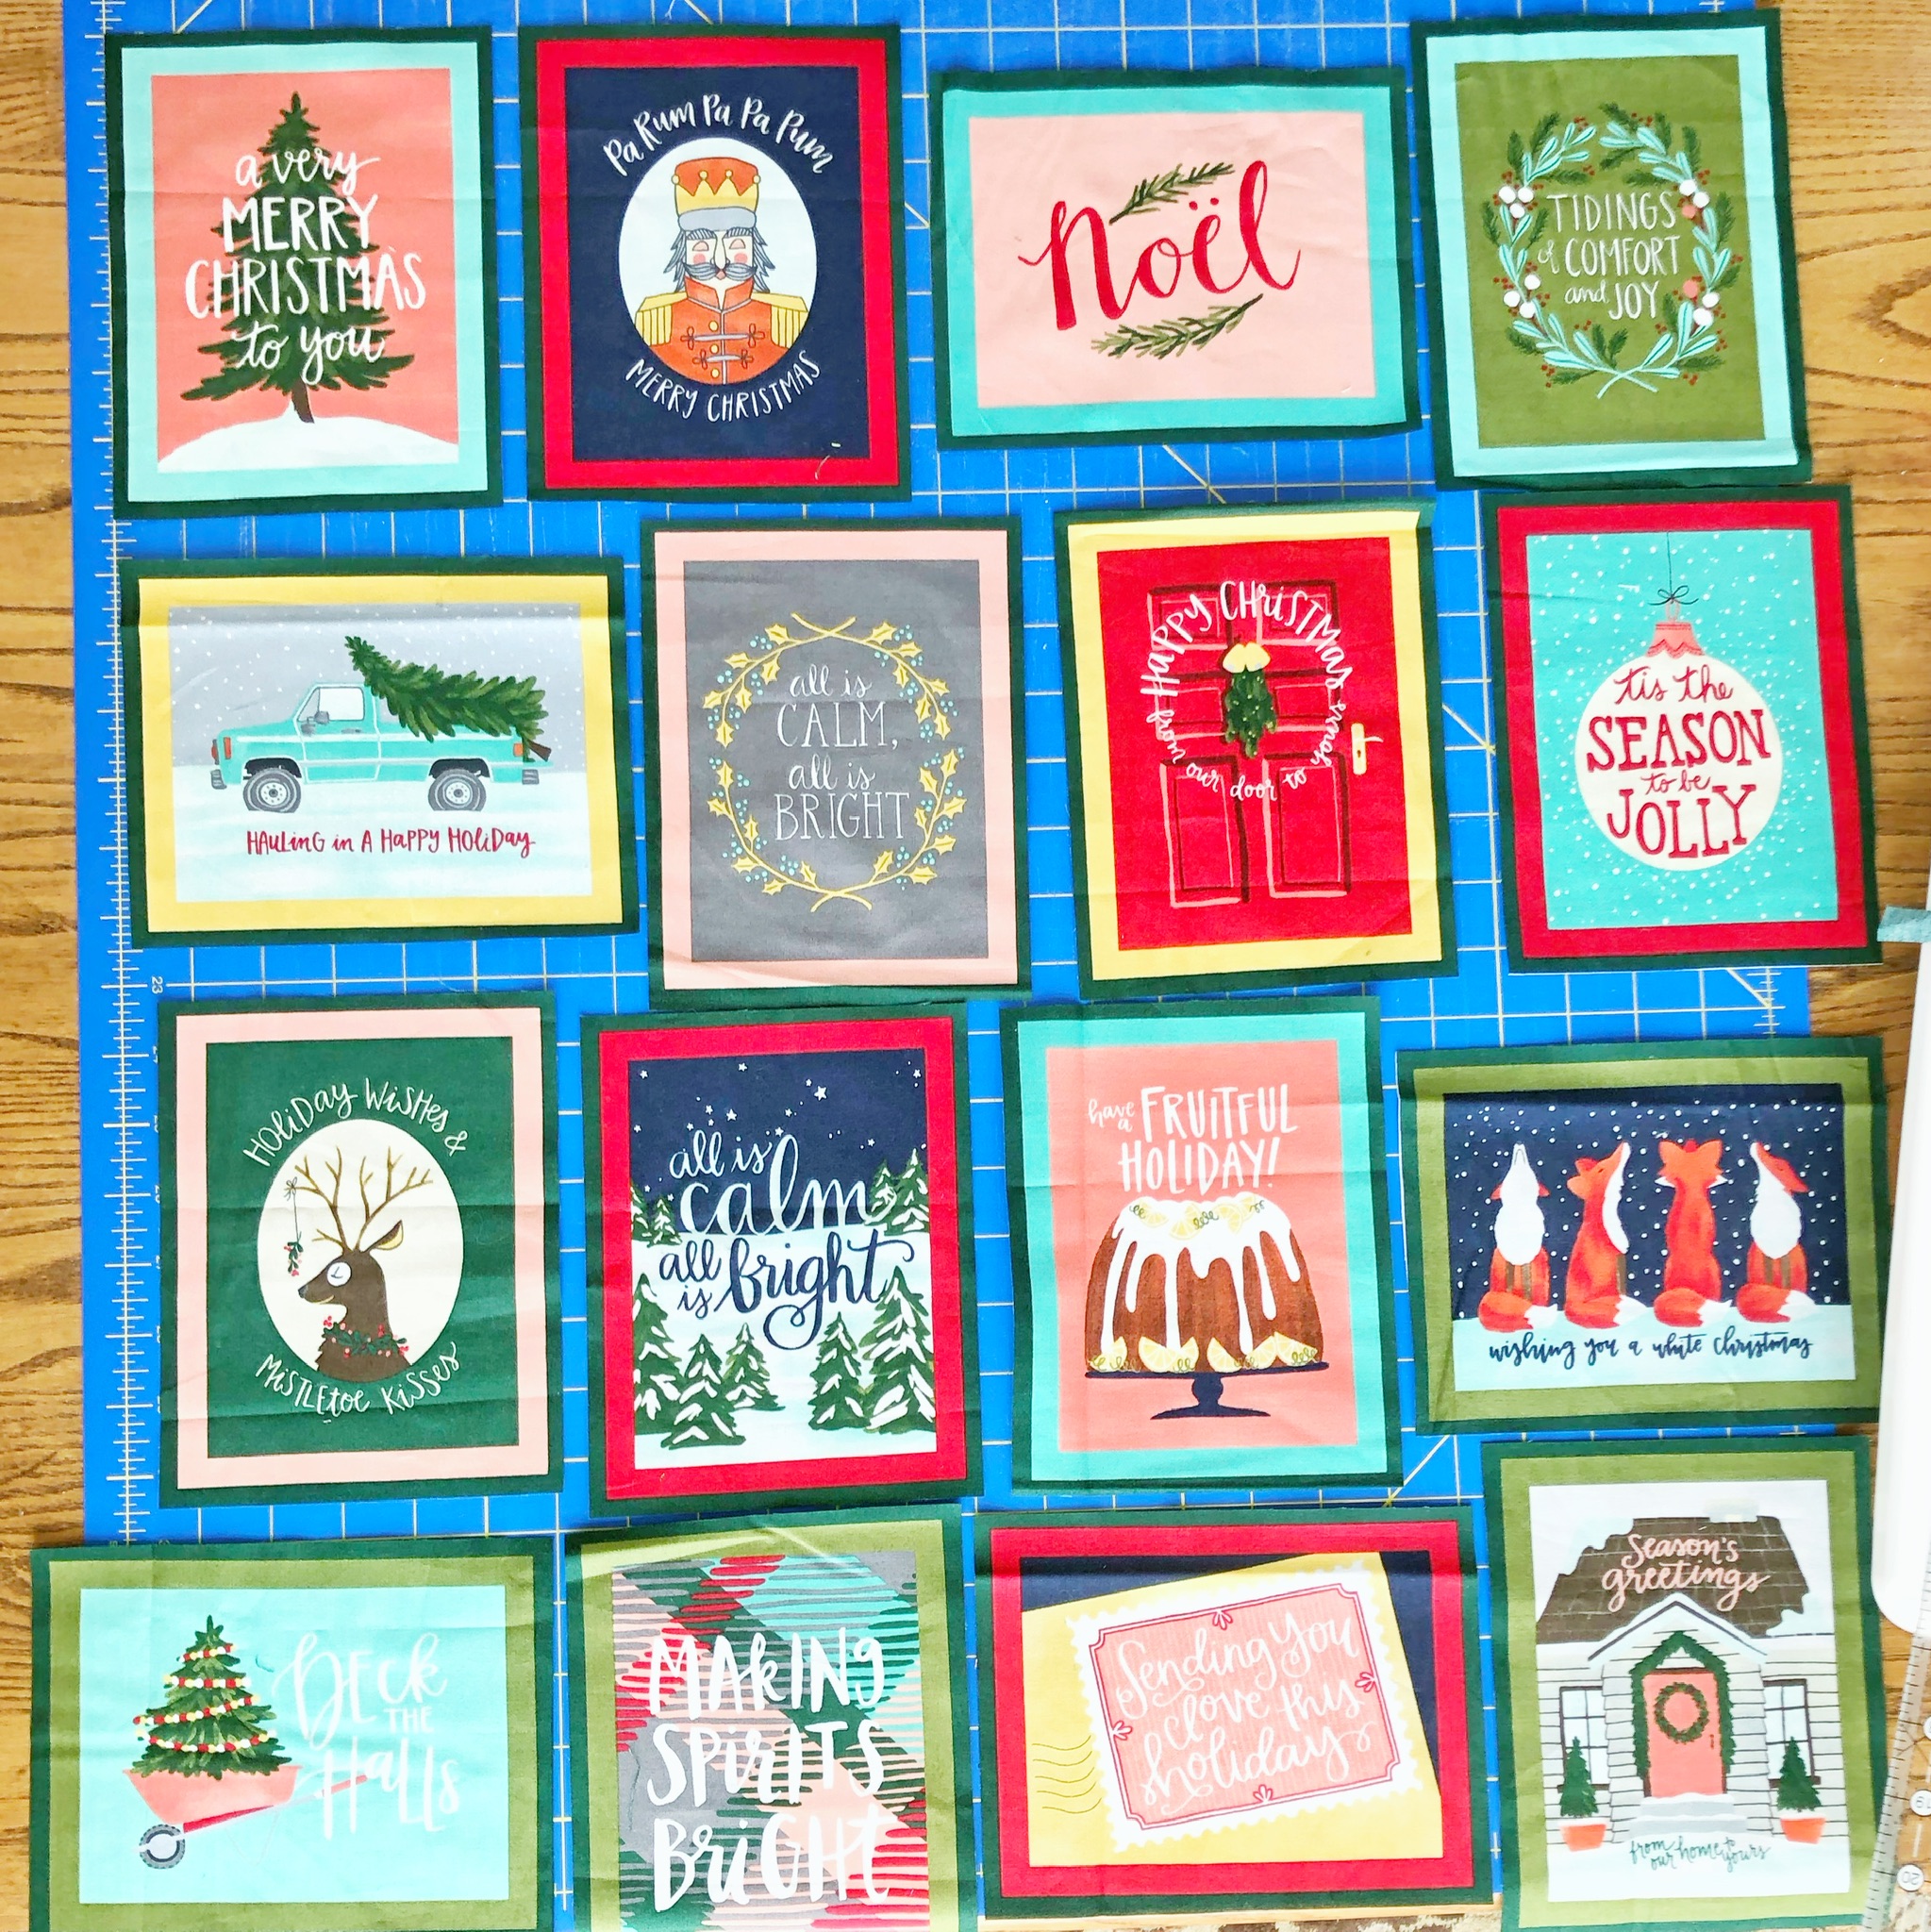
1 To Be Jolly Fat Quarter Bundle by One Canoe Two {SKU 36040AB}*
*This fat quarter bundle contains 32 fat quarters and one 23" panel.
![]()
ABBREVIATIONS-
WOF- width of fabric
RST- right sides together
CUTTING-
From the panel,
-cut out each of the panel squares. It doesn't matter if you cut on the line or just outside of it. However, whichever way you choose, just be consistent and cut all of the panel pieces out the same way.
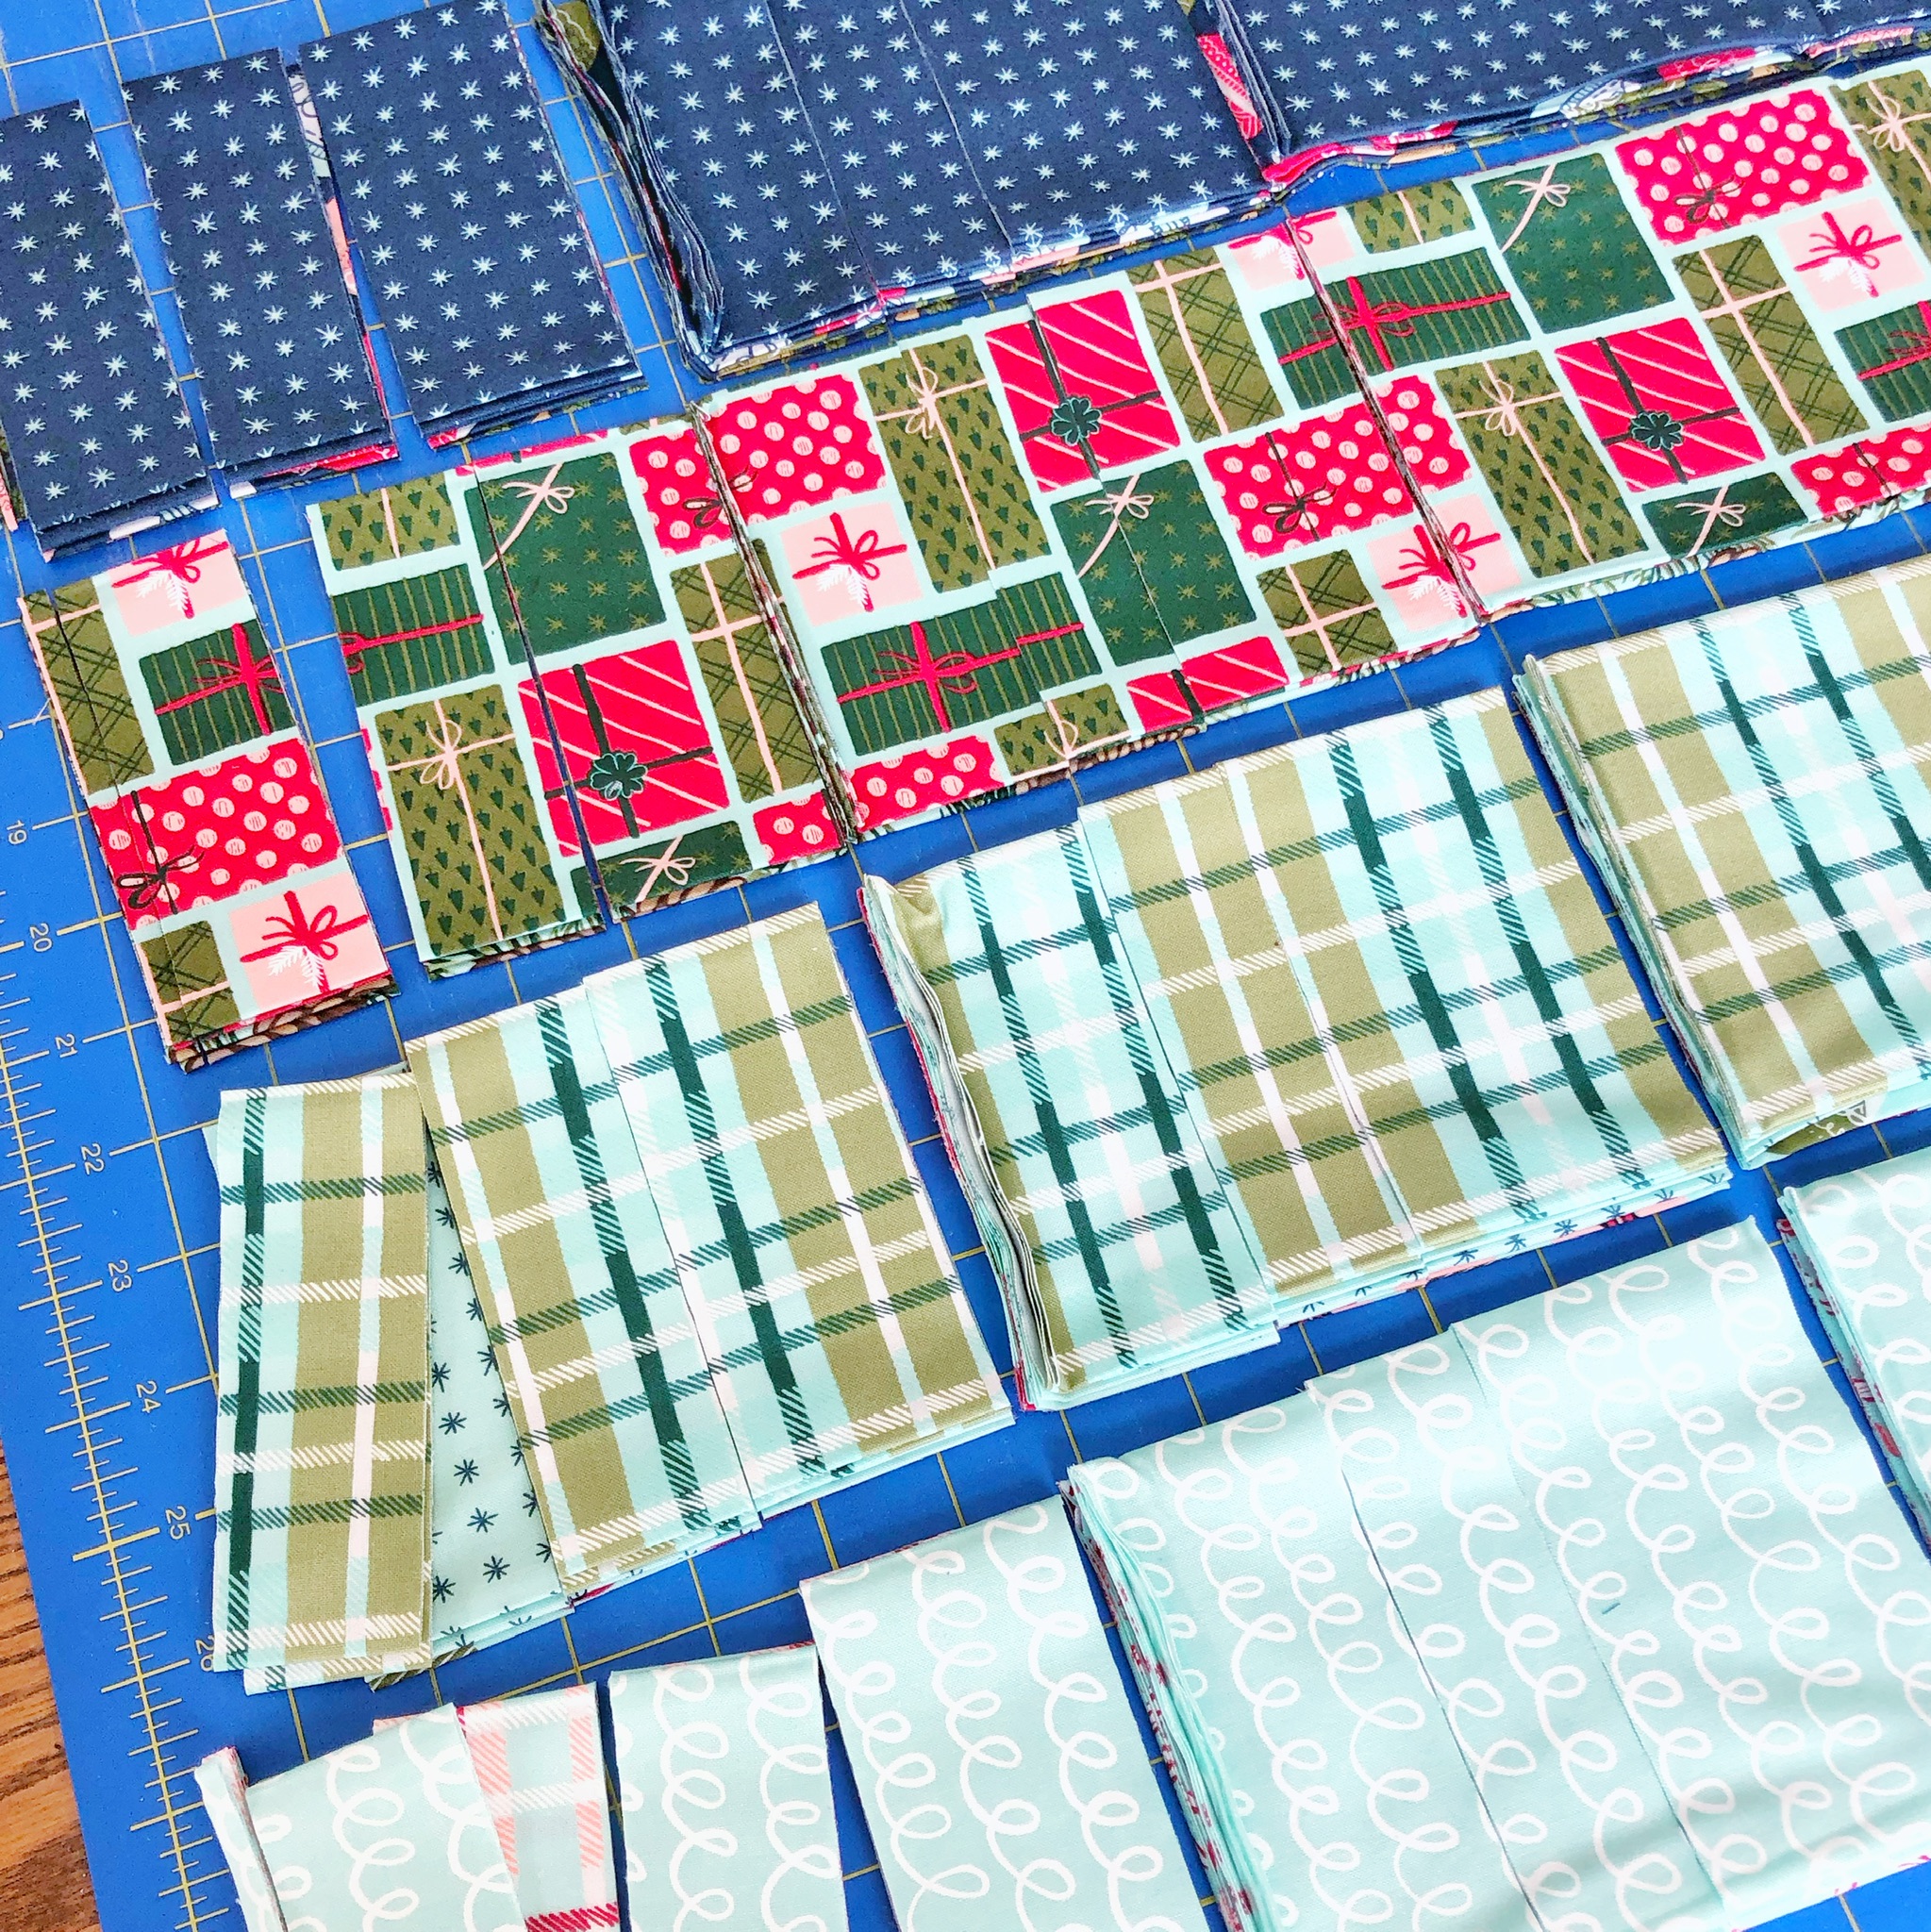
From the fat quarters, cut a variety of strips along the 18" side. You can choose whatever size strips you'd like but this is what I typically do:
-cut 3- 1" x 18" strips
-cut 4- 1.5" x 18" strips
-cut 3- 2" x 18" strips
-cut 2- 2.5" x 18" strips
MAKE THE BLOCK
To make this block, you will choose and center and then add strips around the center panel. Typically, I start on the right side and then add my strips in a counterclockwise fashion, but you can choose you starting point and direction if you'd like to do it differently.
It's ok if the panel doesn't stay in exactly the middle of the block. The fun part about this is that you can use different size strips and the panels will be in a little but of a different spot from each other. I think it ads interest to the quilt top! Also, since the panels we are using here are rectangles, you can experiment with putting thinner and thicker strips in whatever position that you like to get the panel is the position that you'd like it to be in.
Choose your first panel and one strip. Lay the strip on the right side of the panel, RST. Sew 1/4" from the edge. Trim away the excess strip. Press open. Then continue adding strips in a counterclockwise fashion. Add strips until the block measures slightly larger than 15". Then, trim to exactly 15" square.

My block measures 15" unfinished.
A COUPLE OF NOTES-
- You can size this block however you want. I choose to go to slightly over 15" and then trim to exactly 15" but that's just what I picked. You can choose something that will work for you if you'd like.
- I save all the trimmings from the strips and sew them together to make new strips. This also adds interest to your blocks!
- You can make as many or as few blocks as you want to get the size quilt you are looking for
- My favorite way to set these blocks is to sash them using jelly roll strips! You don't need to cut from yardage and you can use the precut jelly roll strips to save you time!
- If you don't want to use sashing, just sew the blocks together into a top! Since you are trimming the blocks to exactly the same size, they will fit together perfectly if you decide you'd rather not use sashing.
- Add borders or not! It's totally up to you and you can change the look of your quilt by adding borders or not.
I hope you enjoyed this tutorial and that it has inspired you to do some sewing with a panel! Please let me know if you have any questions. I would be happy to help!
I'm am going to be sewing one of these blocks per week until I have a enough to make a quilt top! I hope you'll join me!! Grab your fat quarters and panel and come follow me on Instagram- @jessicadayon! I'll be posting my updates there! Hope to talk to you there!
Jessica Dayon
{blog: Jessica Dayon}
{instagram: @jessicadayon}
![]()
Comments