Welcome to Moda Fabrics!
Fast Four FQ Backpack
Fast Four FQ Backpack
Published:
Jan 29 2019 - 23:00
![]()
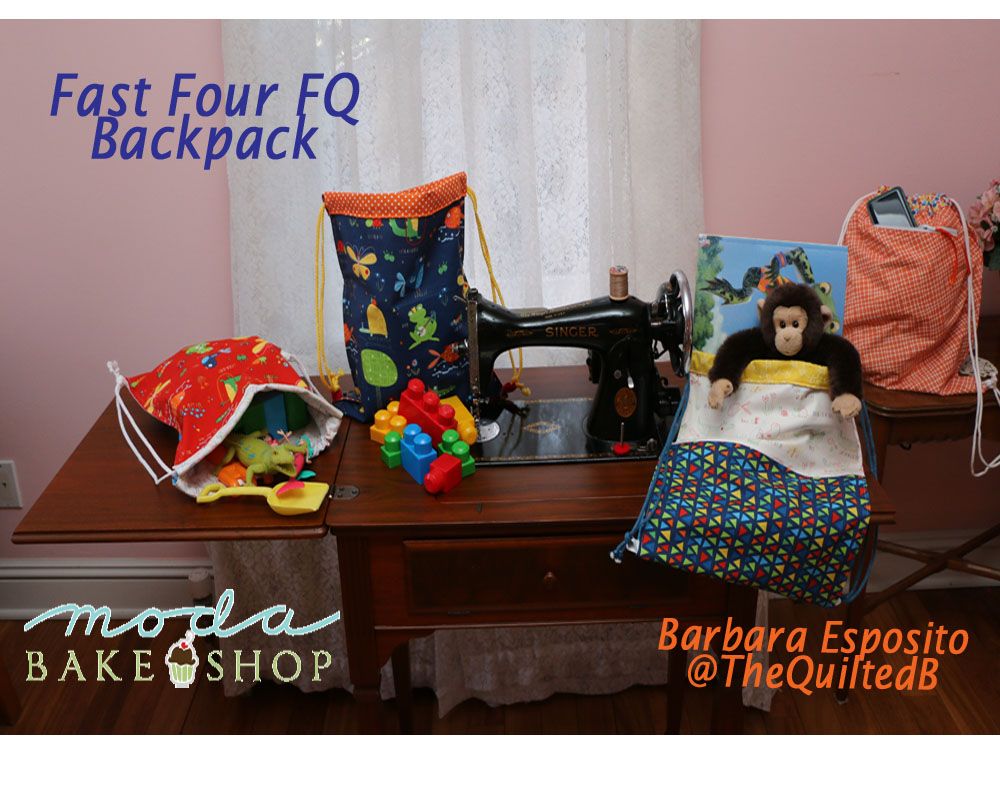
Blocks. Beach Toys. Storybooks. Secret treasures. Picnic lunch. These are just a few things that can be stuffed inside these Fast Four Fat Quarter Backpacks for kids and adults.
I’m Barbara Esposito @TheQuiltedB, and I am back at the Moda Bake Shop with a crazy fast project for you. Sometimes I just want a quick sew that doesn’t require me to think too much. No starching, seam matching, or trimming half square triangles! Just a quick, git-r-done, immediate gratification kind of project.
I love making these and I suspect you will want to make one (or a dozen) too. They are that fun. And that fast! They are great beginner projects too. I use mine when Joe and I go biking or when I take the littles for a train ride. I love making them for gifts for both kids and adults.
These bags finish at 13" by 14" for the youth size and 15" by 17" for the adult size but honestly you can make them whatever size suits you!
![]()
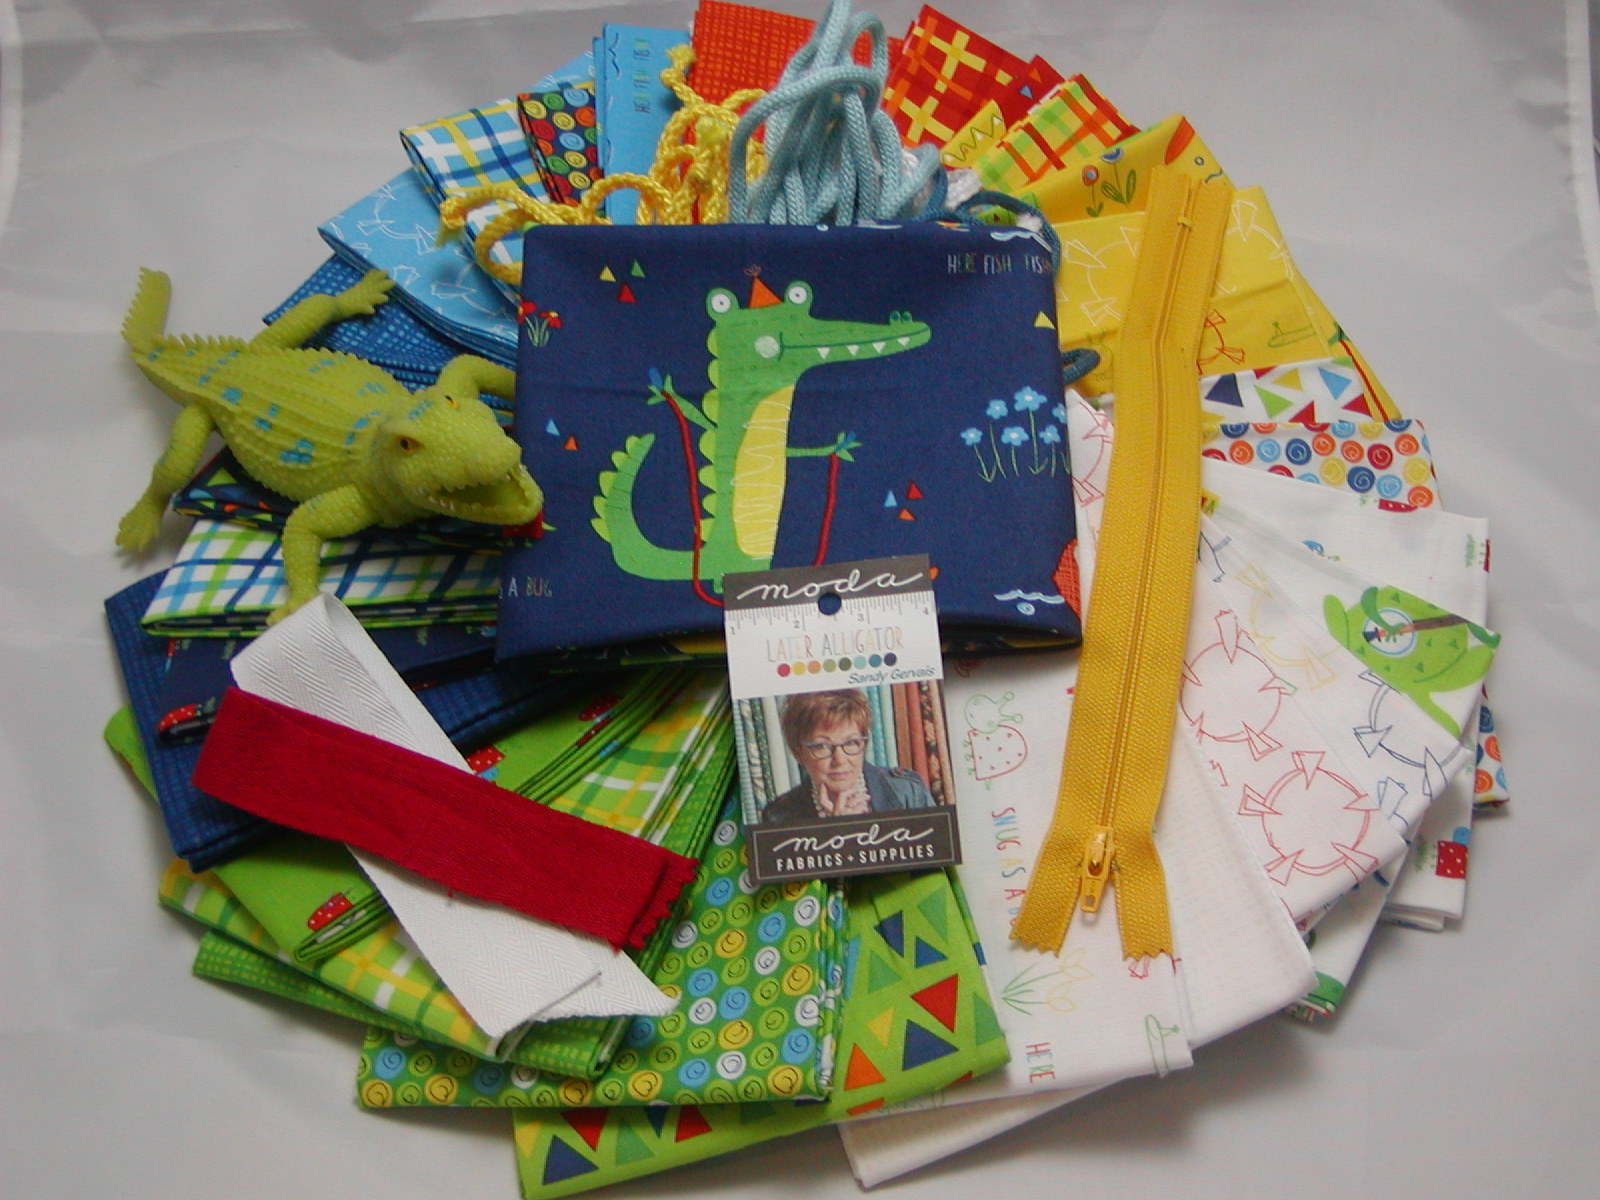
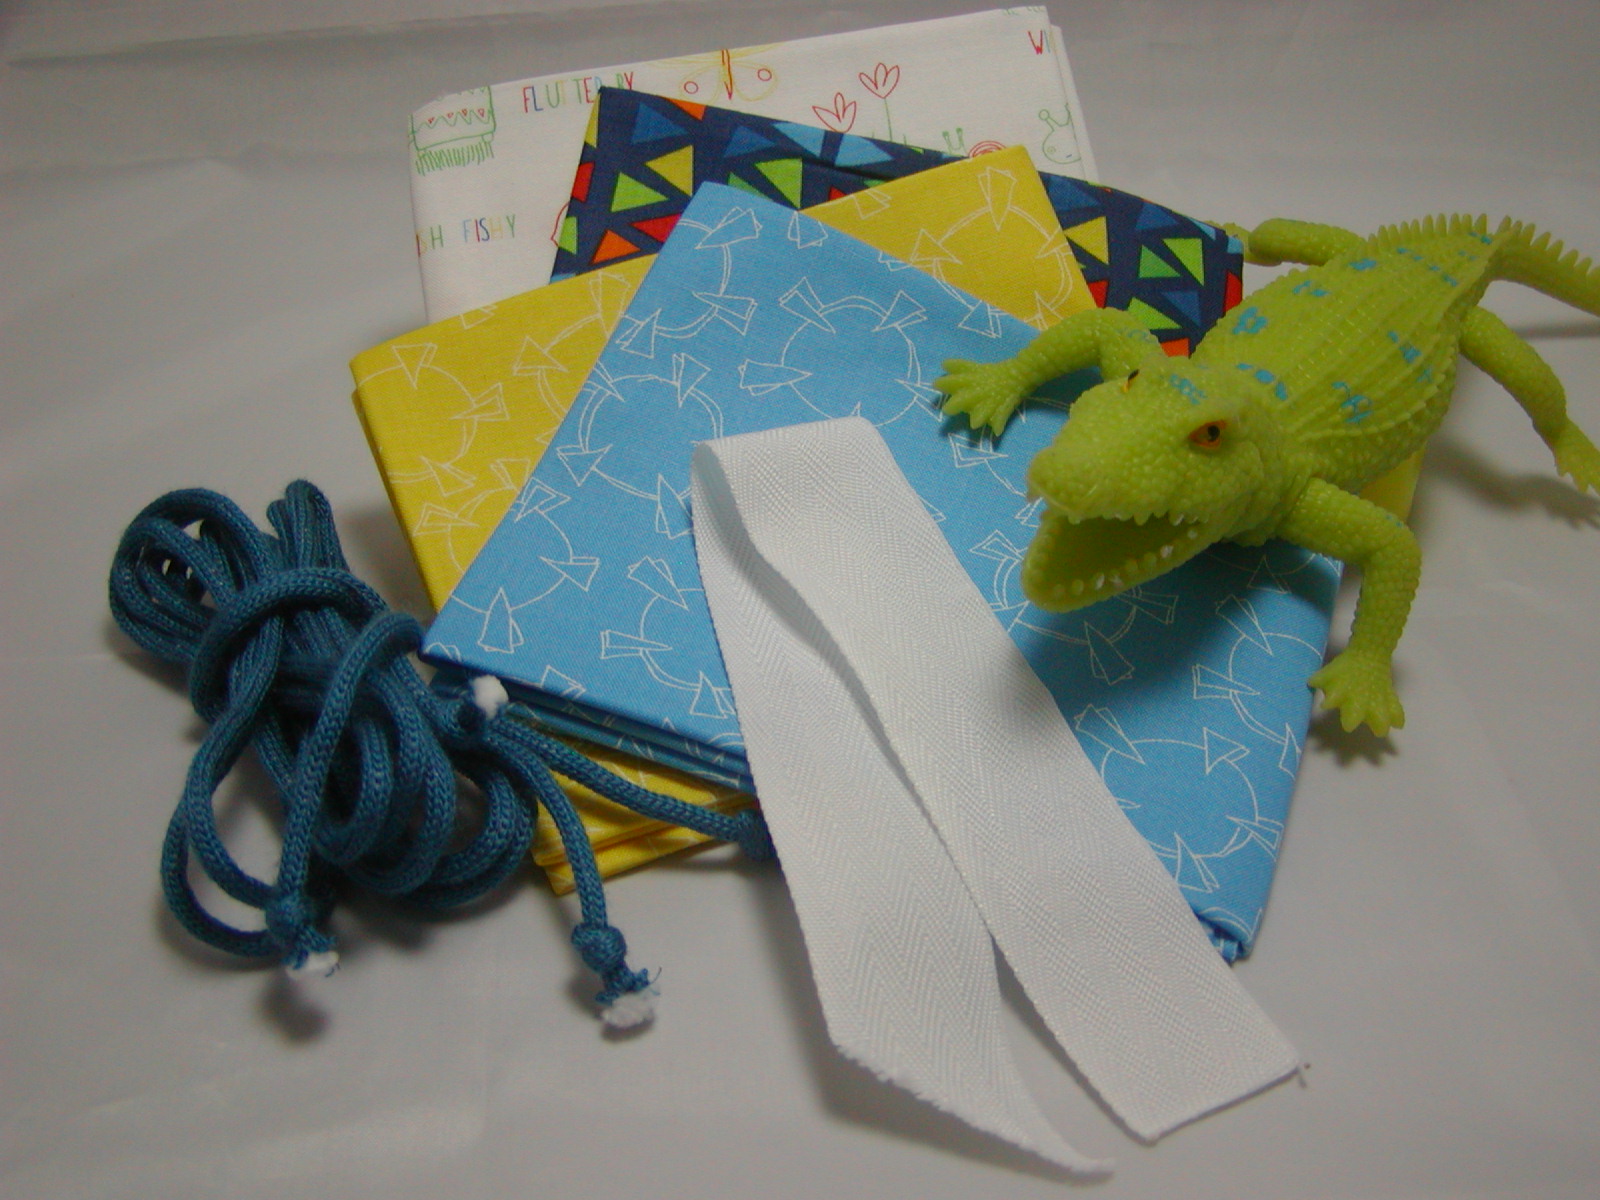
This adorable fat quarter bundle is “Later Alligator” by Sandy Gervias. It’s perfect for these kid’s backpacks!
Each backpack uses about 4 fat quarters, cut as listed below
![]()
| Children’s | Adult |
| 3 yards macramé or similar cord | 4 yards macramé or similar cord |
| 4 fat quarters | 4 fat quarters |
| 6” Cotton twill tape for tabs | 6” Cotton twill tape for tabs |
| Optional Items for Cell Phone Pocket | |
| 7” zipper | |
| Light weight interfacing (Pellon SF101 works well) 9” by 12” | |
| Fabric for pocket 9” by 12” | |
![]()
Here is the basic version. The adult and children’s bags assemble in the exact same way, measurements for the adult bag are in parentheses.
All seams are 1/4” unless noted. Measurements are width by height.
| Children’s | Adult |
| From each fat quarter cut a piece 13” by 16” | From each fat quarter cut a piece 16” by 20” |
| Cut two pieces of cord, each 1-1/2 yards long | Cut two pieces of cord, each 2 yards long |
| From the twill tape cut two pieces 3” long | From the twill tape cut two pieces 3” long |
Ready? Set? Sew!
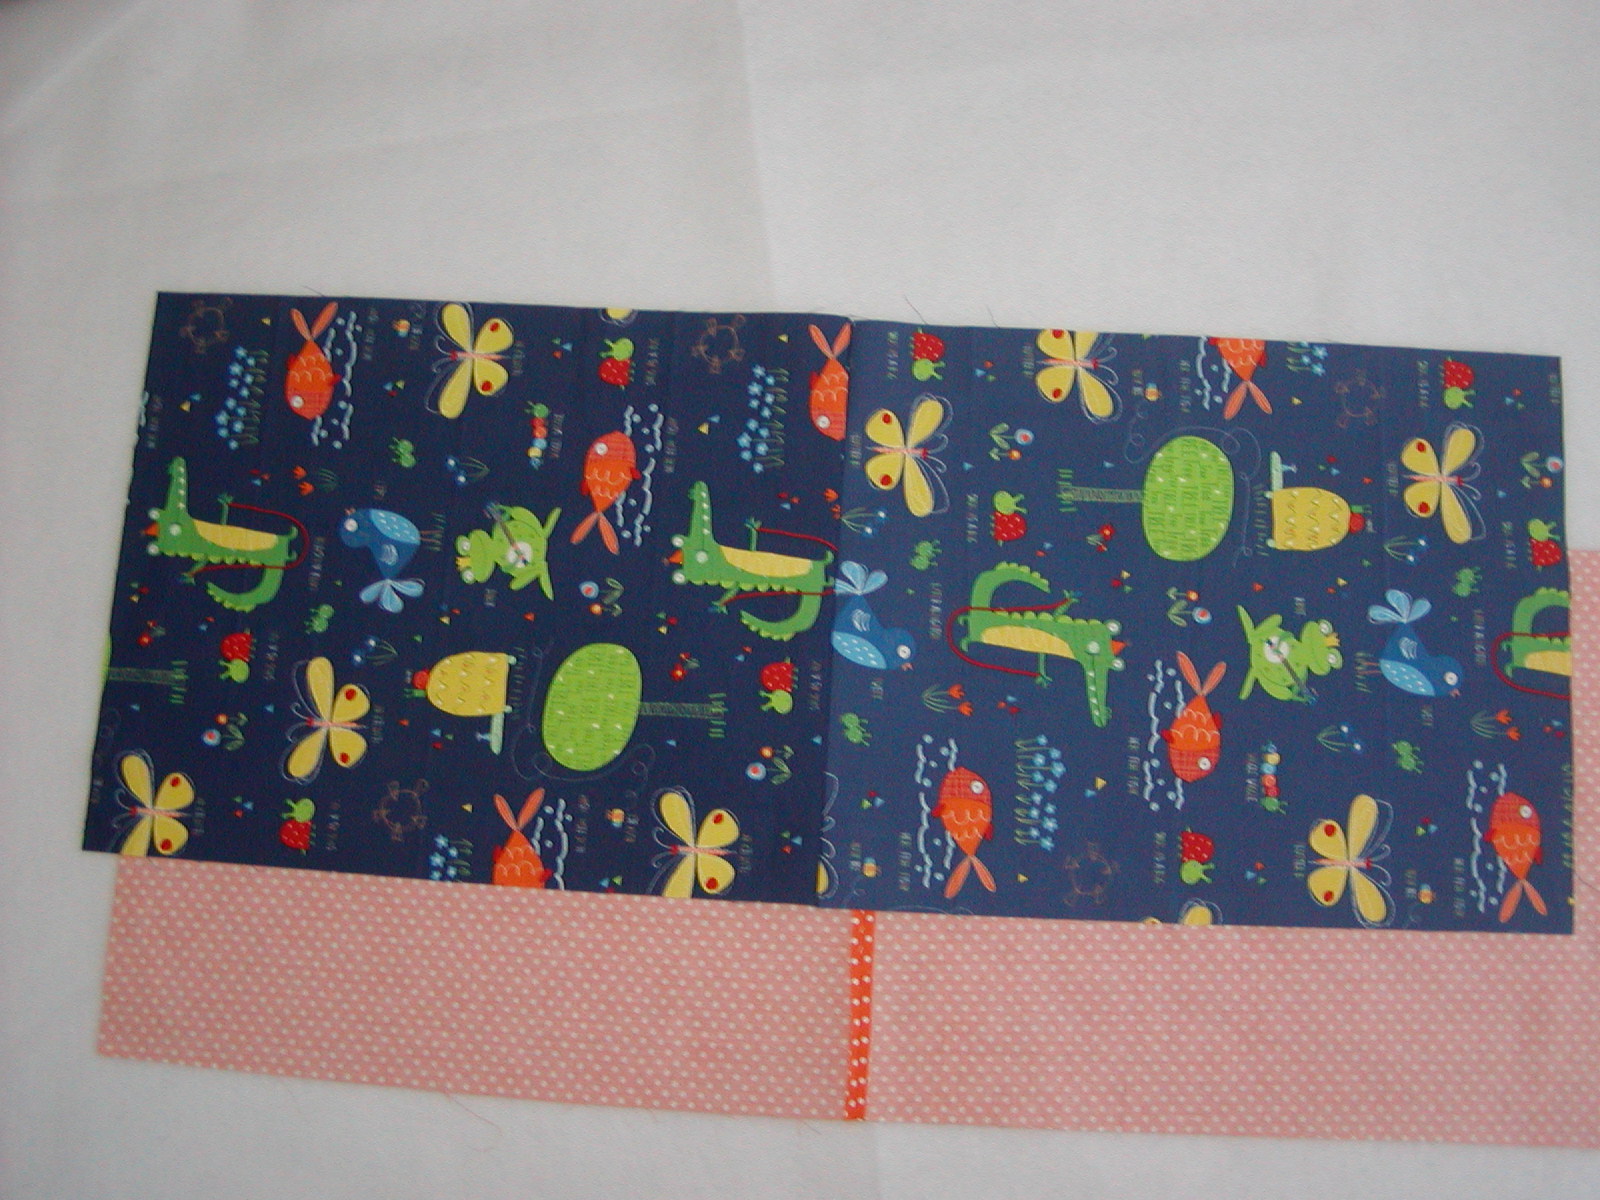
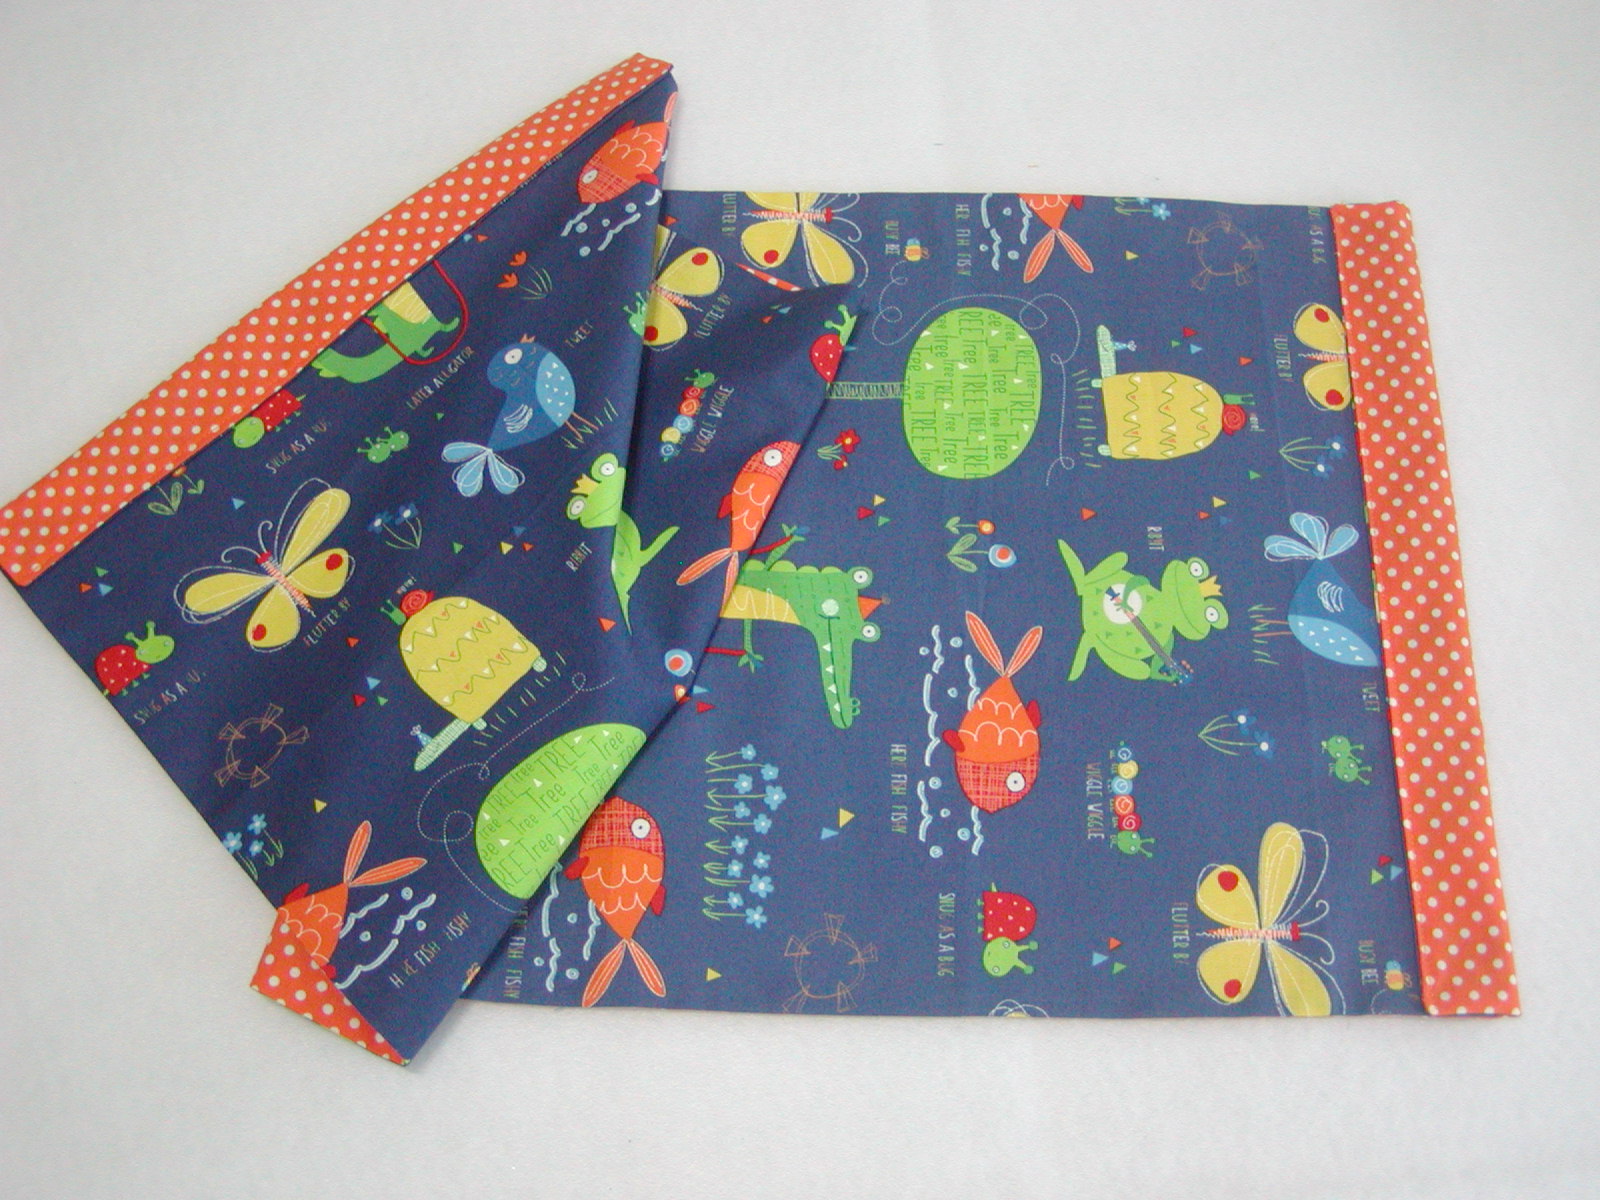
Place the two lining pieces right sides together. (I added some Dottie in orange for my lining.)
Sew them together on the 13” (16”) side. Repeat with the remaining two outer pieces. Press seams open.
Lay these pieces Right Sides together and stitch 1/4" around the outside leaving approximately 3-4 inches open for turning the bag.

Clip corners and turn right side out. Give it a quick press.
At this point you may want to sew the opening closed OR you can sew it up when you sew up the sides.
Fold down to the outside about 1-1/4” (2”) on both short sides and stitch close to the edge of the folded piece. This becomes the casing for the string.

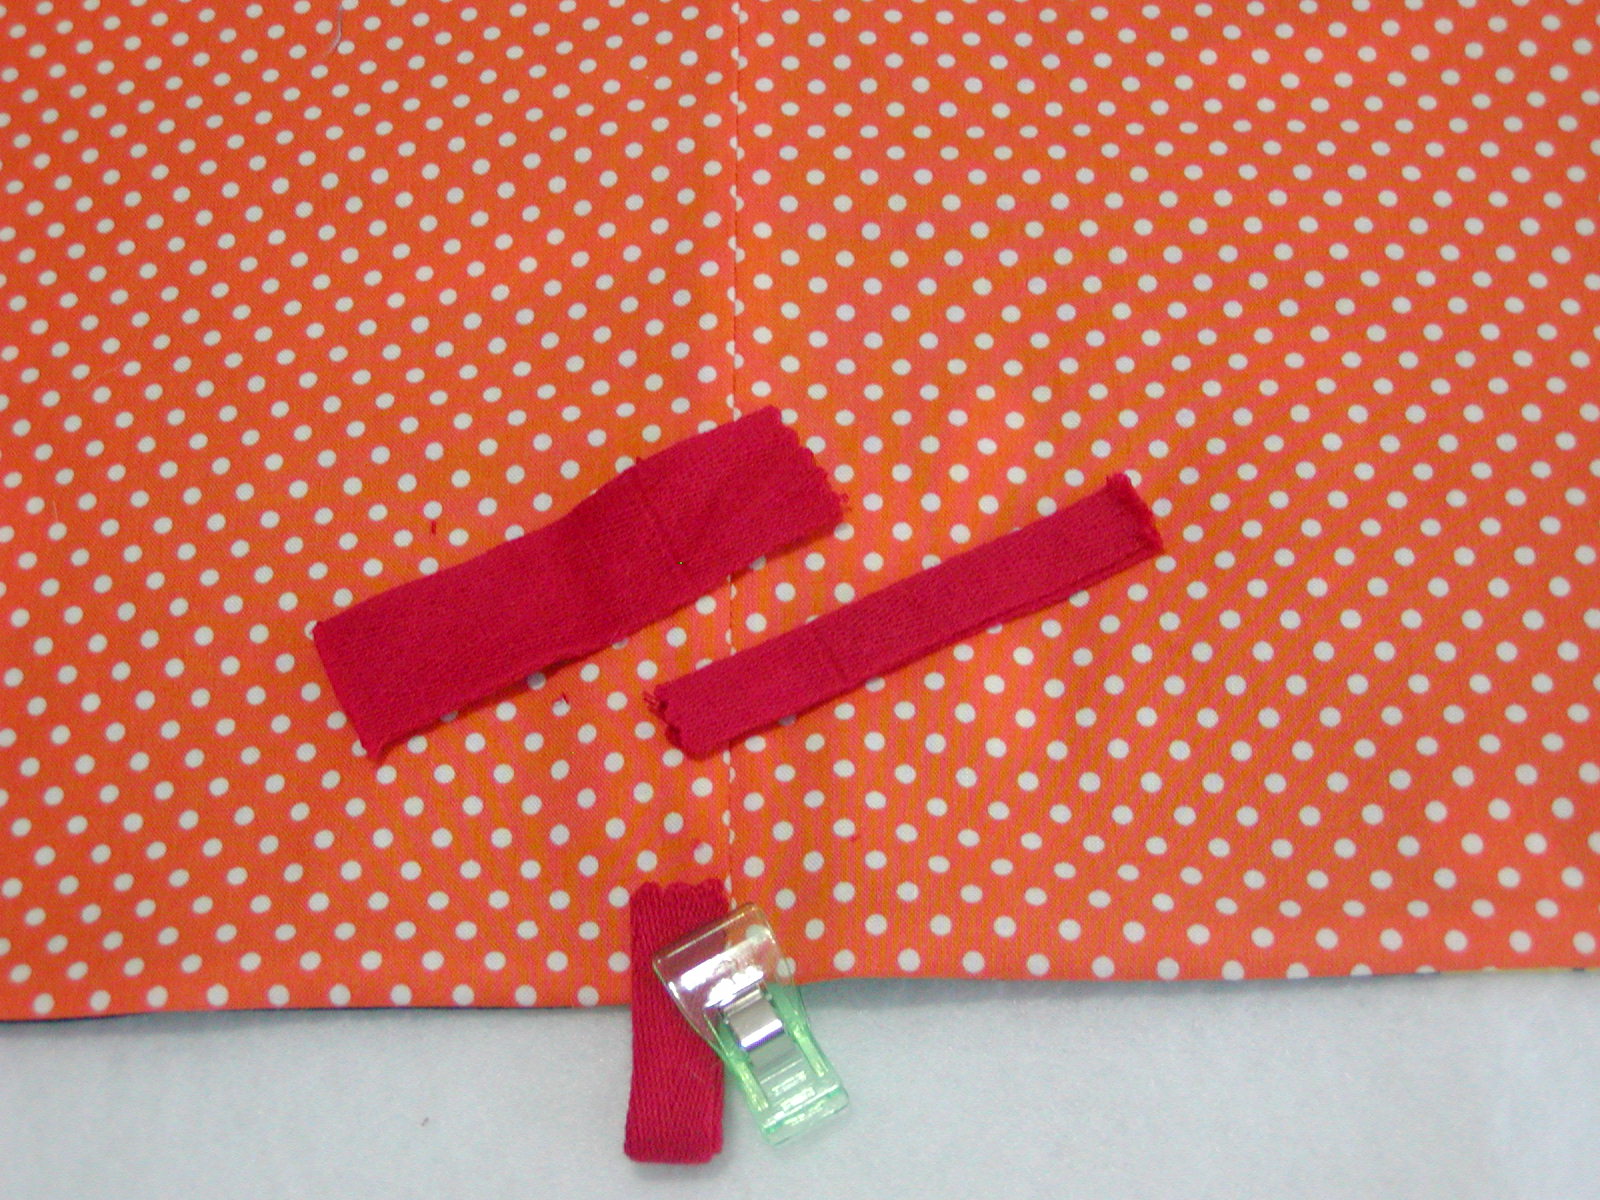
Next, fold the twill tape in half lengthwise then again matching the short raw edges, making it 1-1/2" by 1/2" doubled.
Place it half way down the long side of your sewn rectangle on both sides, loop sticking out and tack in place.
(Note: You can also tuck it in when sewing up the side seams.)
The rectangle gets folded in half matching up the short sides.

Stitch up the side seams back tacking over the twill tape continuing to just below the casing. Back tack here as well.
I like to use a 1/4" seam because I love to see the inside fabric peeking out on the sides. If you prefer a tidier look, use a 1/8" seam. Either way just be sure to catch the opening from when you turned the rectangle right sides out if you didn’t stitch it closed when you turned it.
Thread the cord through both sides of the casing and tie it in a knot through the twill loops.

Done! Done? Yes DONE! This bag? Just under 30 minutes.
Alternate Option:
Working with 4 different fat quarters, I often just use them as is – each piece of the bag is a different fabric.

If you prefer a more symmetrical look this is all you need to do:
Cut the Fat Quarters 13” by 16-1/2” (16” by 20-1/2”) then cut each in half.
From each fat quarter you will now have 2 pieces 13” by 8-1/4” (16” by 10-1/4”)
Swap out the pieces (see below) and sew them back together.
Continue sewing the bag as directed above.

To add a zip pocket to the front:
From the pocket fabric and interfacing cut a rectangle 10” by 12”.
Apply the interfacing to the wrong side of the pocket fabric following manufactures directions.
Secure the ends of your zipper with a few stitches.
Place the outer fabric right side up on your cutting table.
Place the interfaced pocket right side down on the outer fabric, centered side to side and about 4-1/2” down from one of the short sides. Pin in place.
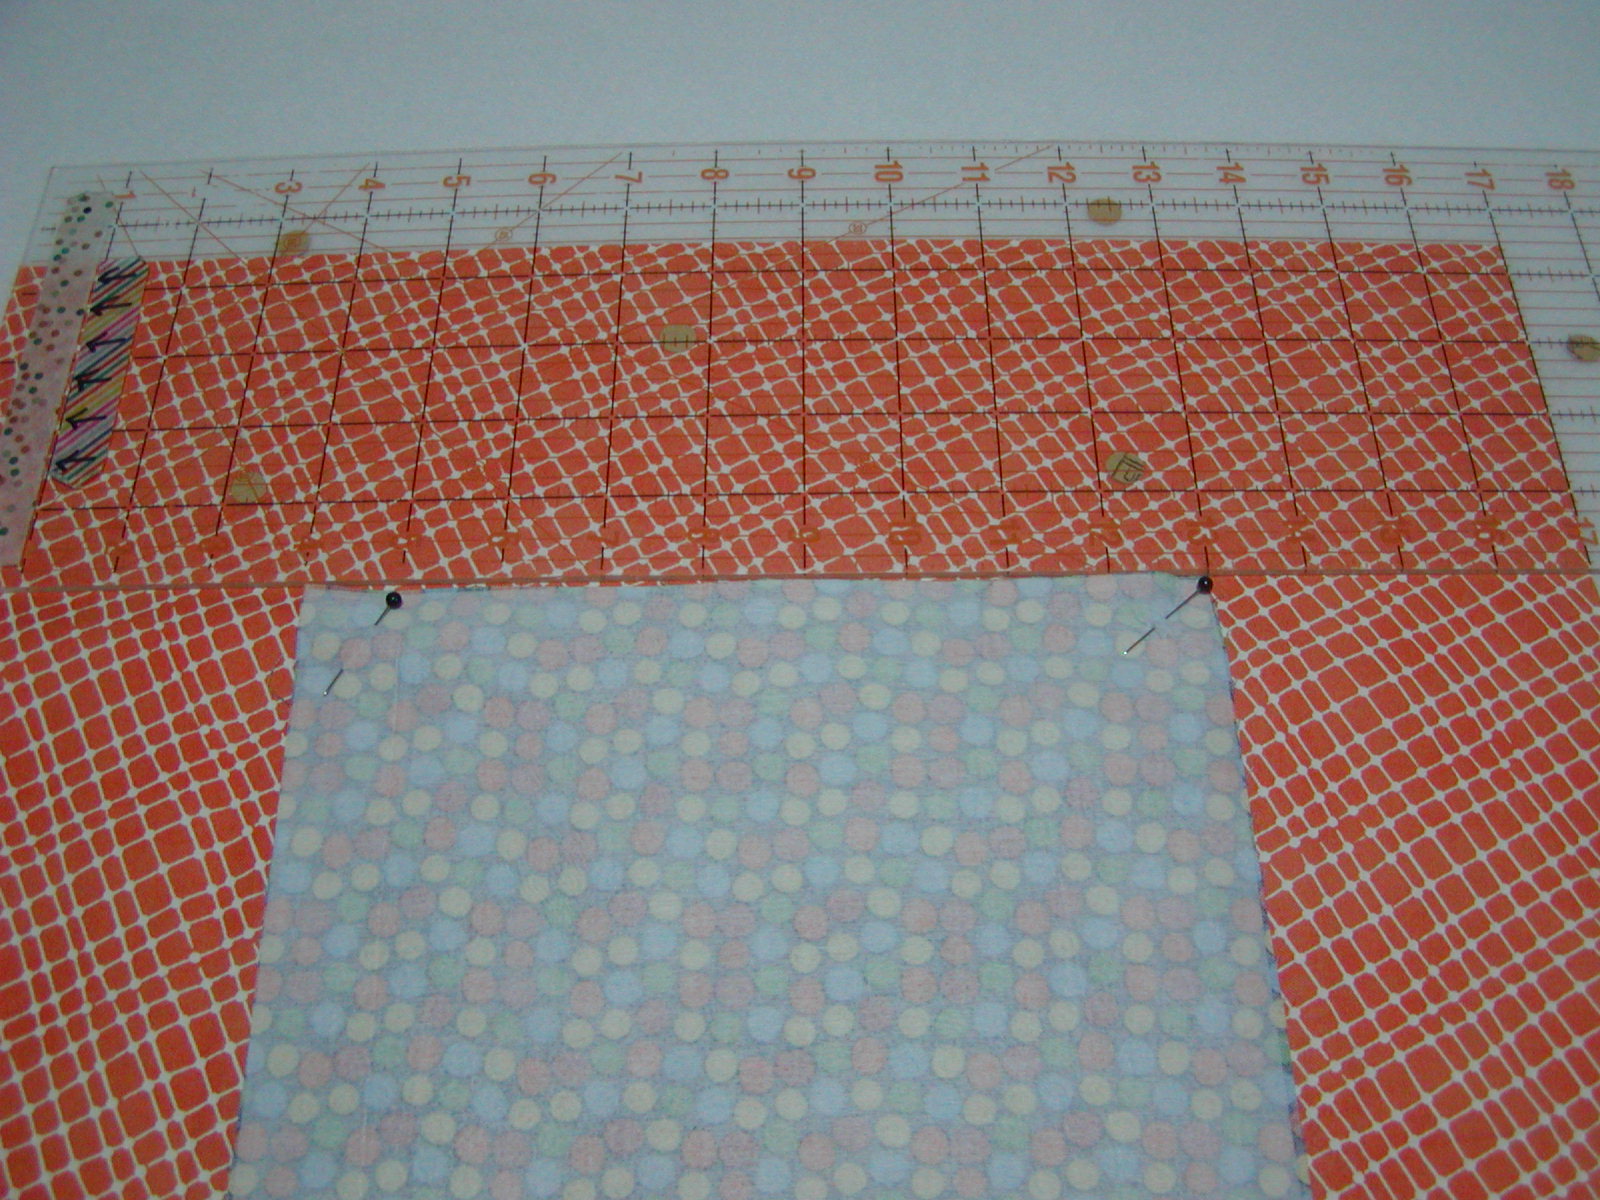
Measure the length of your zipper. It should measure 7” from the tab to the metal stop at the bottom.
Place the zipper on the interfacing, centered side to side, and one inch down from the top of the pocket.

Mark the interfacing at the center of the zipper on either side.
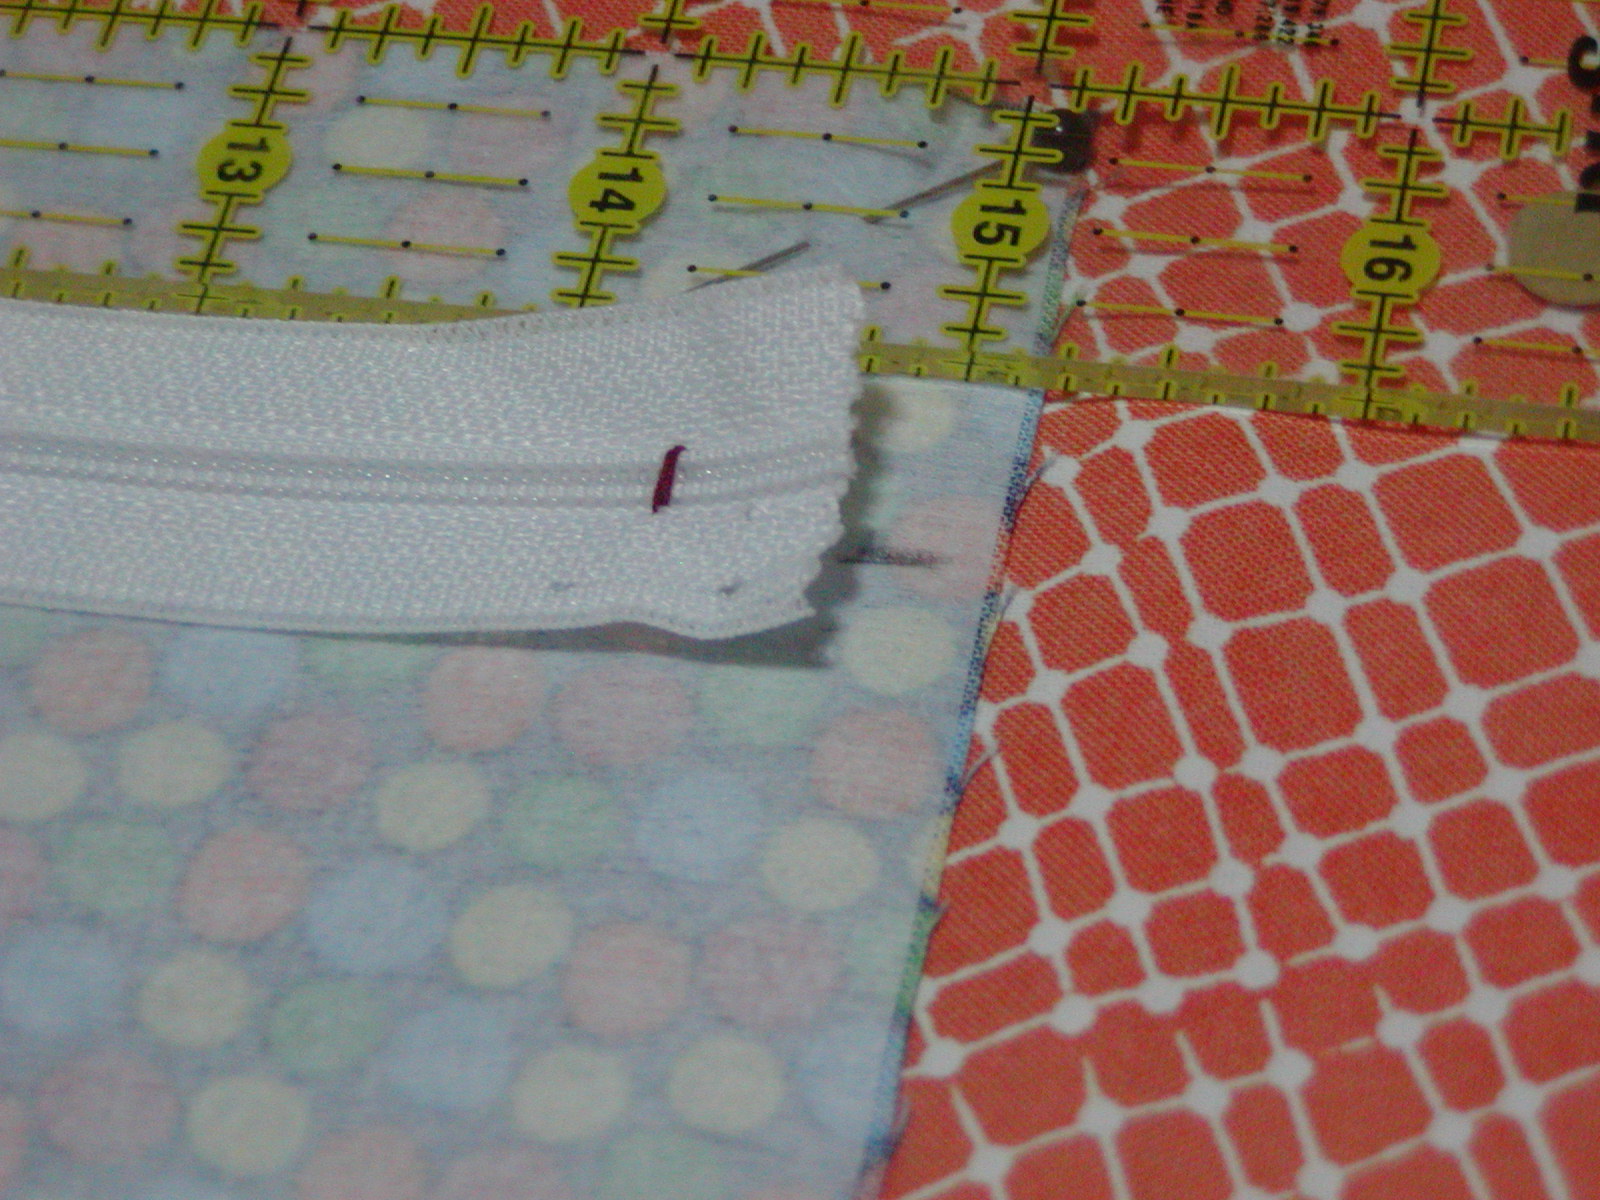
Slide the zipper down and make a line as long as your zipper measurement between the tab and metal stop at the bottom.

Draw a line a scant 1/4" above and below this line and mark side lines to complete the rectangle.
Draw arrows on both ends pointing towards the center.
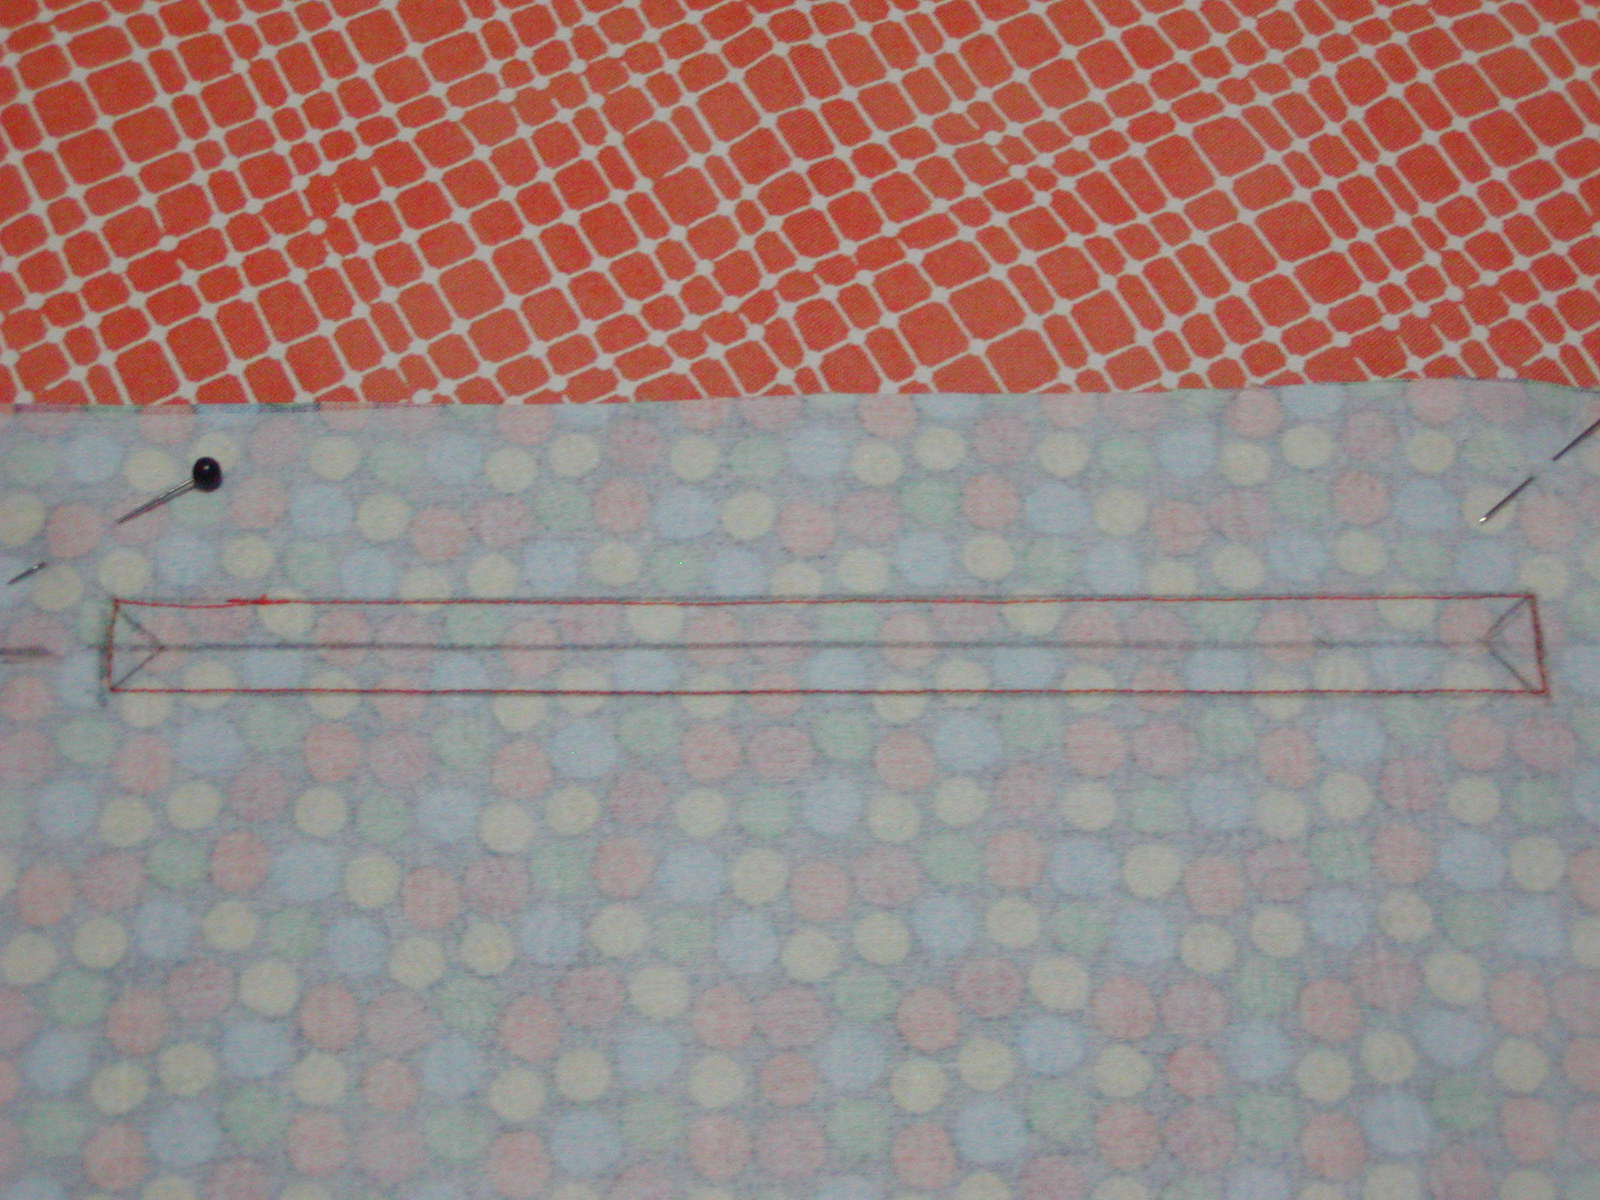
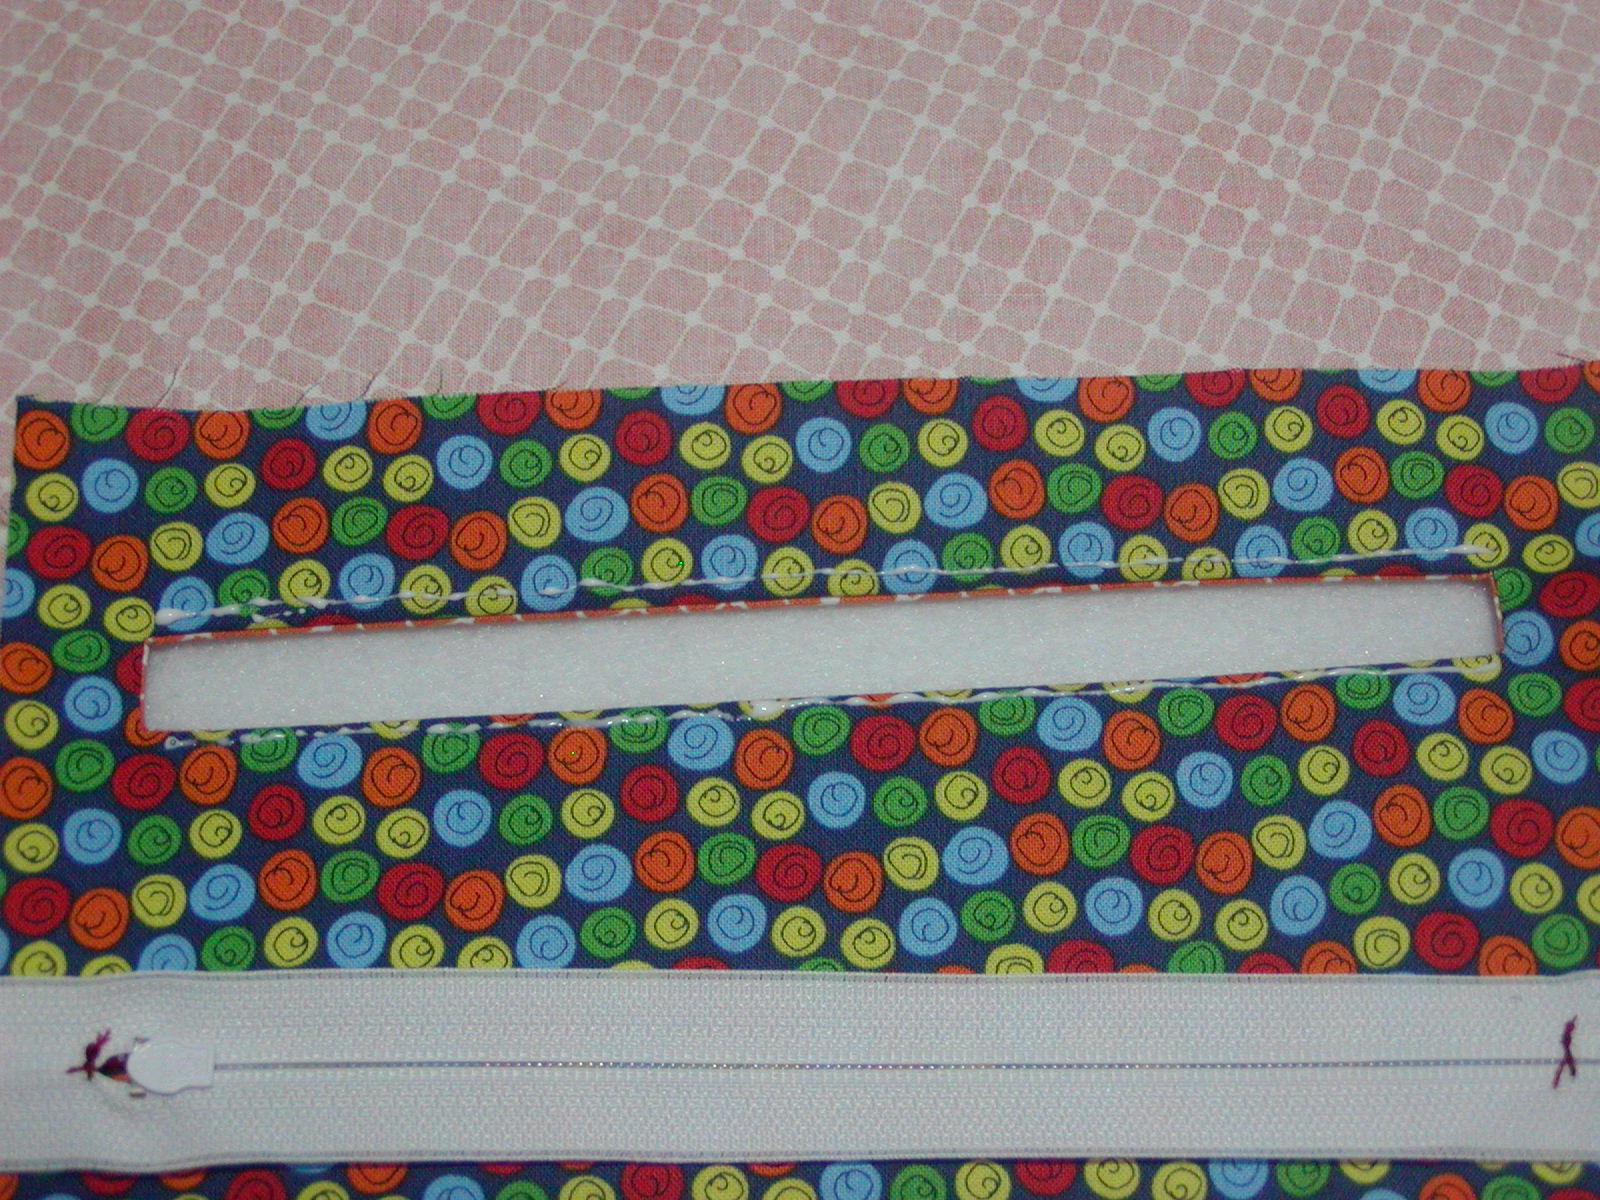
Stitch around the outer rectangle only.

Use your seam ripper or a very sharp pair of scissors and cut the line through all layers but do not cut past the points of the arrows.
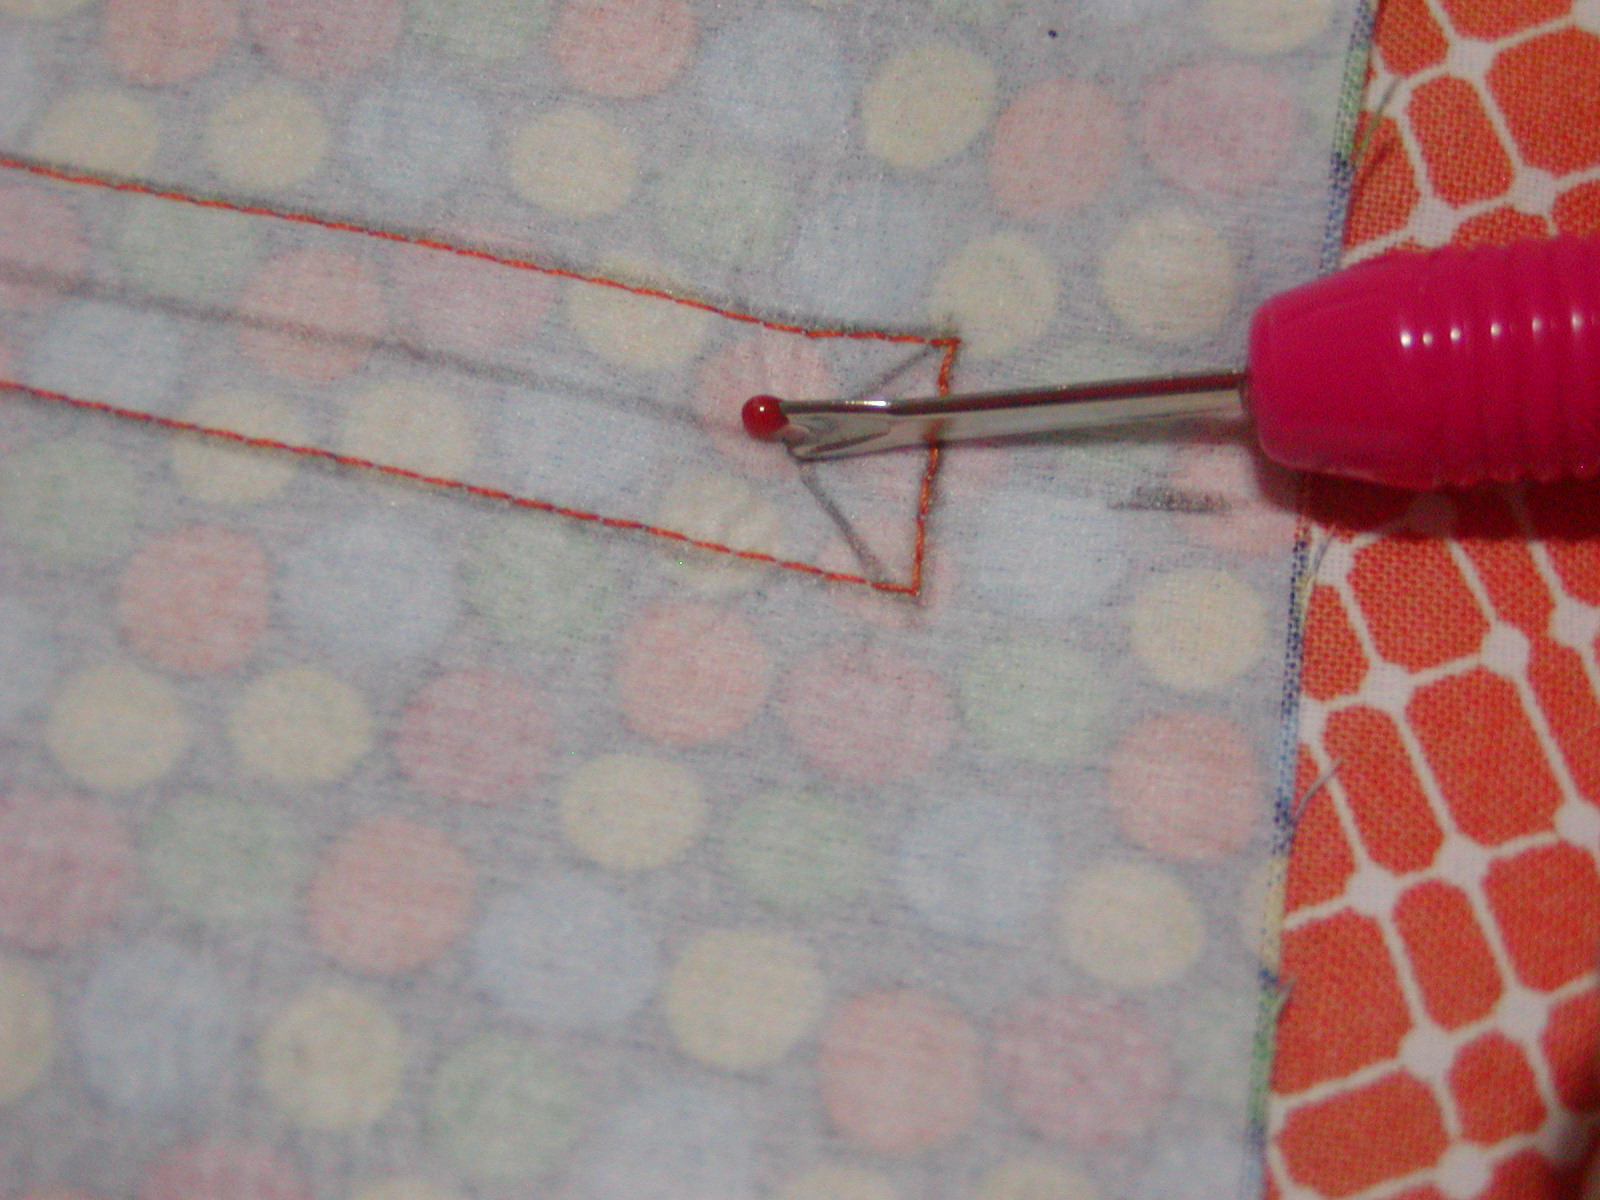
Next snip the arrows as close to the corners as you can get without cutting the stitched line.

Tuck the pocket inside of the slit you just cut and press it flat.

Ready for the BEST tip you will ever have regarding zippers? Use a bit of white school glue to glue it in place.
Run a thin line of glue around the zipper opening.
Center the zipper behind the opening. Press the zipper with no steam to set the glue.

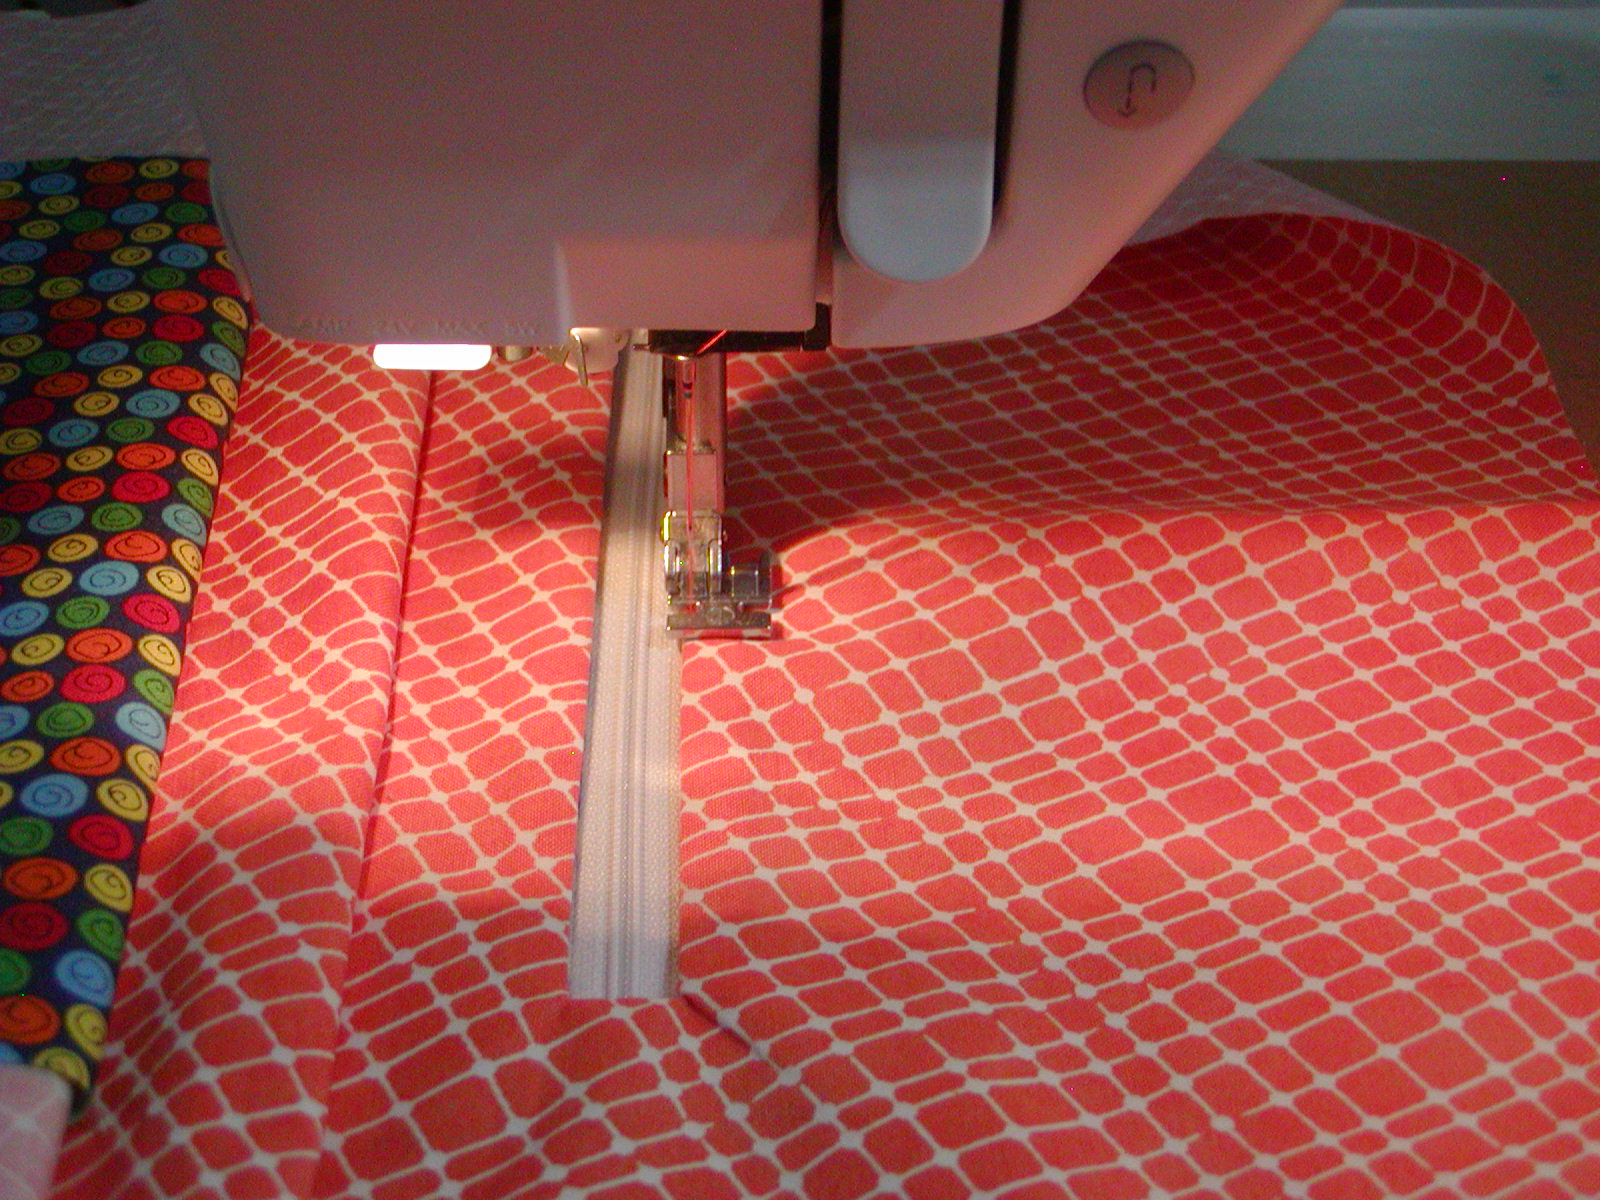
On the right side, using your zipper foot, topstitch around the opening.
Fold the pocket in half, right sides together and stitch around the perimeter to close up the pocket.

Continue with the bag construction as above.

That wasn't so bad, right?
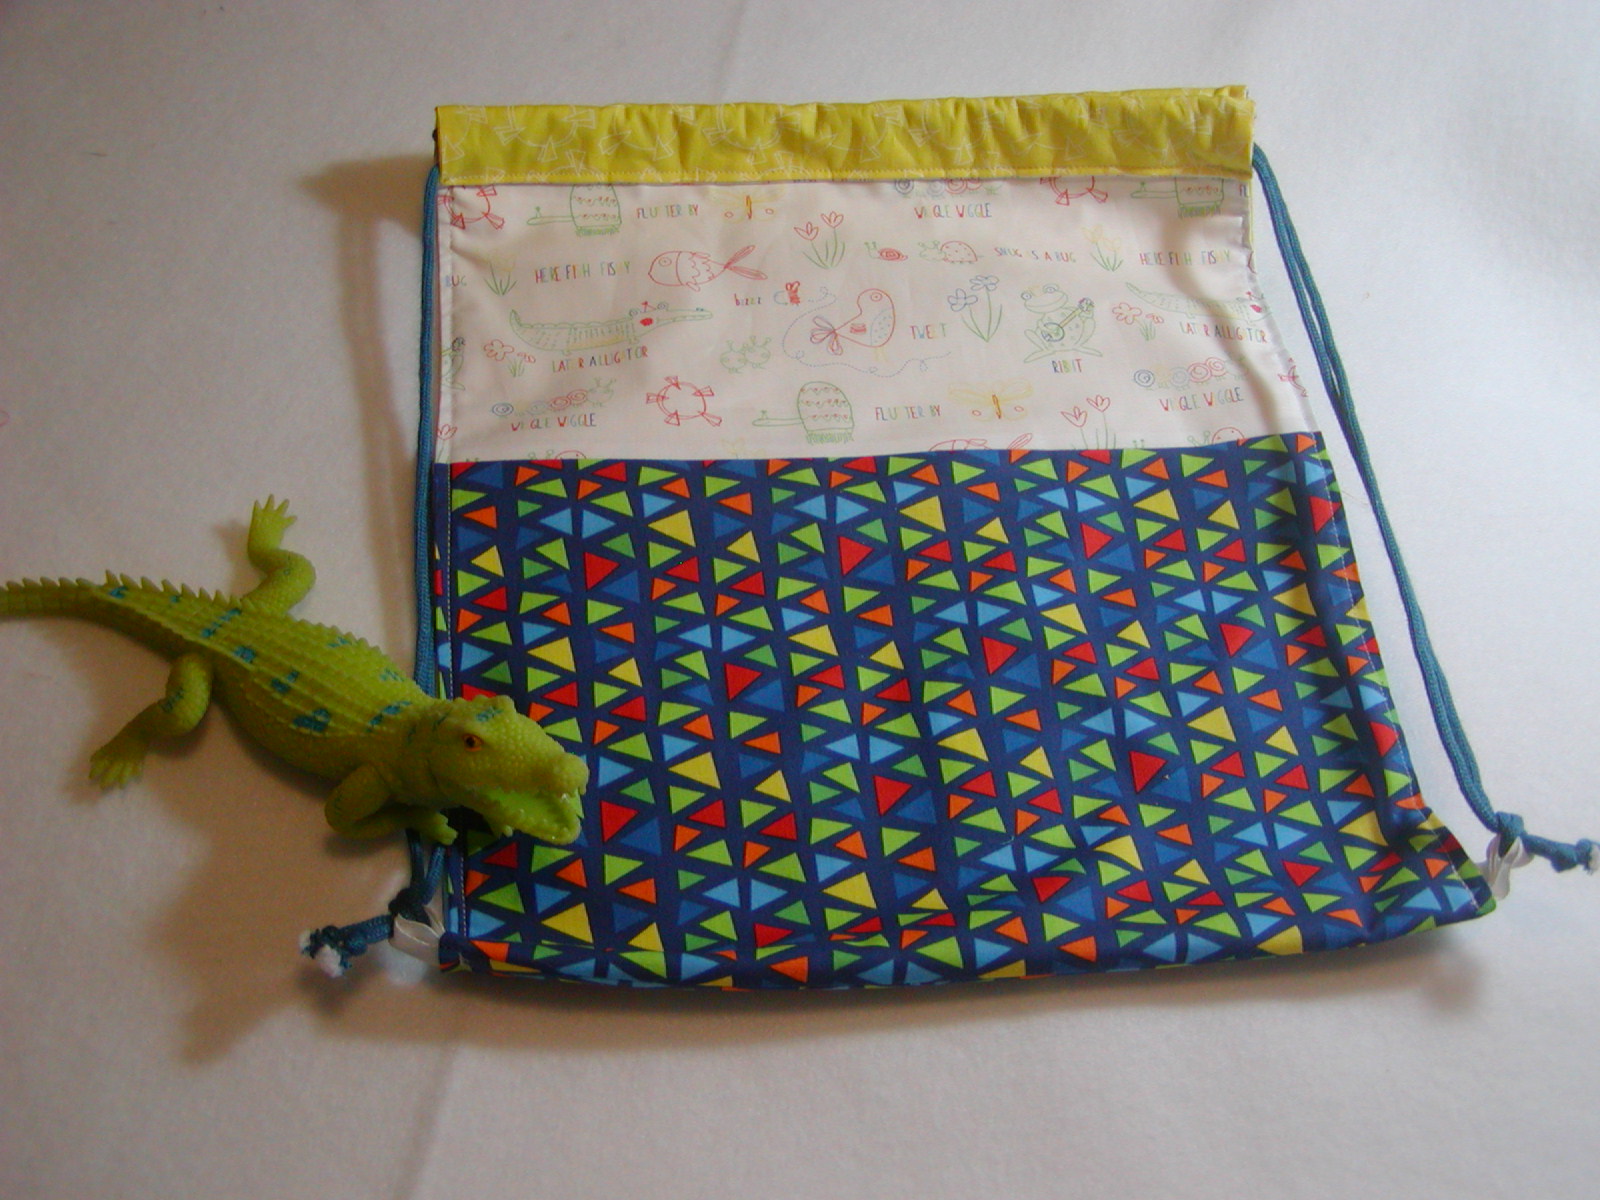
![]()
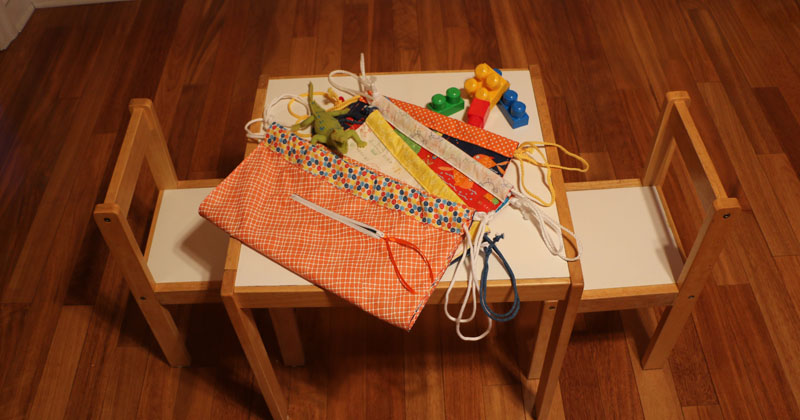
Four simple Fat Quarters make either and adult or child's string backpack!
I hope you enjoy making these Fast Four FQ Backpacks. The ones I made here are headed to a local women and children’s shelter. It would be so awesome if you would consider making an extra to share. As always, if you do get a chance to make one (or a dozen) be sure to tag me @TheQuiltedB and use #fffqb. Nothing makes a maker happier than to see her makes made!
Now go sew!
Barbara Esposito
instagram: @TheQuilteB
![]()
Posted in:
Comments