Welcome to Moda Fabrics!
Dates & reminders...
Dates & reminders...
It's coming ~ National International Sew A Jelly Roll Day!
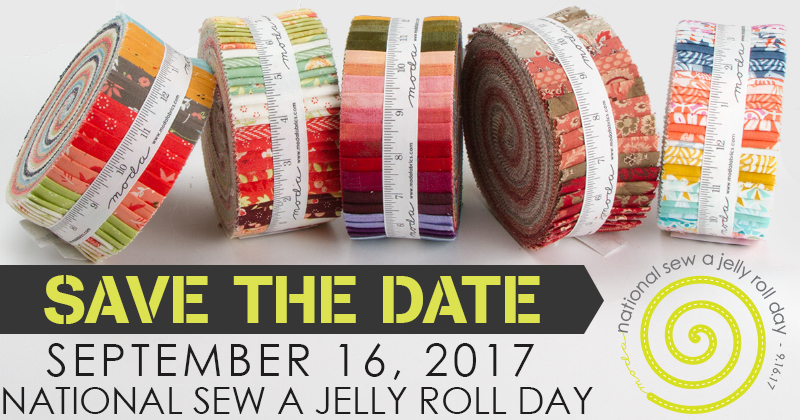
We're going to be celebrating Jelly Rolls by having a big event with sewing, games, snacks, prizes and more sewing. Saturday, September 16 - Save the Date!
For more information - Project Jelly Roll!
There will be more information coming here too - free patterns, Jelly Roll ideas, maybe a giveaway. But since this is less than two months away, you'd better start getting ready! (We might even have a checklist to share about that too... coming soon.)
September will be a big month as the deadline for Moda's Modern Bella Challenge is Tuesday, September 12.

If you missed it, here's what you need to know:
- Make a quilt using all 12 of the Bella Solids shown above - and listed below.
- The quilt should have a contemporary feel. An art quilt? That will work. A modern pieced quilt? That works too.
- Any type of technique can be used – piecing, appliqué, quilting, embroidery, surface embellishment, etc.
- Quilts must be an original design.
- Quilts must measure 72″ wide x 90″ long finished size and they must be quilted. (Quilt tops will not be judged.)
- A label with the name, address and contact information of the Maker and the Quilter – if different – must be on the back of the quilt.
- There is no limit to the number of entries – or to the number of entries from each quilter.
- International entries will be accepted.
The deadline for entries is Tuesday, September 12, 2017.
The Bella Solid colors are:
- White – 9900 98
- Betty’s Red – 9900 123
- Mango – 9900 222
- Purple – 9900 21
- Summer House Lime – 9900 173
- Amelia Blue – 9900 167
- Graphite – 9900 202
- Smoke – 9900 316
- Yellow – 9900 24
- Silver – 9900 183
- Lead – 9900 283
- Black – 9900 99
One quick project to share with you today... after seeing pictures on Pinterest, I wondered how hard it would be to make a wristlet-keychain thing.
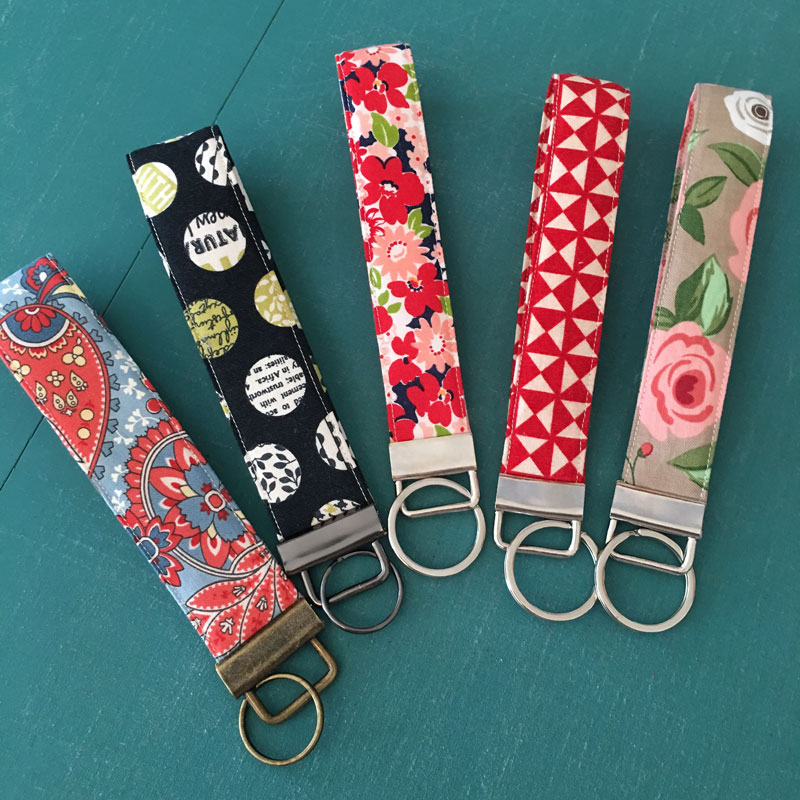
Not. Hard. At. All.
It turns out we have all the tools!
- Lazy Girl Key Fob Hardware - Nickel ~ 1-1/4" wide
- Lazy Girl Key Fob Hardware - Dark Slate ~ 1-1/4" wide
- Lazy Girl Key Fob Hardware - Antique Brass ~ 1-1/4" wide
- Dritz Key Fob Hardware - Nickel ~ 1" wide
- Lazy Girl Key Fob Pliers
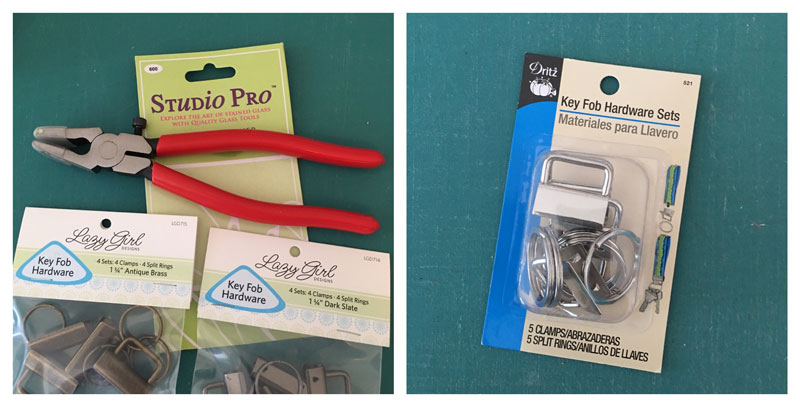
While you don't absolutely need the pliers, I found that they did make the job a whole lot easier and I didn't scratch the surface. (Been there, done that.)
I cut a 2-1/2" wide x 13" long strip of fabric for the 1" hardware and a 3" x 13" strip for the 1-1/4" hardware.. Fold the fabric with right sides together to make a long tube. Stitch a scant 1/4" seam allowance. Press the seam open - centering the seam on the tube. It's okay if the seam is a little wobbly or not exactly in the center, it's easy to straighten that out when the tube is turned right-side-out. The key is getting the seam pressed open.
Now turn the tube right side out - press again to get is smooth and flat.

Cut a 1" x 13" or 1-1/4" strip of fusible fleece or leftover batting - make sure the batting is fairly flat and not too stretchy, something like Warm & Natural. I have used the Lazy Girl Fusible Fleece - it works beautifully. Using a safety pin or a long bodkin-thing, pull the batting-fleece strip into the tube. Adjust as necessary to get the batting-fleece flat and smooth. Press - a little steam helps.
Note: Some folks like to use cotton-webbing or purse strapping instead of batting but I think it makes the key fob a little stiff. But that's just me. I also like leftover batting or fusible fleece because I always have those on hand. Webbing? Not so much.
Top-stitch on both sides of the flat tube as desired. Trim the tube to 12" long. Now fold the tube in half and stitch across the edges a 1/4" away from the end. 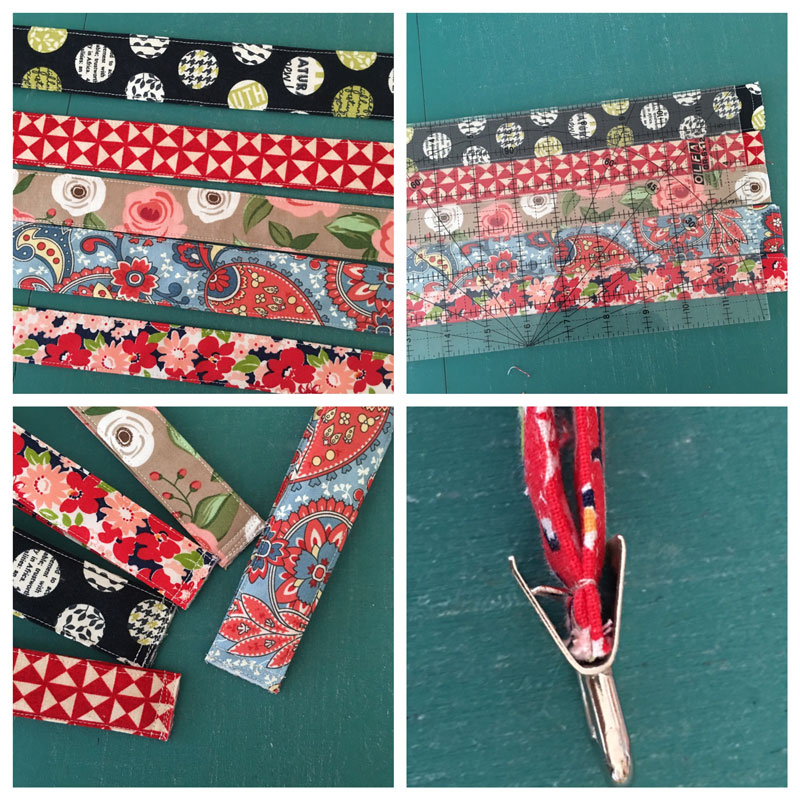
There isn't any magical reason for doing this, I just found it a whole lot easier to keep the ends straight, even and in the clamp when then were stitched together. But again, that's just me.
Position the clamp at the end - without the ring on it - at the end of the stitched end, making sure that the fabric end is all the way into the fold of the clamp.

Using the pliers - or pliers with tape wrapped around the ends - slowly, carefully close the clamp. When you're satisfied with the position, use the pliers to tighten the clamp completely. The point is to make it tight so that the fabric won't come loose from the clamp, especially after there are keys hanging from the end.
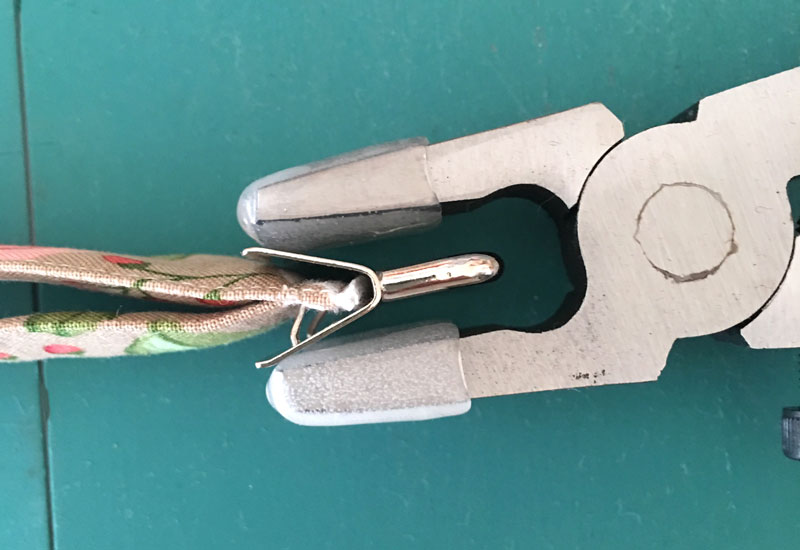
Some folks can put the open clamp into the pliers like this and keep it all smooth and even. I managed to do it on the fifth clamp I attached. So whatever works, right?
So how easy is that?
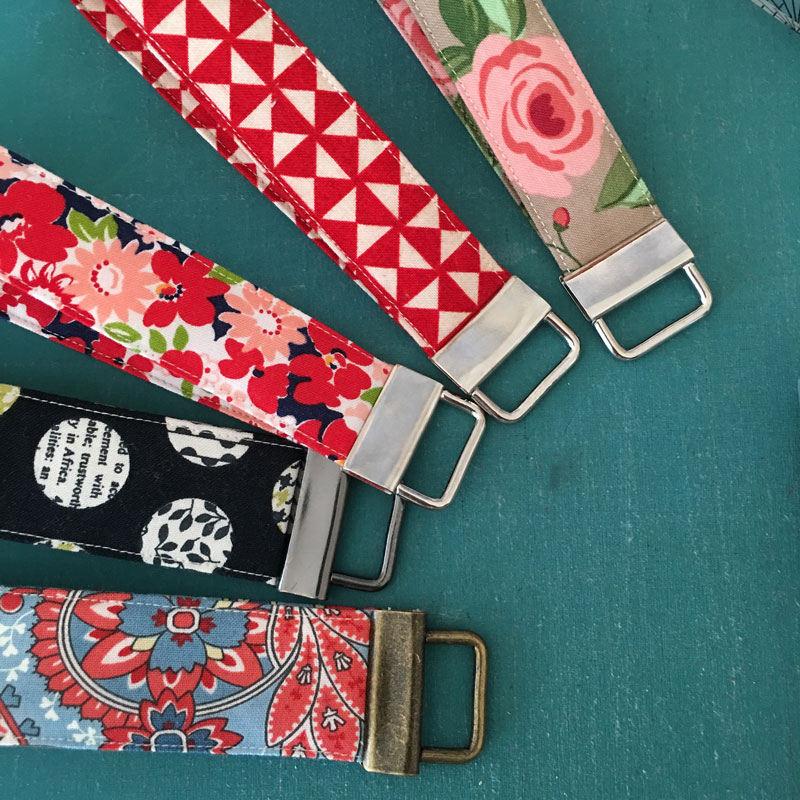
I made all five of these from start to finish - cutting the strips to adding the ring - in about 45 minutes. And that included taking pictures! They're fast, fun and they'll make great gifts for quilty and non-quilty friends.
One word about the hardware... I love the colors of the Lazy Girl Key Fob hardware but I really prefer the 1" size of the Dritz. The 1" size is also perfect for Jelly Roll strips... just saying.
A word of warning though... there is a downside to this.
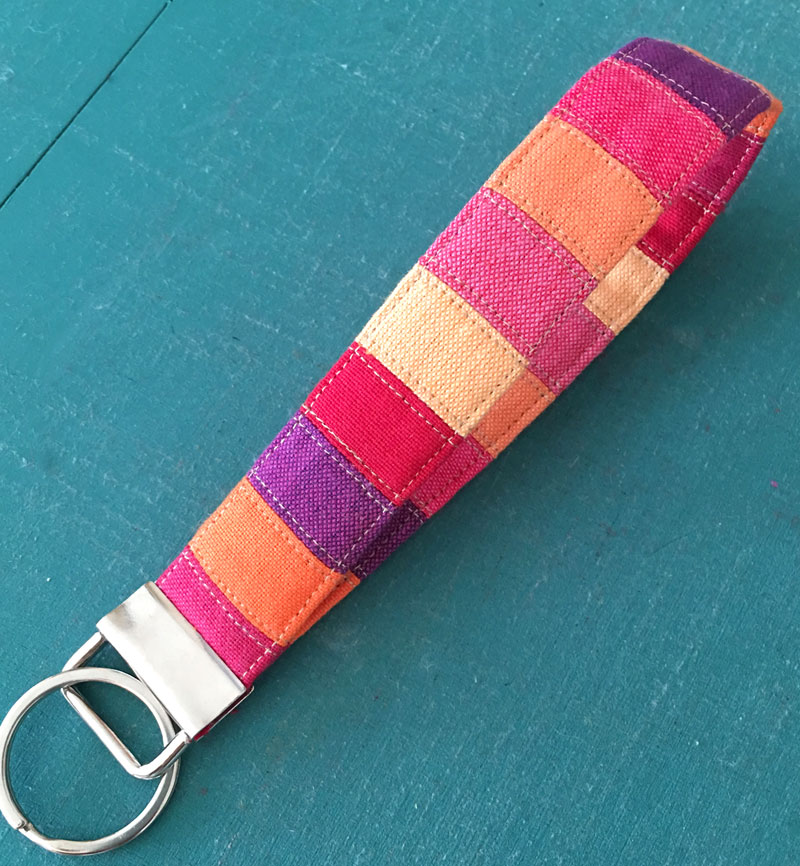
I just couldn't help myself.
Happy Tuesday!

Comments