Welcome to Moda Fabrics!
Stepping Stones Quilt
Stepping Stones Quilt
Published:
Sep 11 2016 - 23:00
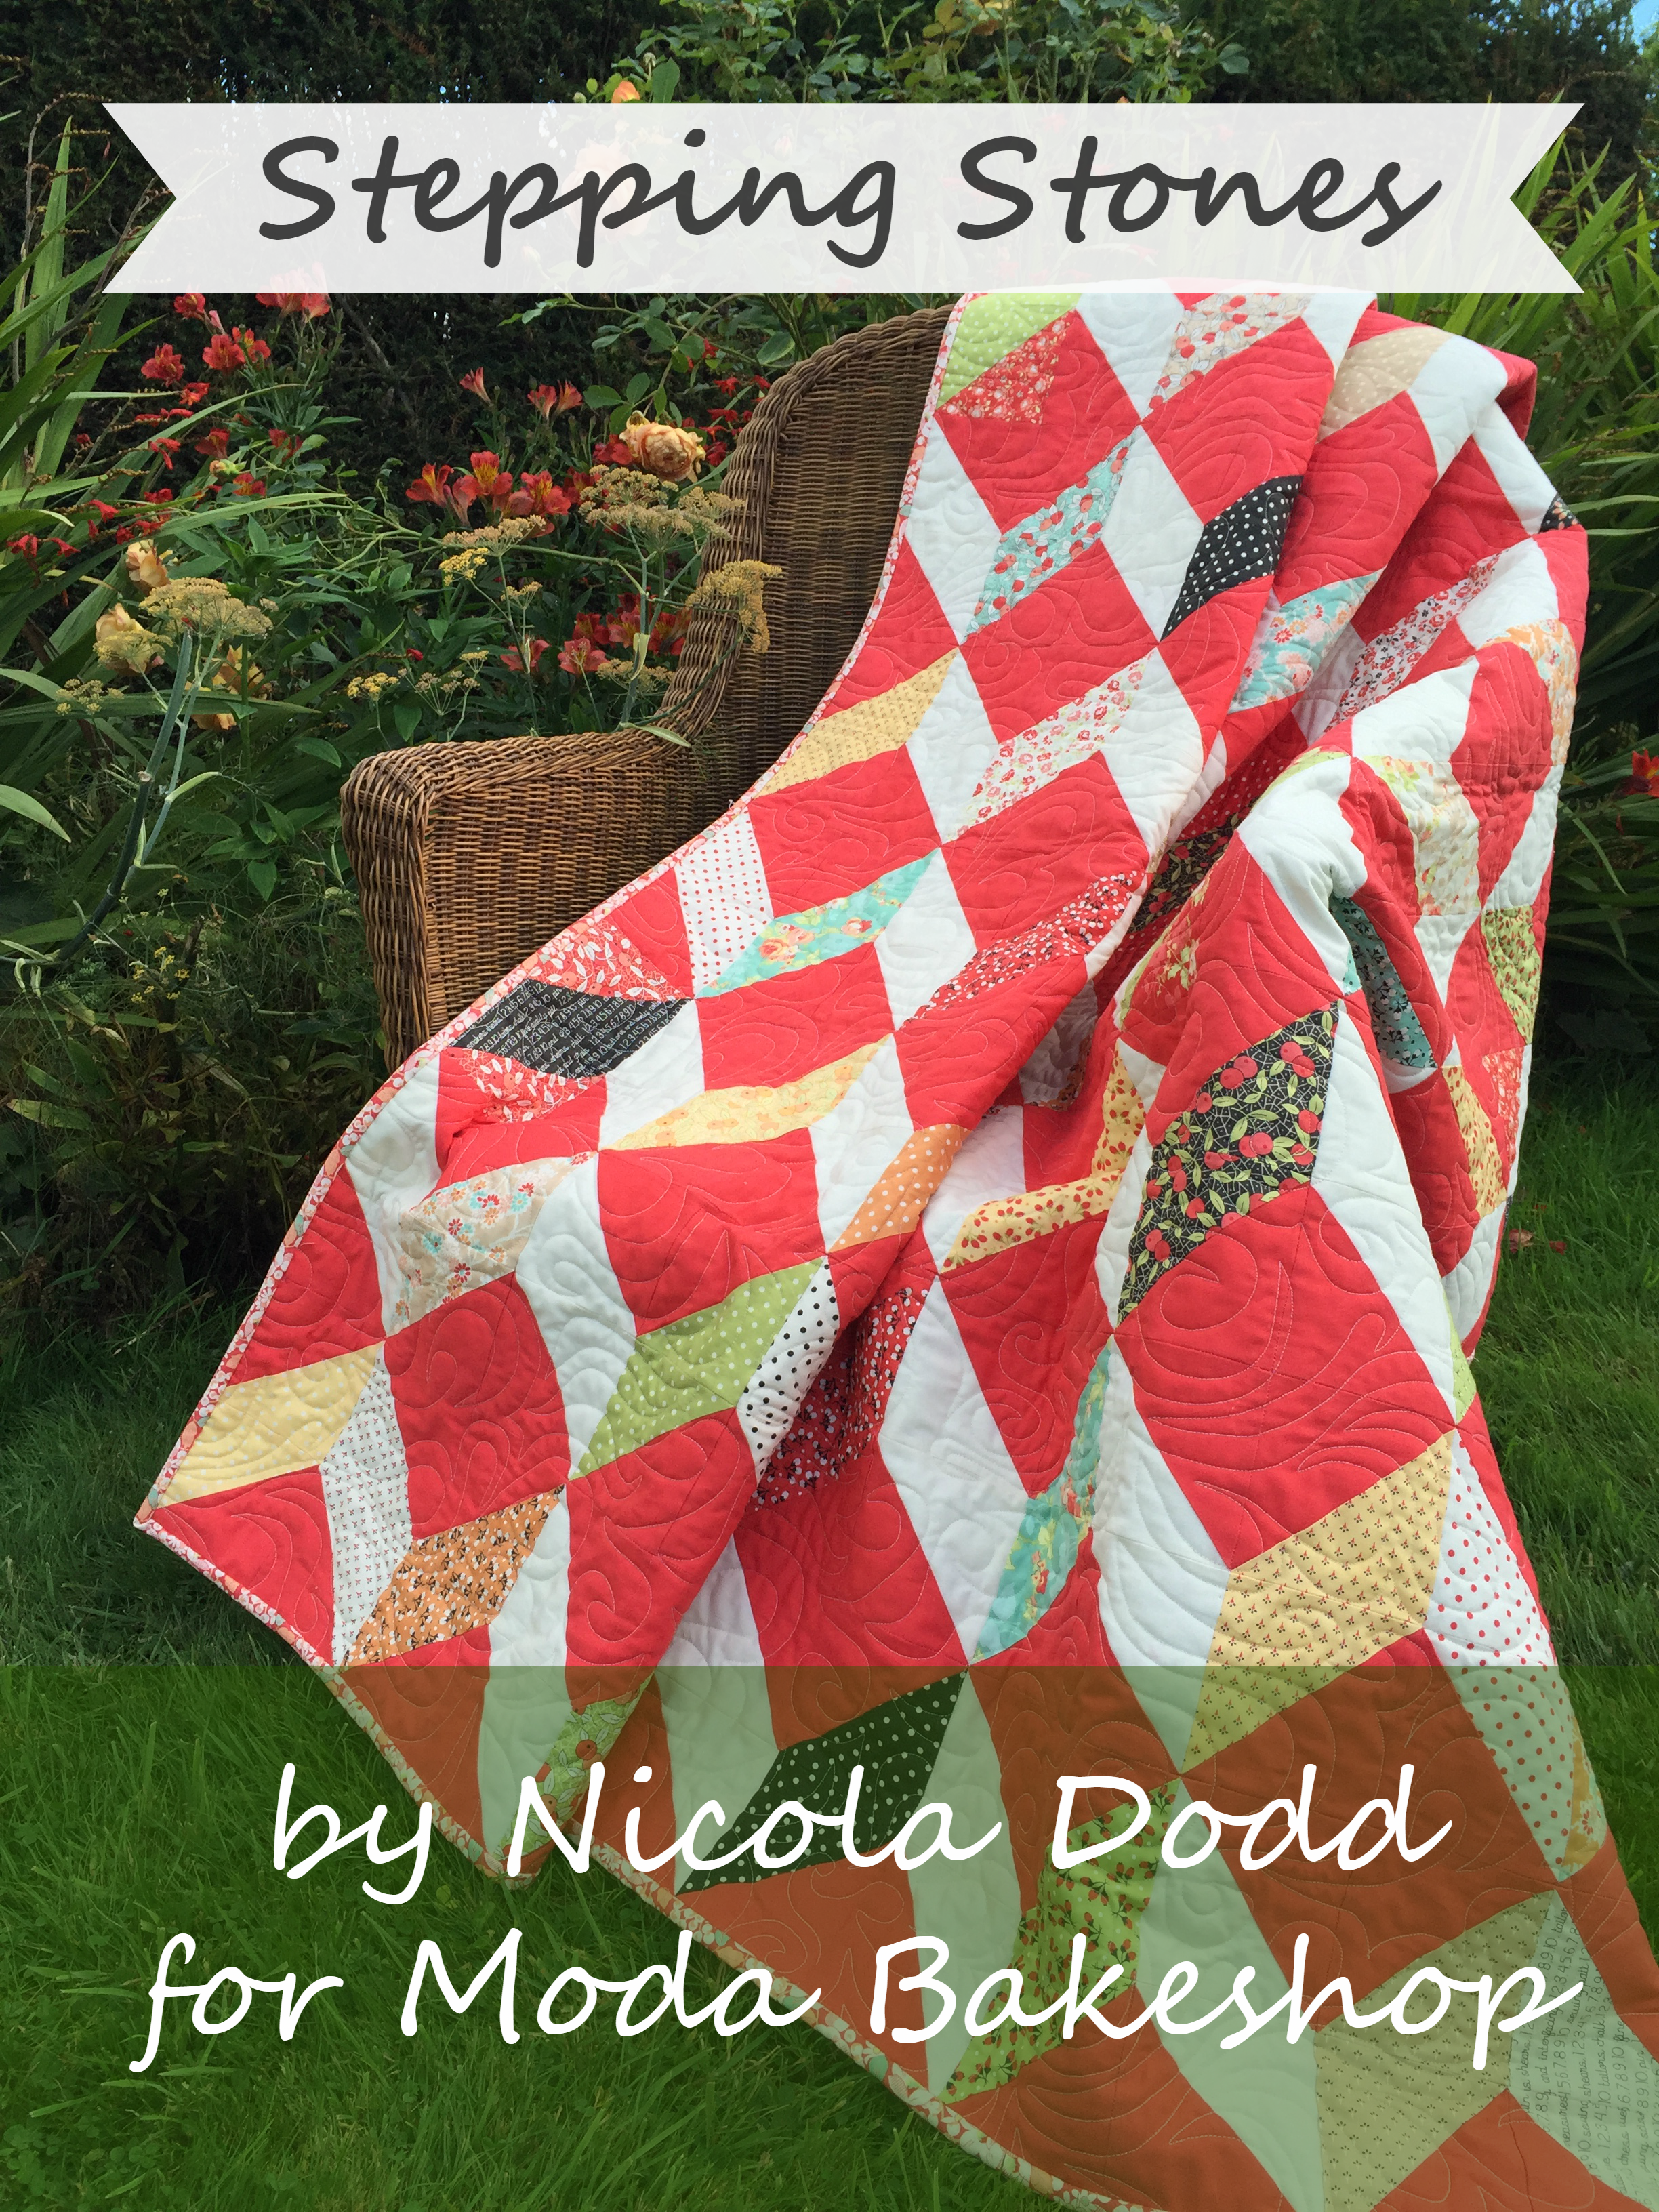

Hello! My name is Nicola Dodd from CakeStand Quilts and it’s so lovely to be back at the Moda Bakeshop to share a new recipe with you.
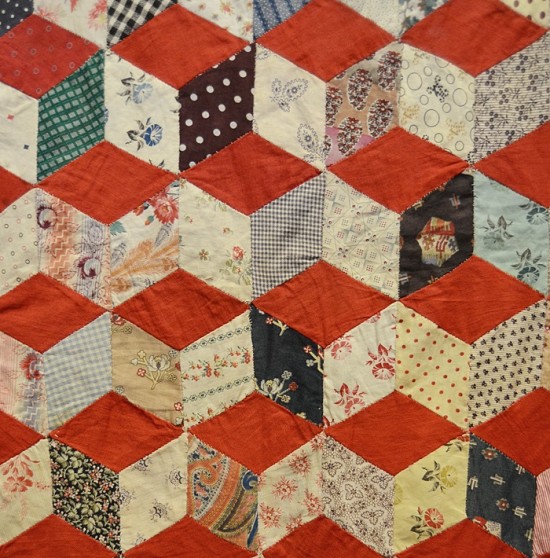
I don't have any quilters in my family - well, not that I know of! - but I am fascinated by antique quilts. My 'Stepping Stones' quilt was inspired by a beautiful, hand-pieced Tumbling Block quilt in the Gawthorpe Textile Collection, one of many treasures collected over a lifetime by Miss Rachel Kay-Shuttleworth (you can read more about this extraordinarily energetic lady here). The original quilt features a vibrant red fabric which enhances it's three-dimensional effect and the curators at Gawthorpe think it may have been pieced from a sample book (you can find out all about it on their Instagram account, here).
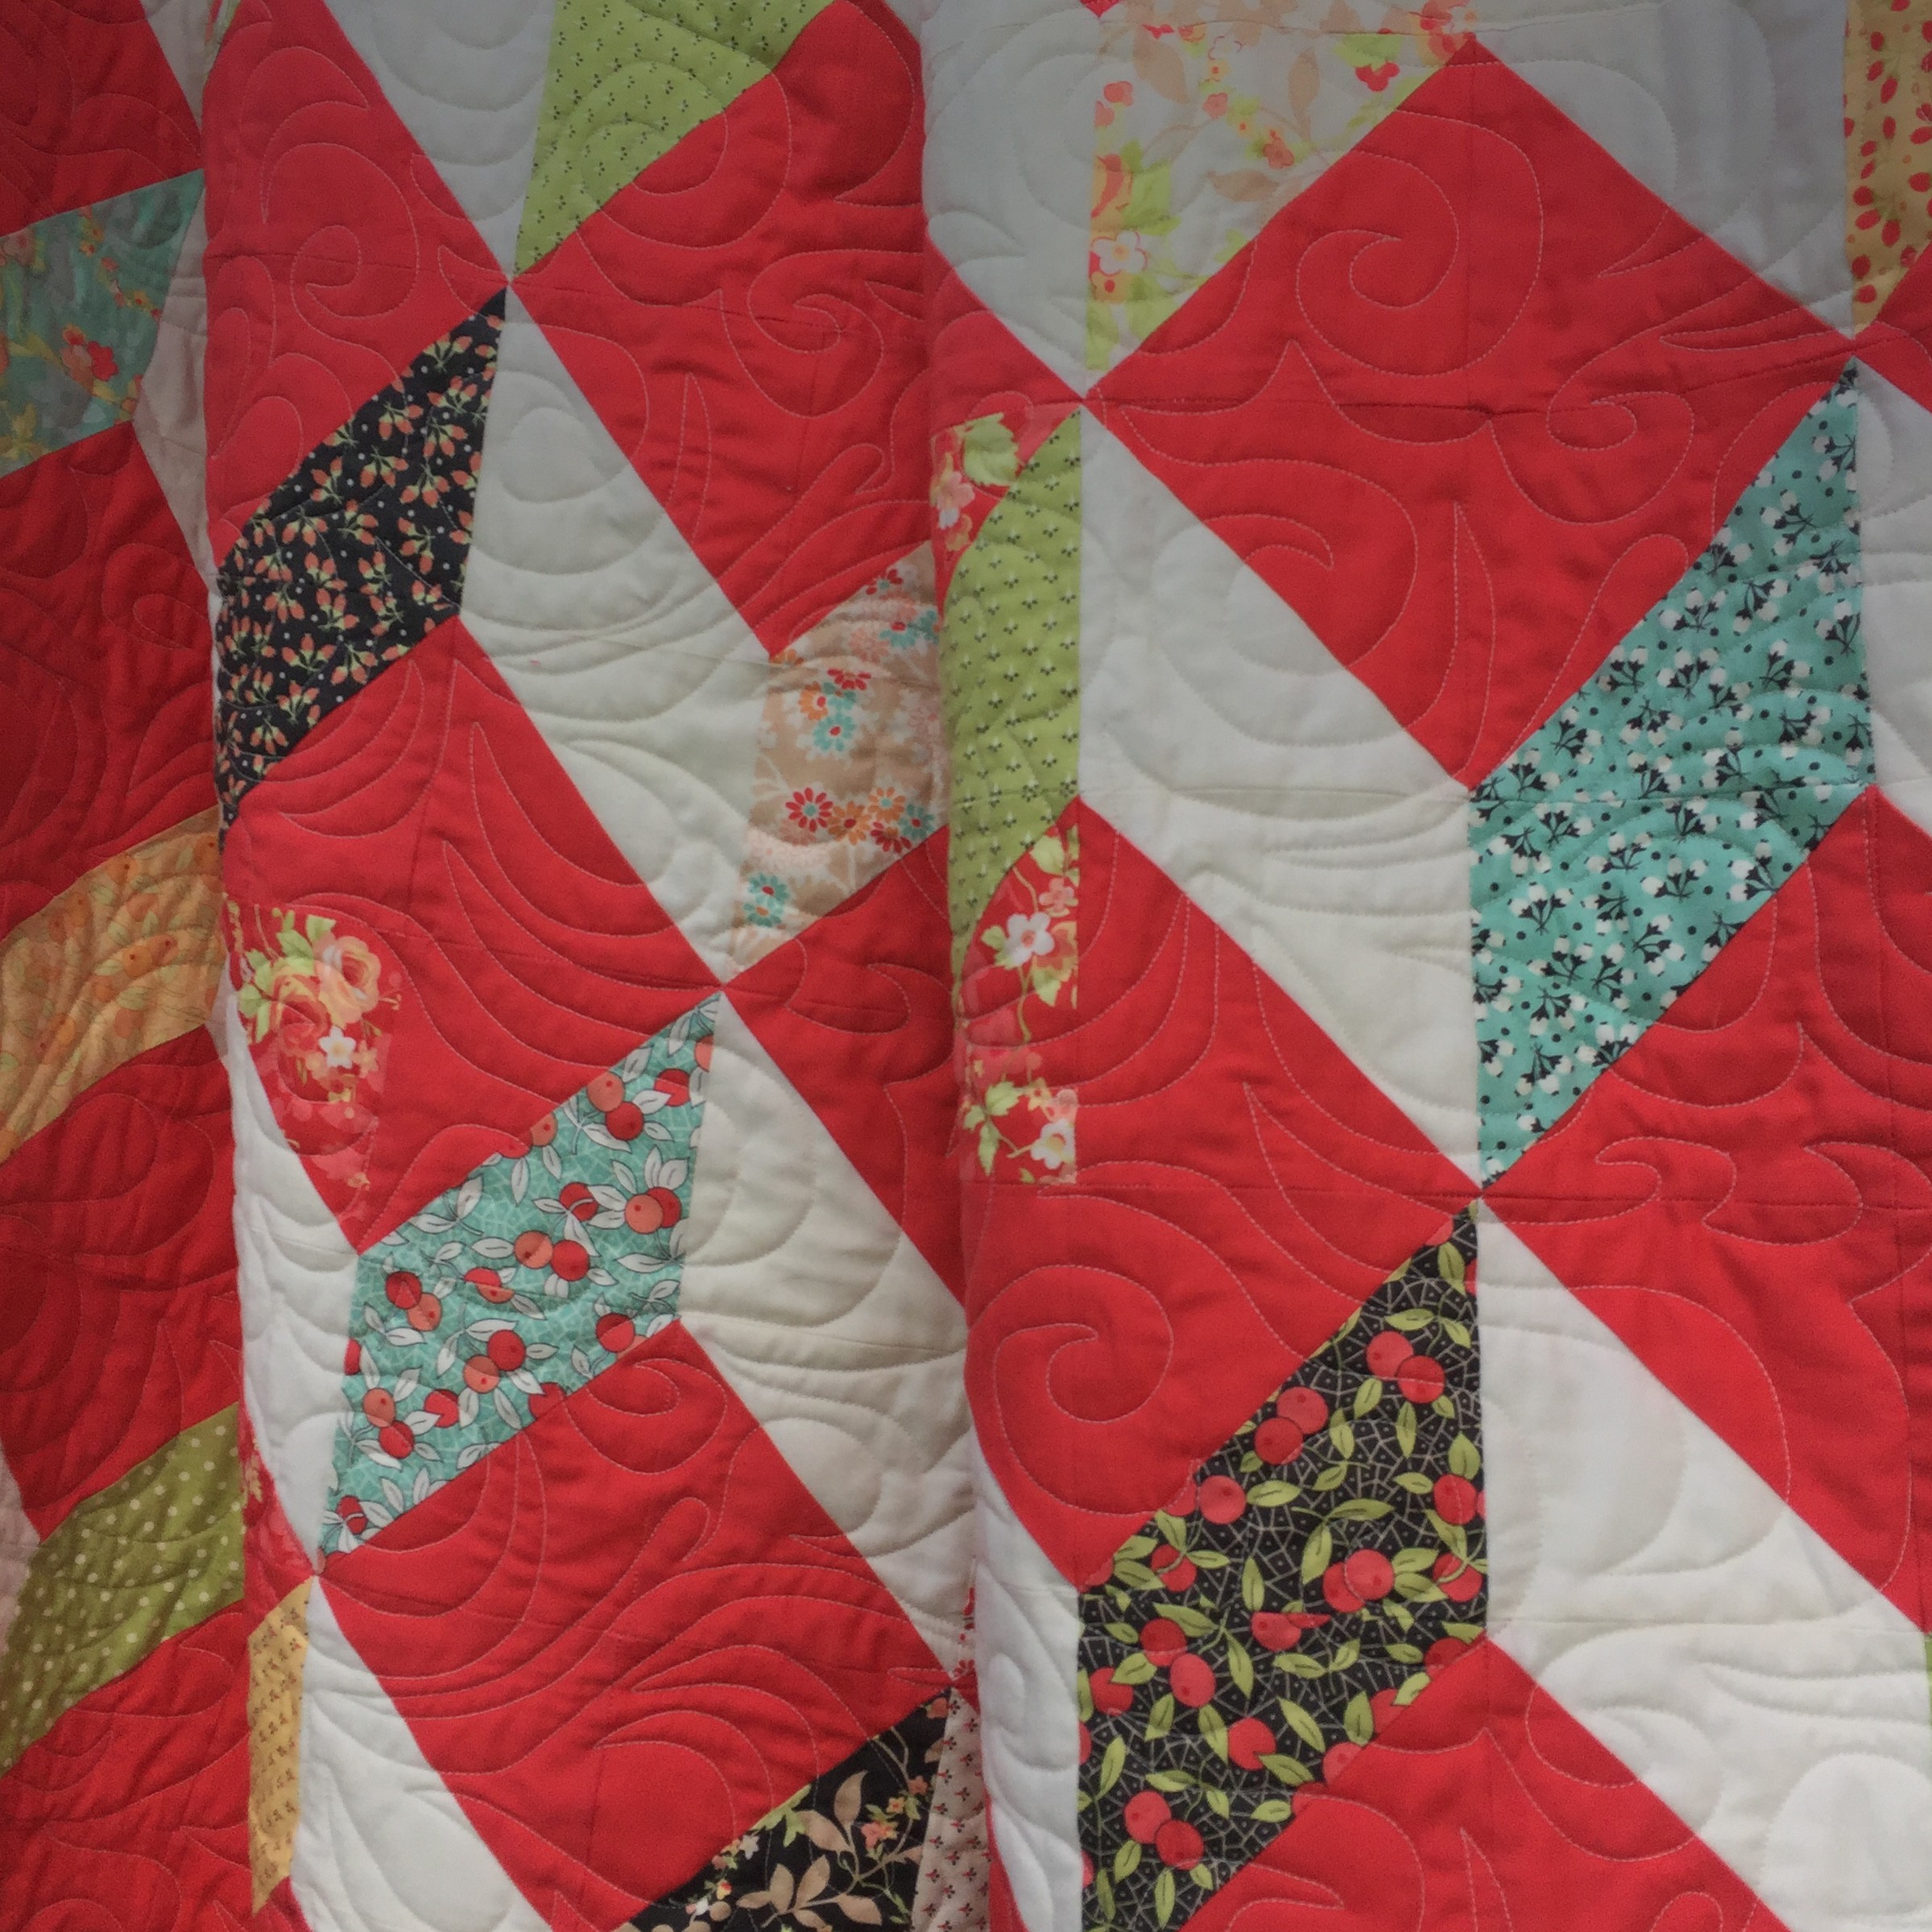
My quilt employs the humble half-square triangle to achieve a similar effect and Joanna Figueroa's gorgeous new 'Chestnut Street' fabric to capture the same soft, vintage colours. I then used the Moda Palette Builder to find the perfect 'Fig Tree' red: in this case, Moda Bella 'Geranium'.
This quilt finishes at 66” x 66”
![]()
(2) Charm Packs or (64) 5” squares {Chestnut Street by Joanna Figueroa}
2¼ yds feature fabric {Bella Solid in Geranium}
1¼ yds neutral fabric {Bella Solid in Porcelain}
4¼ yds fabric for backing
74” x 74” Cotton Batting
½ yd fabric for binding
![]()
Please read through the pattern before you begin, assuming a ¼” seam allowance and a fabric width (WOF) of 42”. I would always recommend making a test block.
CUTTING:
1. From your red* feature fabric, cut (16) 5” x WOF strips and then subcut into (128) 5” squares.
2. From your neutral* fabric, cut (8) 5” x WOF strips and subcut into (64) 5” squares.
3. From your binding fabric cut (7) 2½” x WOF strips.
*I replaced a few of my 5” squares with the red and cream prints from my charm pack to give my quilt a scrappy, vintage look.
PIECING THE HALF SQUARE TRIANGLE BLOCKS (HSTs):
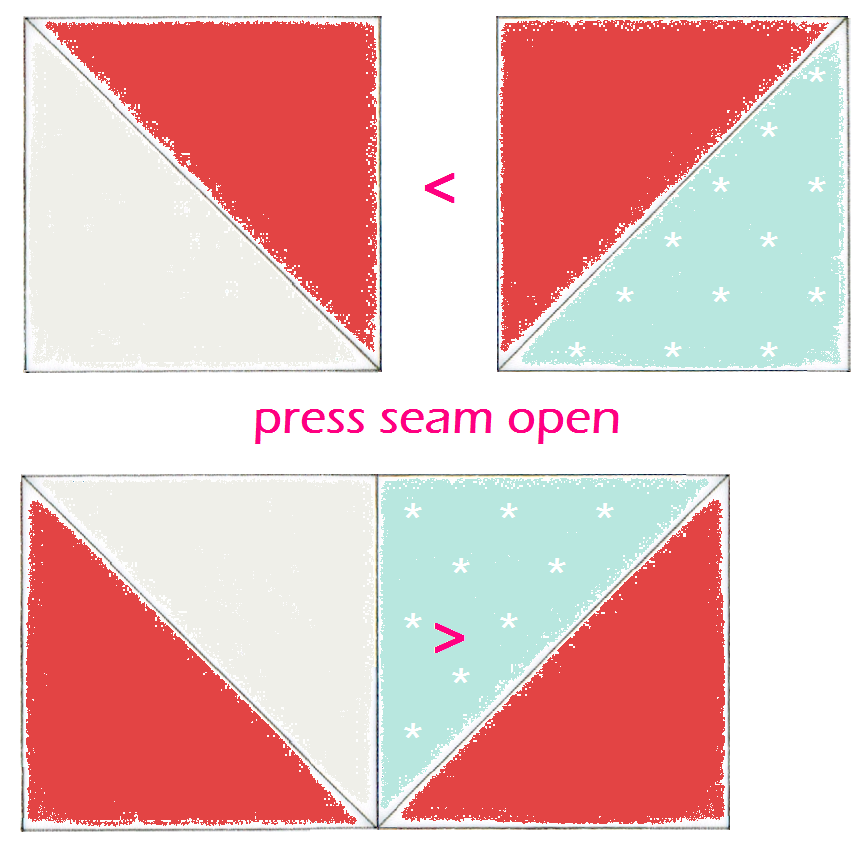
4. Draw a diagonal line on the back of a neutral 5” square and pin - right sides together - to a red 5”square, as shown.
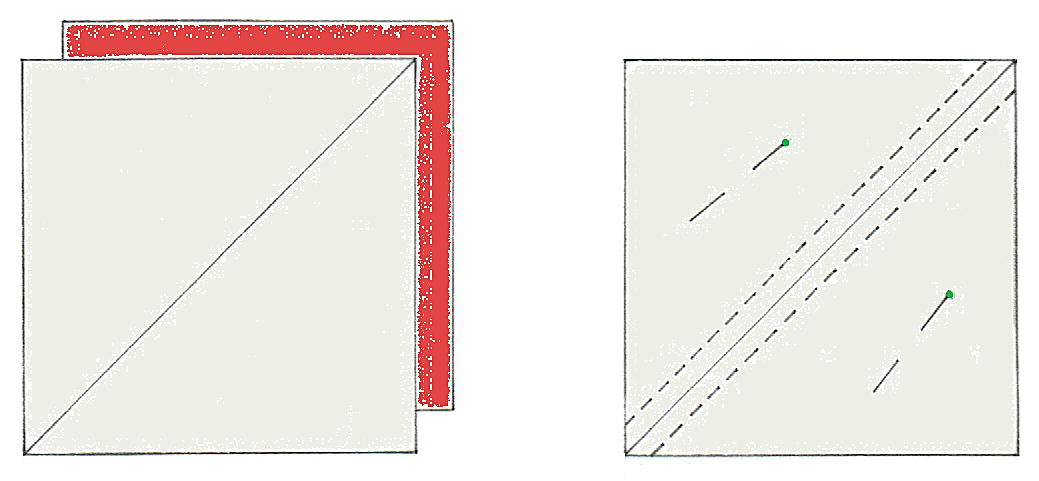
5. Stitch ¼” away from each side of your marked line; cut along that line and press the HST open towards the red fabric. As the quilt is constructed entirely from HSTs there is no need to trim your units to size – phew! – but do trim off the triangular ‘dog-ears’ to reduce the bulk in your seams when you assemble the blocks.
MAKE (128)
6. Repeat that process with a print 5” square and a red 5” square, pressing your HST open towards the print this time. Keep the pairs of matching HSTs together.
MAKE (128)

ASSEMBLING THE BLOCK:
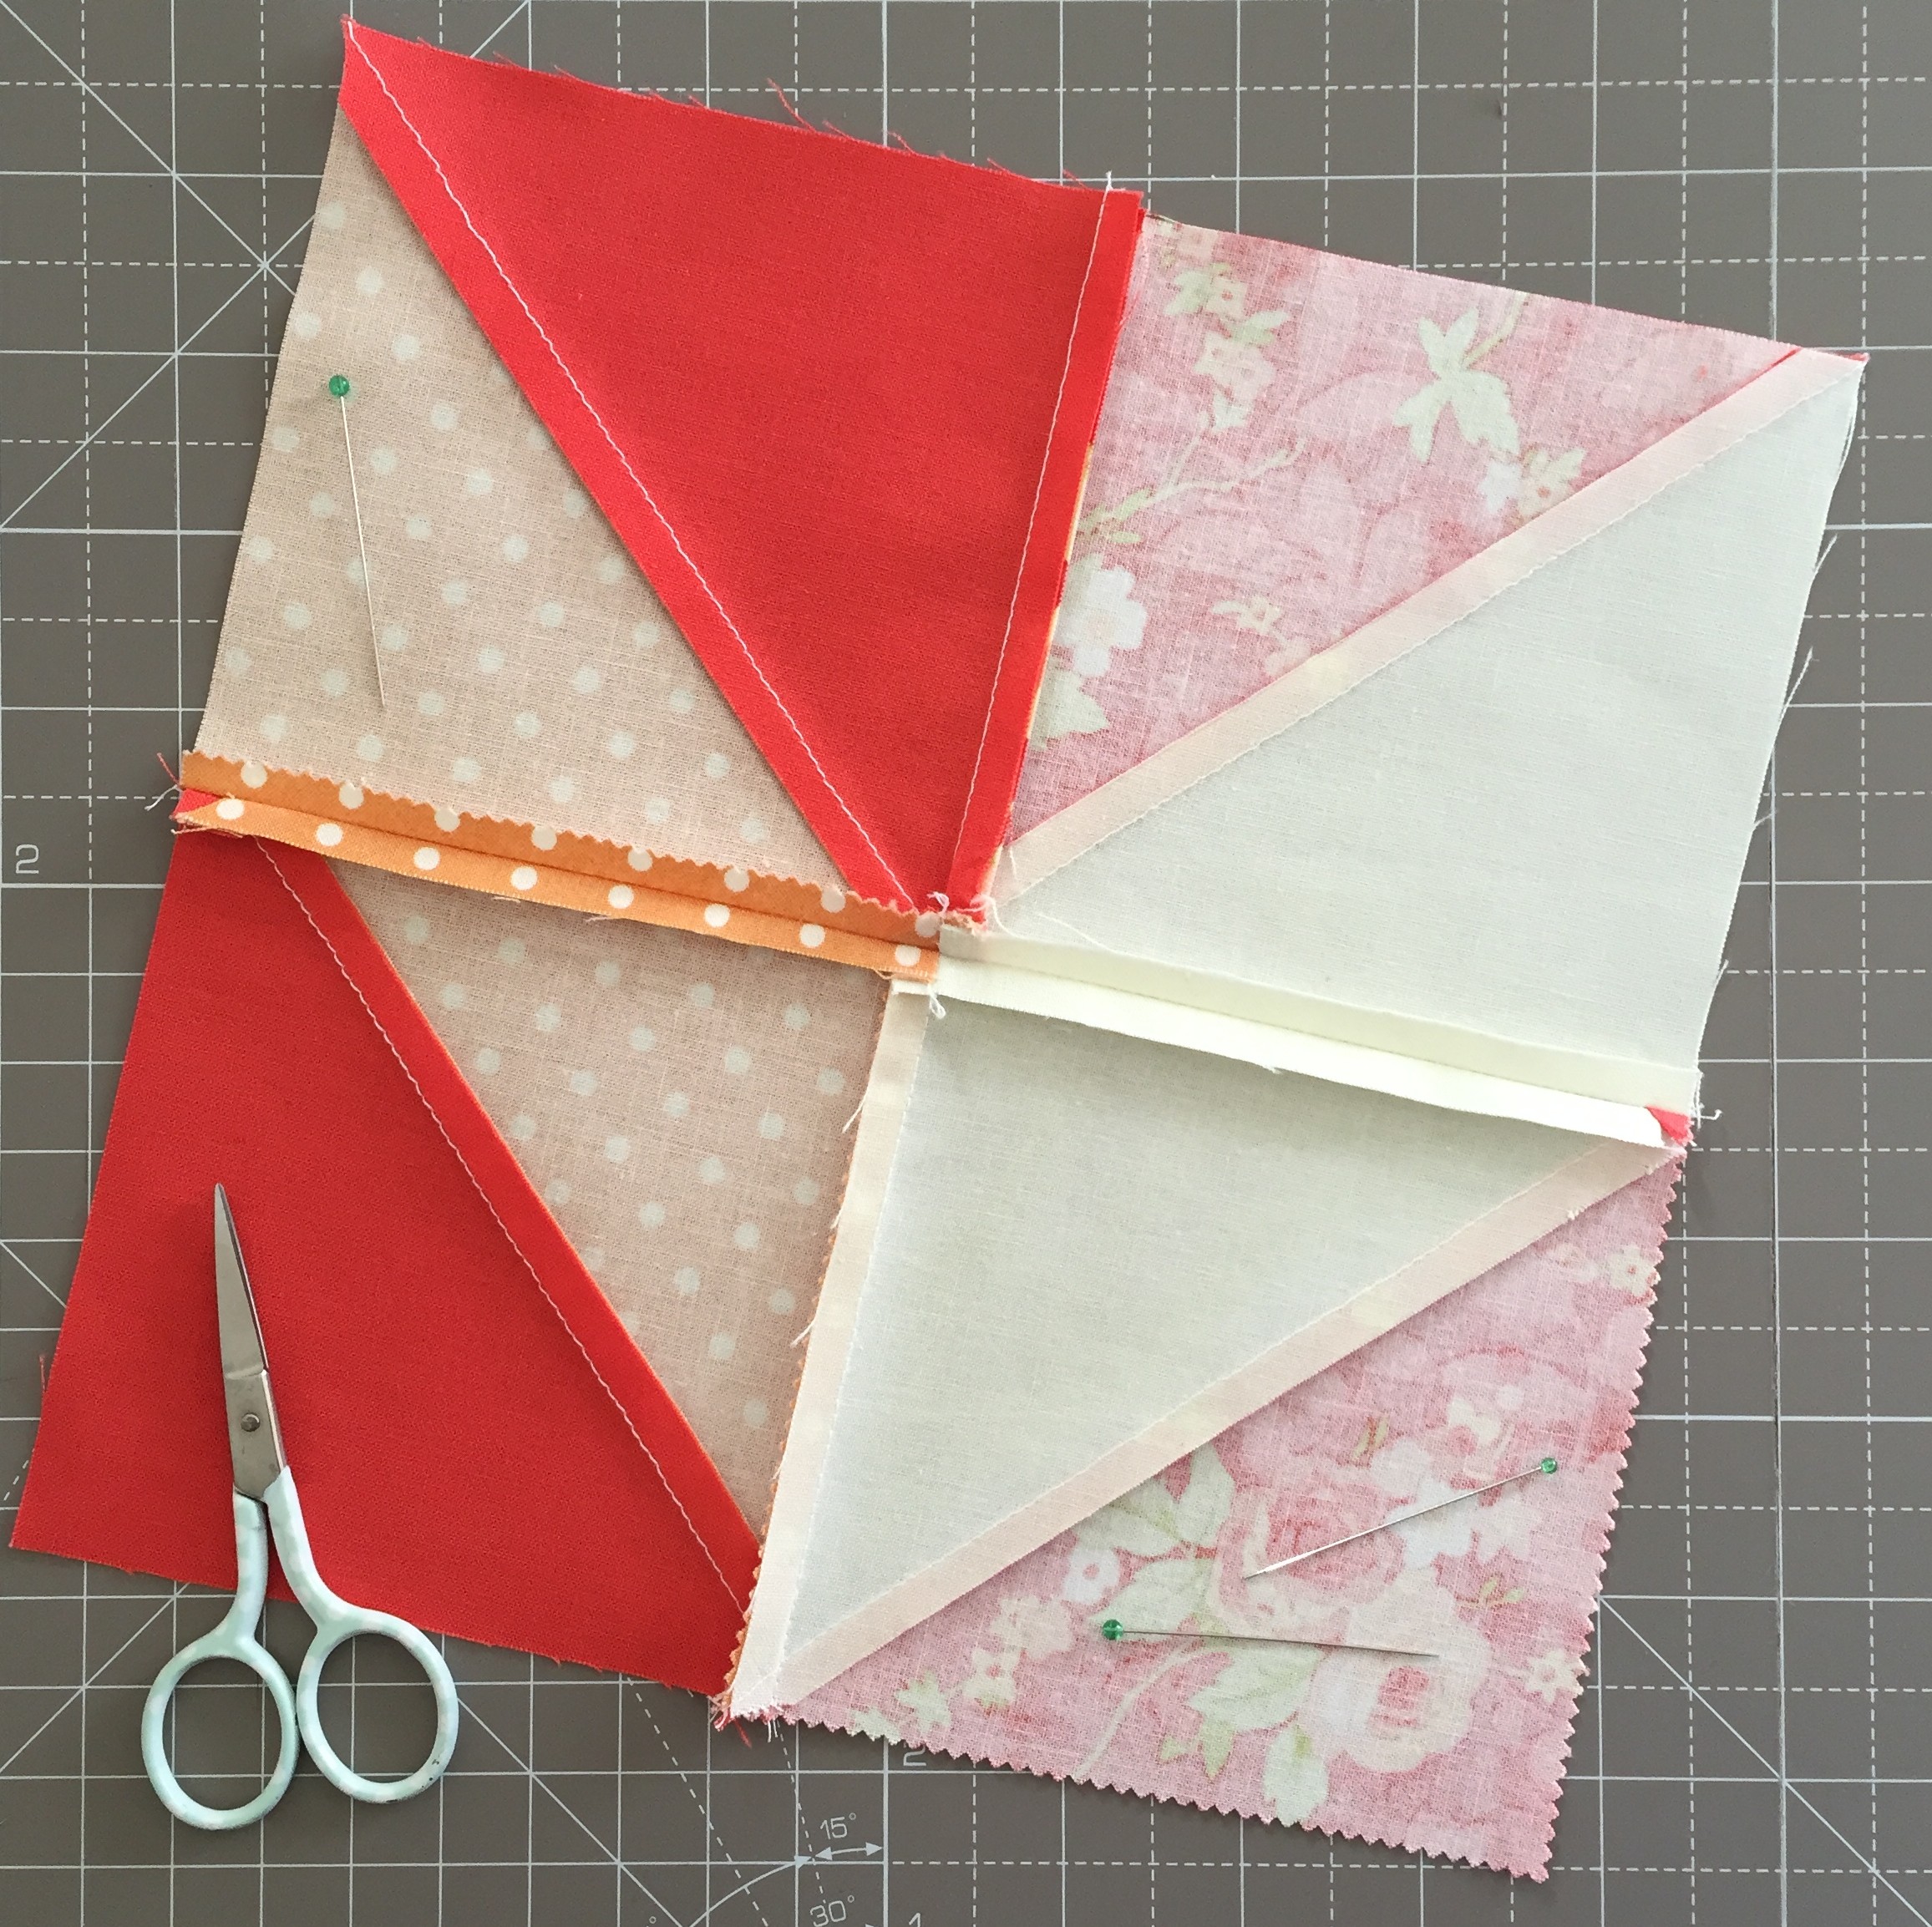
7. For each centre block choose (2) red/neutral HSTs and (2) matching red/print HSTs.
8. Assemble the block, as shown below, taking care to position the prints correctly. Press your seams in the direction of the arrows (>) or as directed.
9. Your block should measure 8¾” square
MAKE (64)
ASSEMBLING THE QUILT:
10. Join the blocks into rows of (8), as shown below, rotating the blocks in alternate rows to give the three-dimensional effect. Press the seams towards the print chevrons, so that they will ‘nest’ nicely when you join the rows together. Then join the (8) rows - taking care to pin where each seam meets - and press the seams between the rows open.

11. Cut your backing into two WOF x 74” pieces, trim off the selvages and join together using a ½” seam, pressed open. Trim to 74” square. Then sandwich the batting between the backing and the quilt top, baste, then machine or hand quilt.
12. Join your binding strips end to end to form one long strip and press in half, wrong sides together, along its length. Trim away excess batting and background - taking the opportunity to ensure your corners are square - and bind the raw edge using your preferred method {and you can find my favourite method, listed under Tutorials, on my blog at cakestandquilts.com}.

![]()
A 66” x 66” Throw Quilt
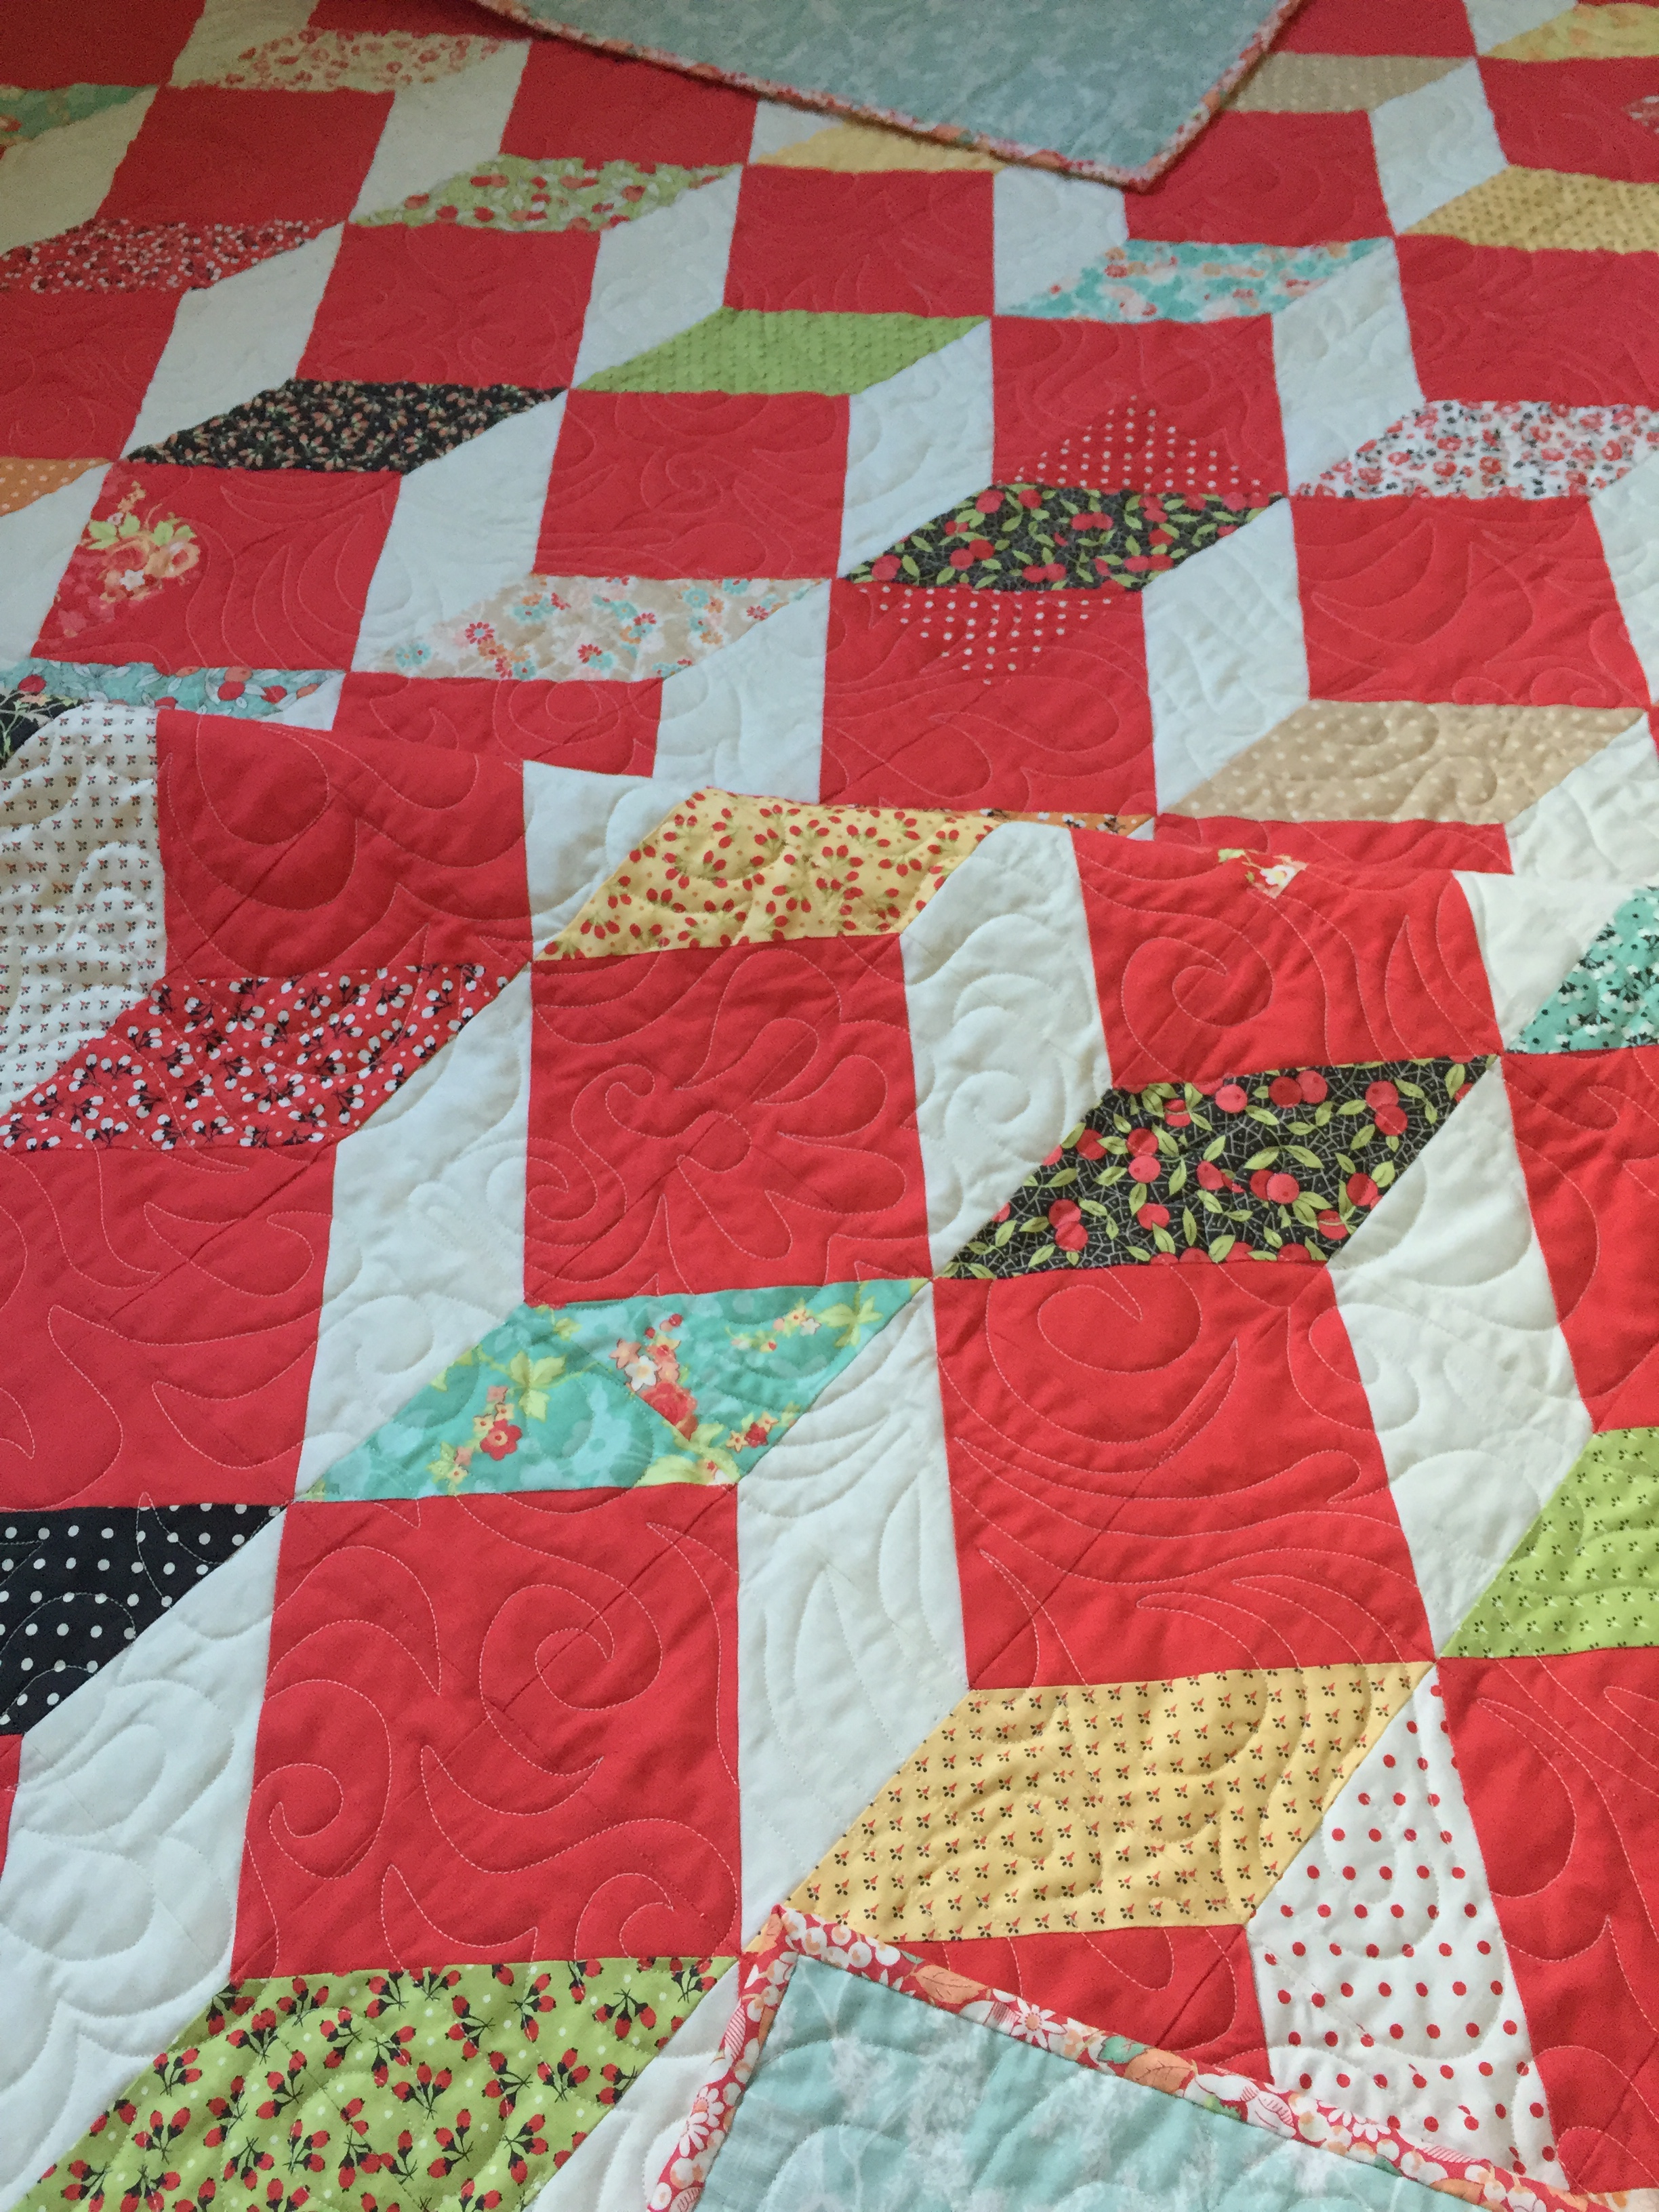
Perfect for snuggling up with as you dip into your favorite book of antique quilts!
Happy sewing,
Nicola Dodd
![]()
Posted in: