Welcome to Moda Fabrics!
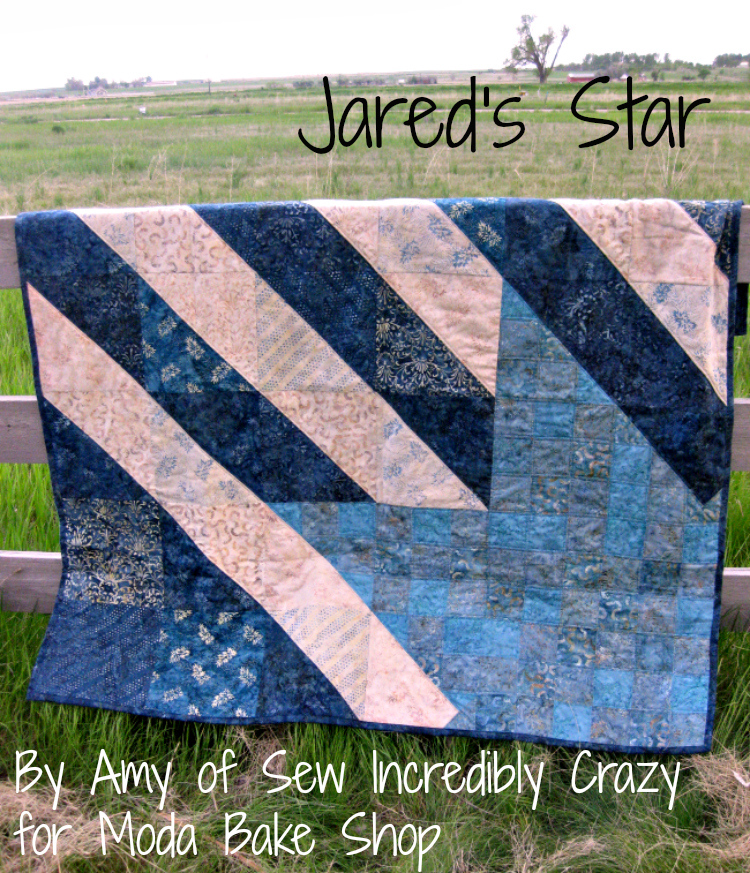
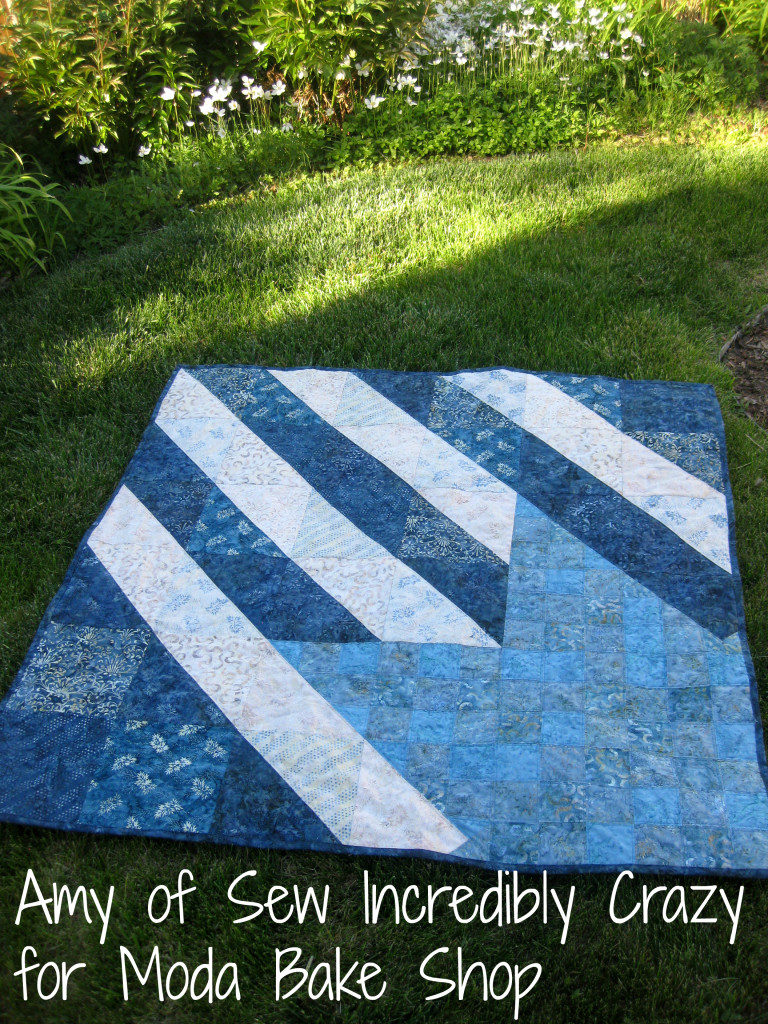
Jared's Star Quilt
Jared's Star Quilt
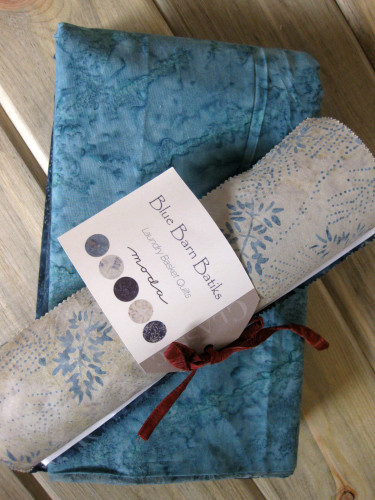
Hi, this is Amy from Sew Incredibly Crazy bringing you my first recipe for Moda. Jared's Star has a special place in my heart. It was designed for a young man who was fighting his final battle with cancer. He was like a shining star through the night sky. This quilt was made using Blue Barn Batiks by Laundry Basket Quilts.
This quilt finishes at 54" x 54".
You'll need:
1 Layer Cake of Blue Barn Batiks by Laundry Basket Quilts
1/2 yard of each Blue Barn Twilight#42279-17, #42279-36, #42279-54, #42279-88 for the star (Medium Fabric)
3 1/2 yards for background, backing, & binding fabric Blue Barn Twilight Solid #42279-12 (Dark Fabric)
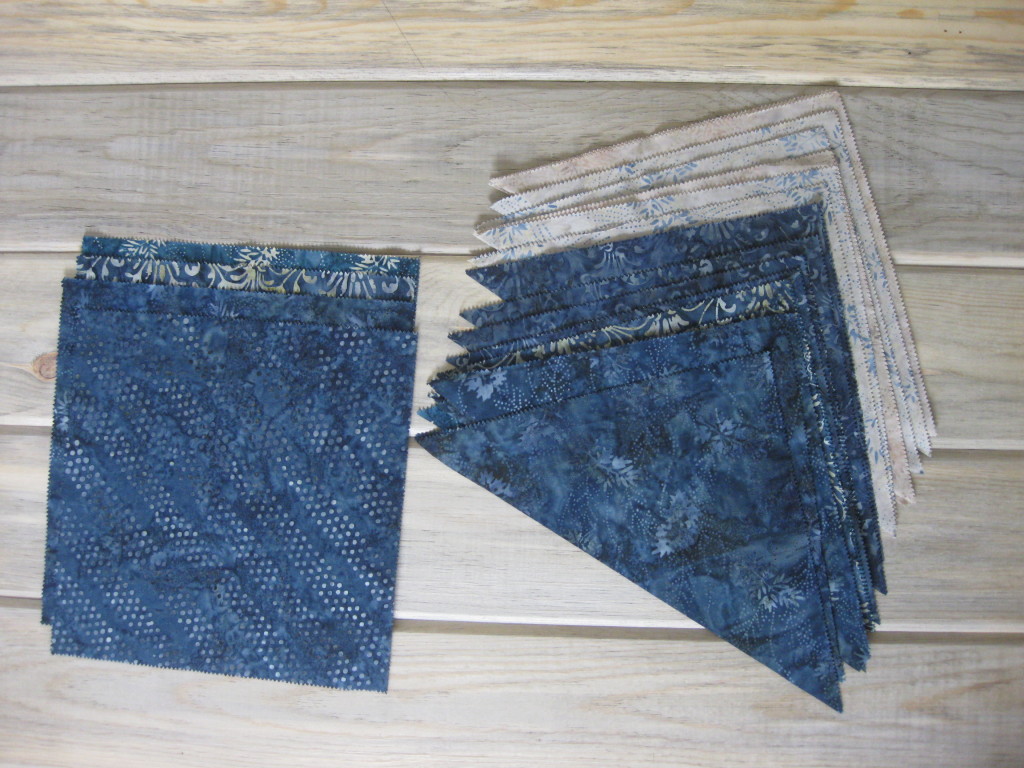
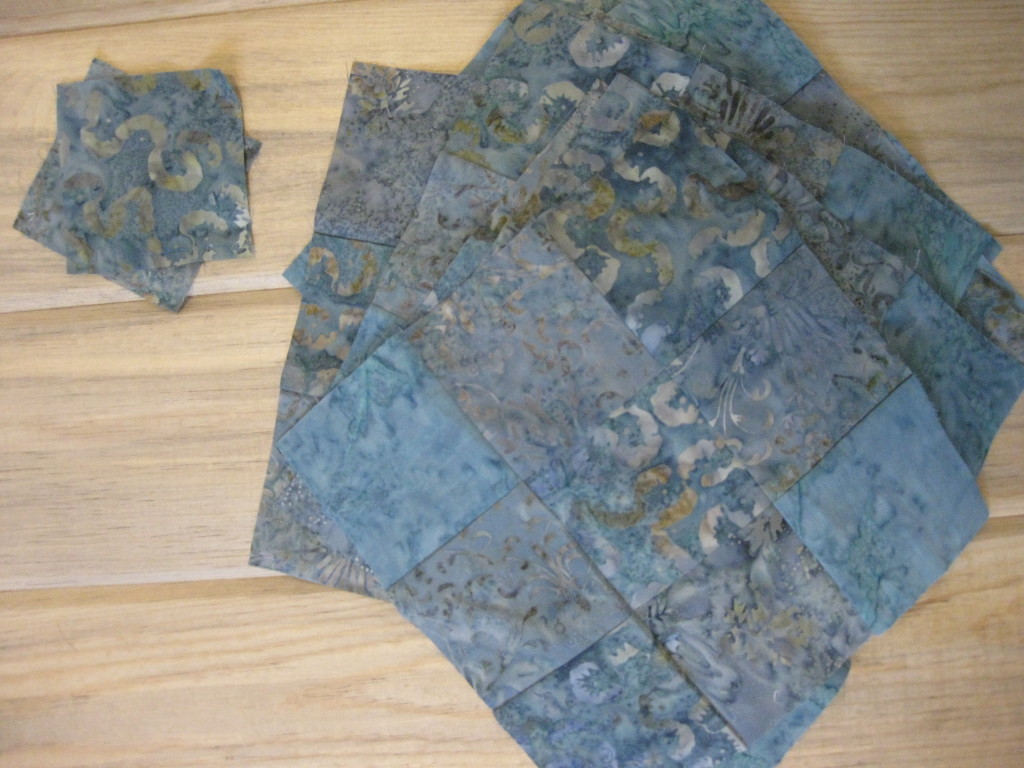
Seam allowance throughout is 1/4". Separate your Layer Cake into three categories, lights, mediums, and darks. Remove the medium blue, you will not be using these squares in your quilt. You will need 16 darks and 12 lights. In this particular line of fabric, you will need to cut 4 more dark 10" squares from your Blue Barn Twilight Solid (Dark).
Cut all 12 of your light 10" squares diagonally in half. Cut 12 of the 16 dark square diagonally. Leaving four dark squares uncut.
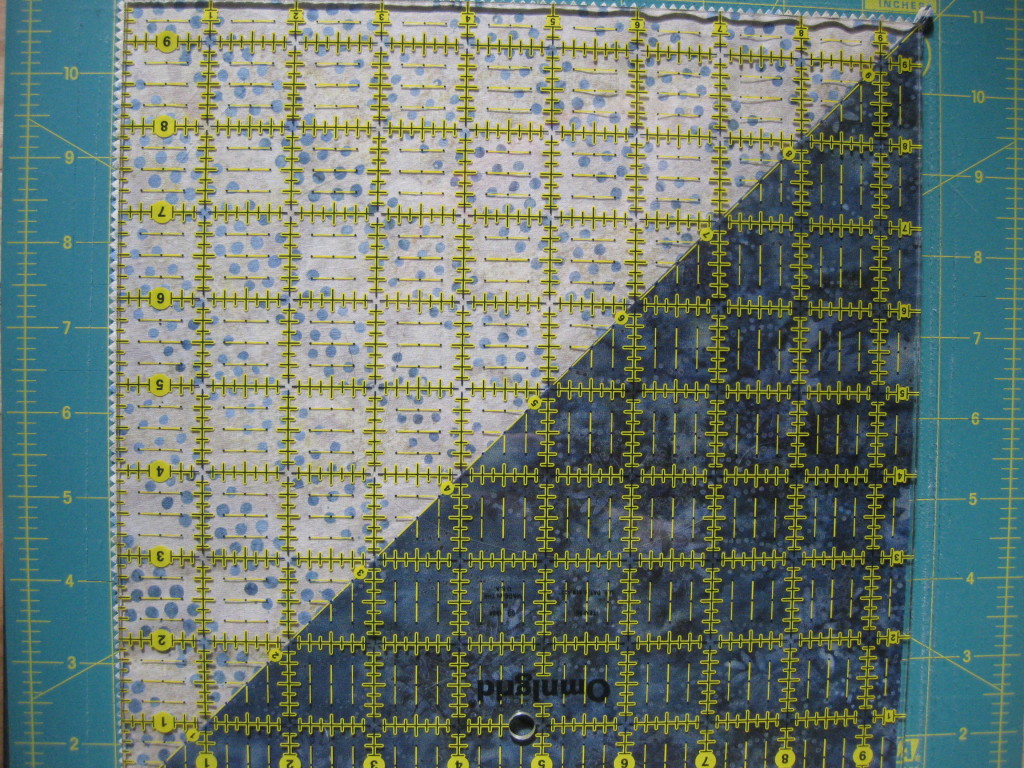
With right sides together, stitch one dark and light triangle together diagonally. Press to the dark side. Continue and make 22 Light/Dark Half Square Triangles. You will have 2 dark and 2 light triangles left unsewn. Trim all units to 9 1/2" square including your uncut 10" dark squares.
Set these units aside.
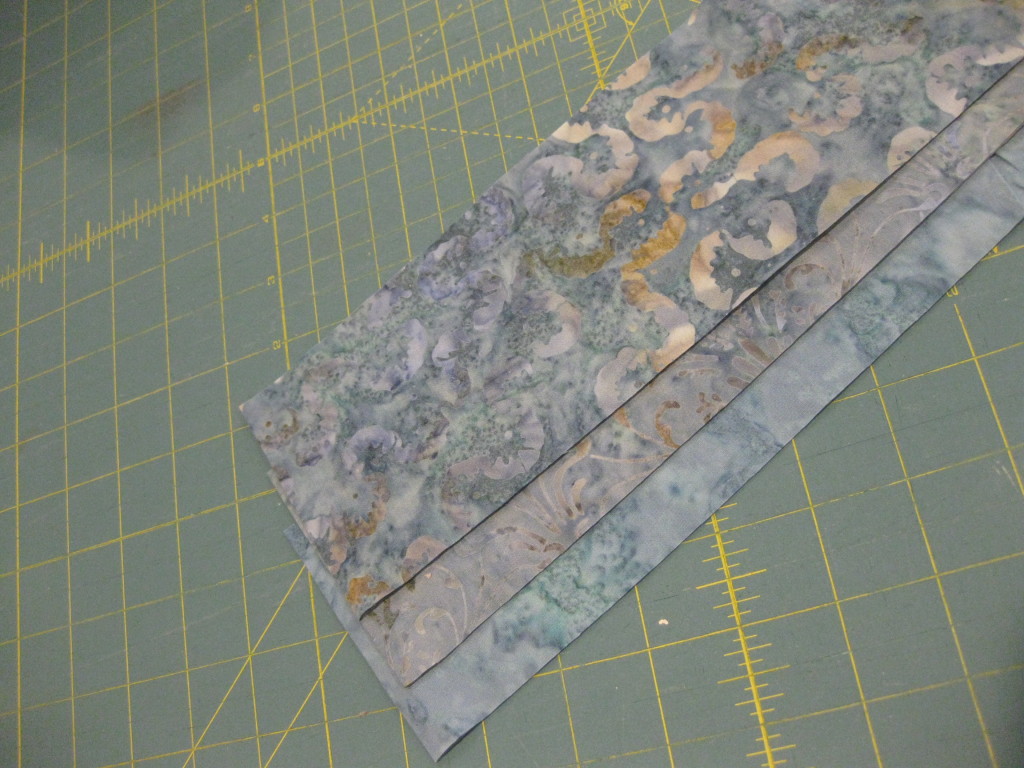
Take your 4 medium blue 1/2 yard fabrics. Cut a total of 9 - 3 1/2" x WOF strips of fabric. Chose three of the fabrics to cut 2 strips from and 1 to cut 3 strips.
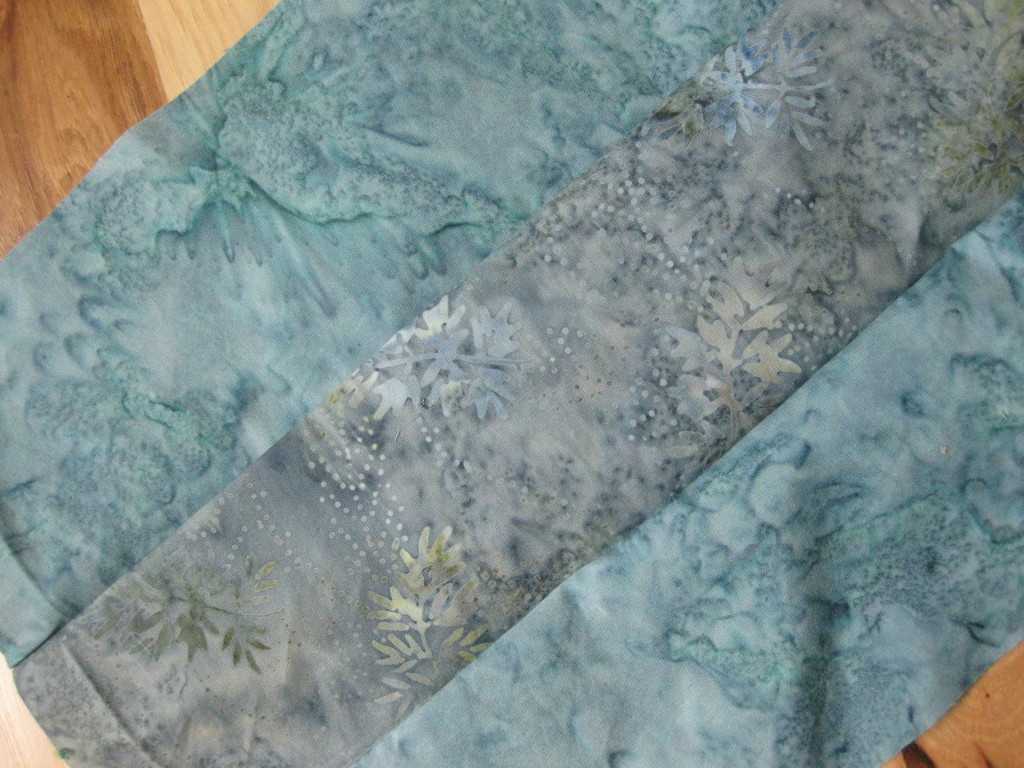
Cut one 3 1/2" square from two of your fabric and set aside. Next, take three of the fabric strips. Join the fabrics together to make a 9 1/2" x WOF strips. Do this for the rest of your strips, creating a total of 3 strip sets.
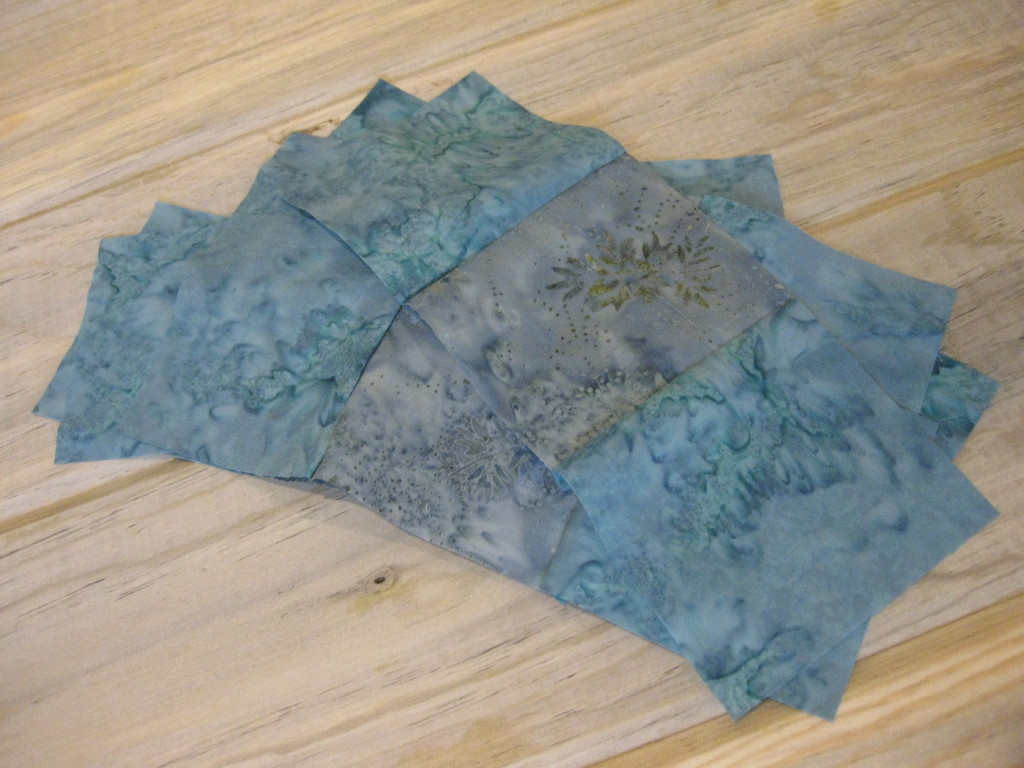
Cut those into 3 1/2" strips. You will need a total of 30.
Nestle you seams together and sew three of the cut strips together, creating a nine patch block. Press the seams in the direction they were sewn. Chose to make a variety of different color arrangements for the blocks. Make 10 blocks.
The next step you will need the 2 half darks and 2 half lights triangles left unsewn and four of your nine patch blocks. Mark the diagonal of each of the 4 - nine patch blocks. Take one nine patch blocks and a triangle. With right sides together, line up the perimeter edge of the triangle to the nine patch. Sew along the diagonal line.
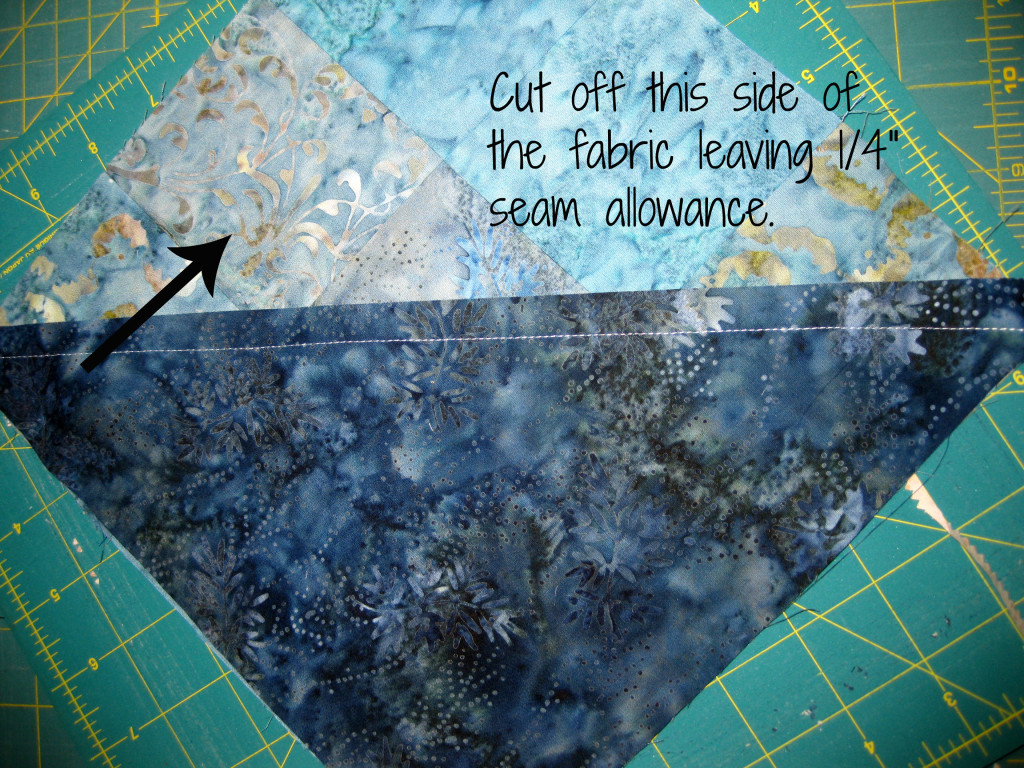
Cut off the rest of the nine patch block. Trim block to 9 1/2" square. Repeat with the remaining dark triangle and the 2 light triangles.
Next, take one dark/nine patch block. and one your 3 1/2" medium color squares you cut off of your strips previously.
Mark the diagonal of your 3 1/2" square. In bottom right corner with right sides together, place your 3 1/2" medium square.
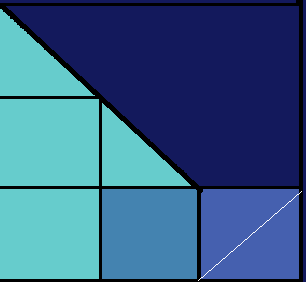
Sew along the diagonal line. Marked in white. Trim to a 1/4 to the right of the line creating this.
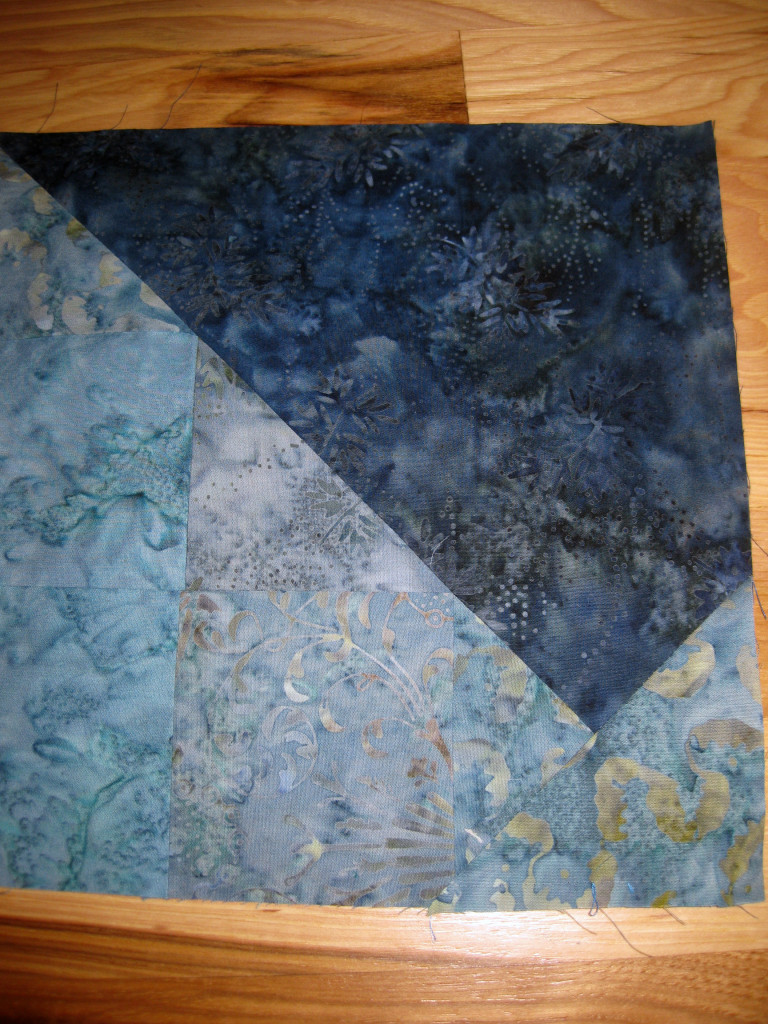
Here is what it looks like in the fabric version.
Repeat the same with one of the light/nine patch blocks, only rotating your block as shown.
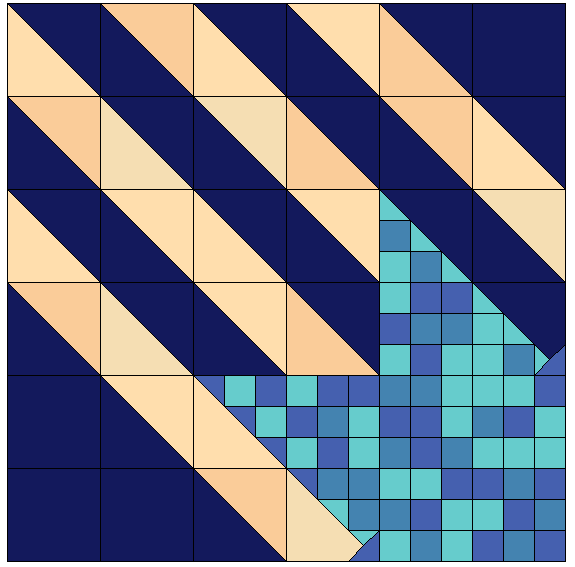
Lay out your blocks and sew together. There are two tips when putting you quilt together. First, make sure to lay it out on your design board or whatever area you have. You want to make sure that there is variation to your quilt and try not to have the same pattern fabric next to each other. Second, be sure that when laying out your nine patch blocks, that the seams are going in opposite directions. This will make seams that will nestle together and create perfectly matched blocks. Then you can press the seams in the direction in which they were sewn.
Layer with batting and backing and quilt as desired. Use excess backing fabric for your binding.
There are a variety of color ways that you could choose to do the pattern in. A yellow star would be quite striking against the background.
If you would like to see another color variation of the quilt I invite you to stop in at my blog. It has been a pleasure to join you here at Moda Bake Shop.
This quilt finishes at 54" x 54".
I have been quilting for just over four years and I totally enjoy sharing my creations over on my blog and on Facebook. I would love to see any quilts that you have created using my patterns.
Amy Warner
{sewincrediblycrazy.blogspot.com}

