Welcome to Moda Fabrics!
Lucky Zig Zag Quilt
Lucky Zig Zag Quilt
Published:
Mar 30 2015 - 20:13
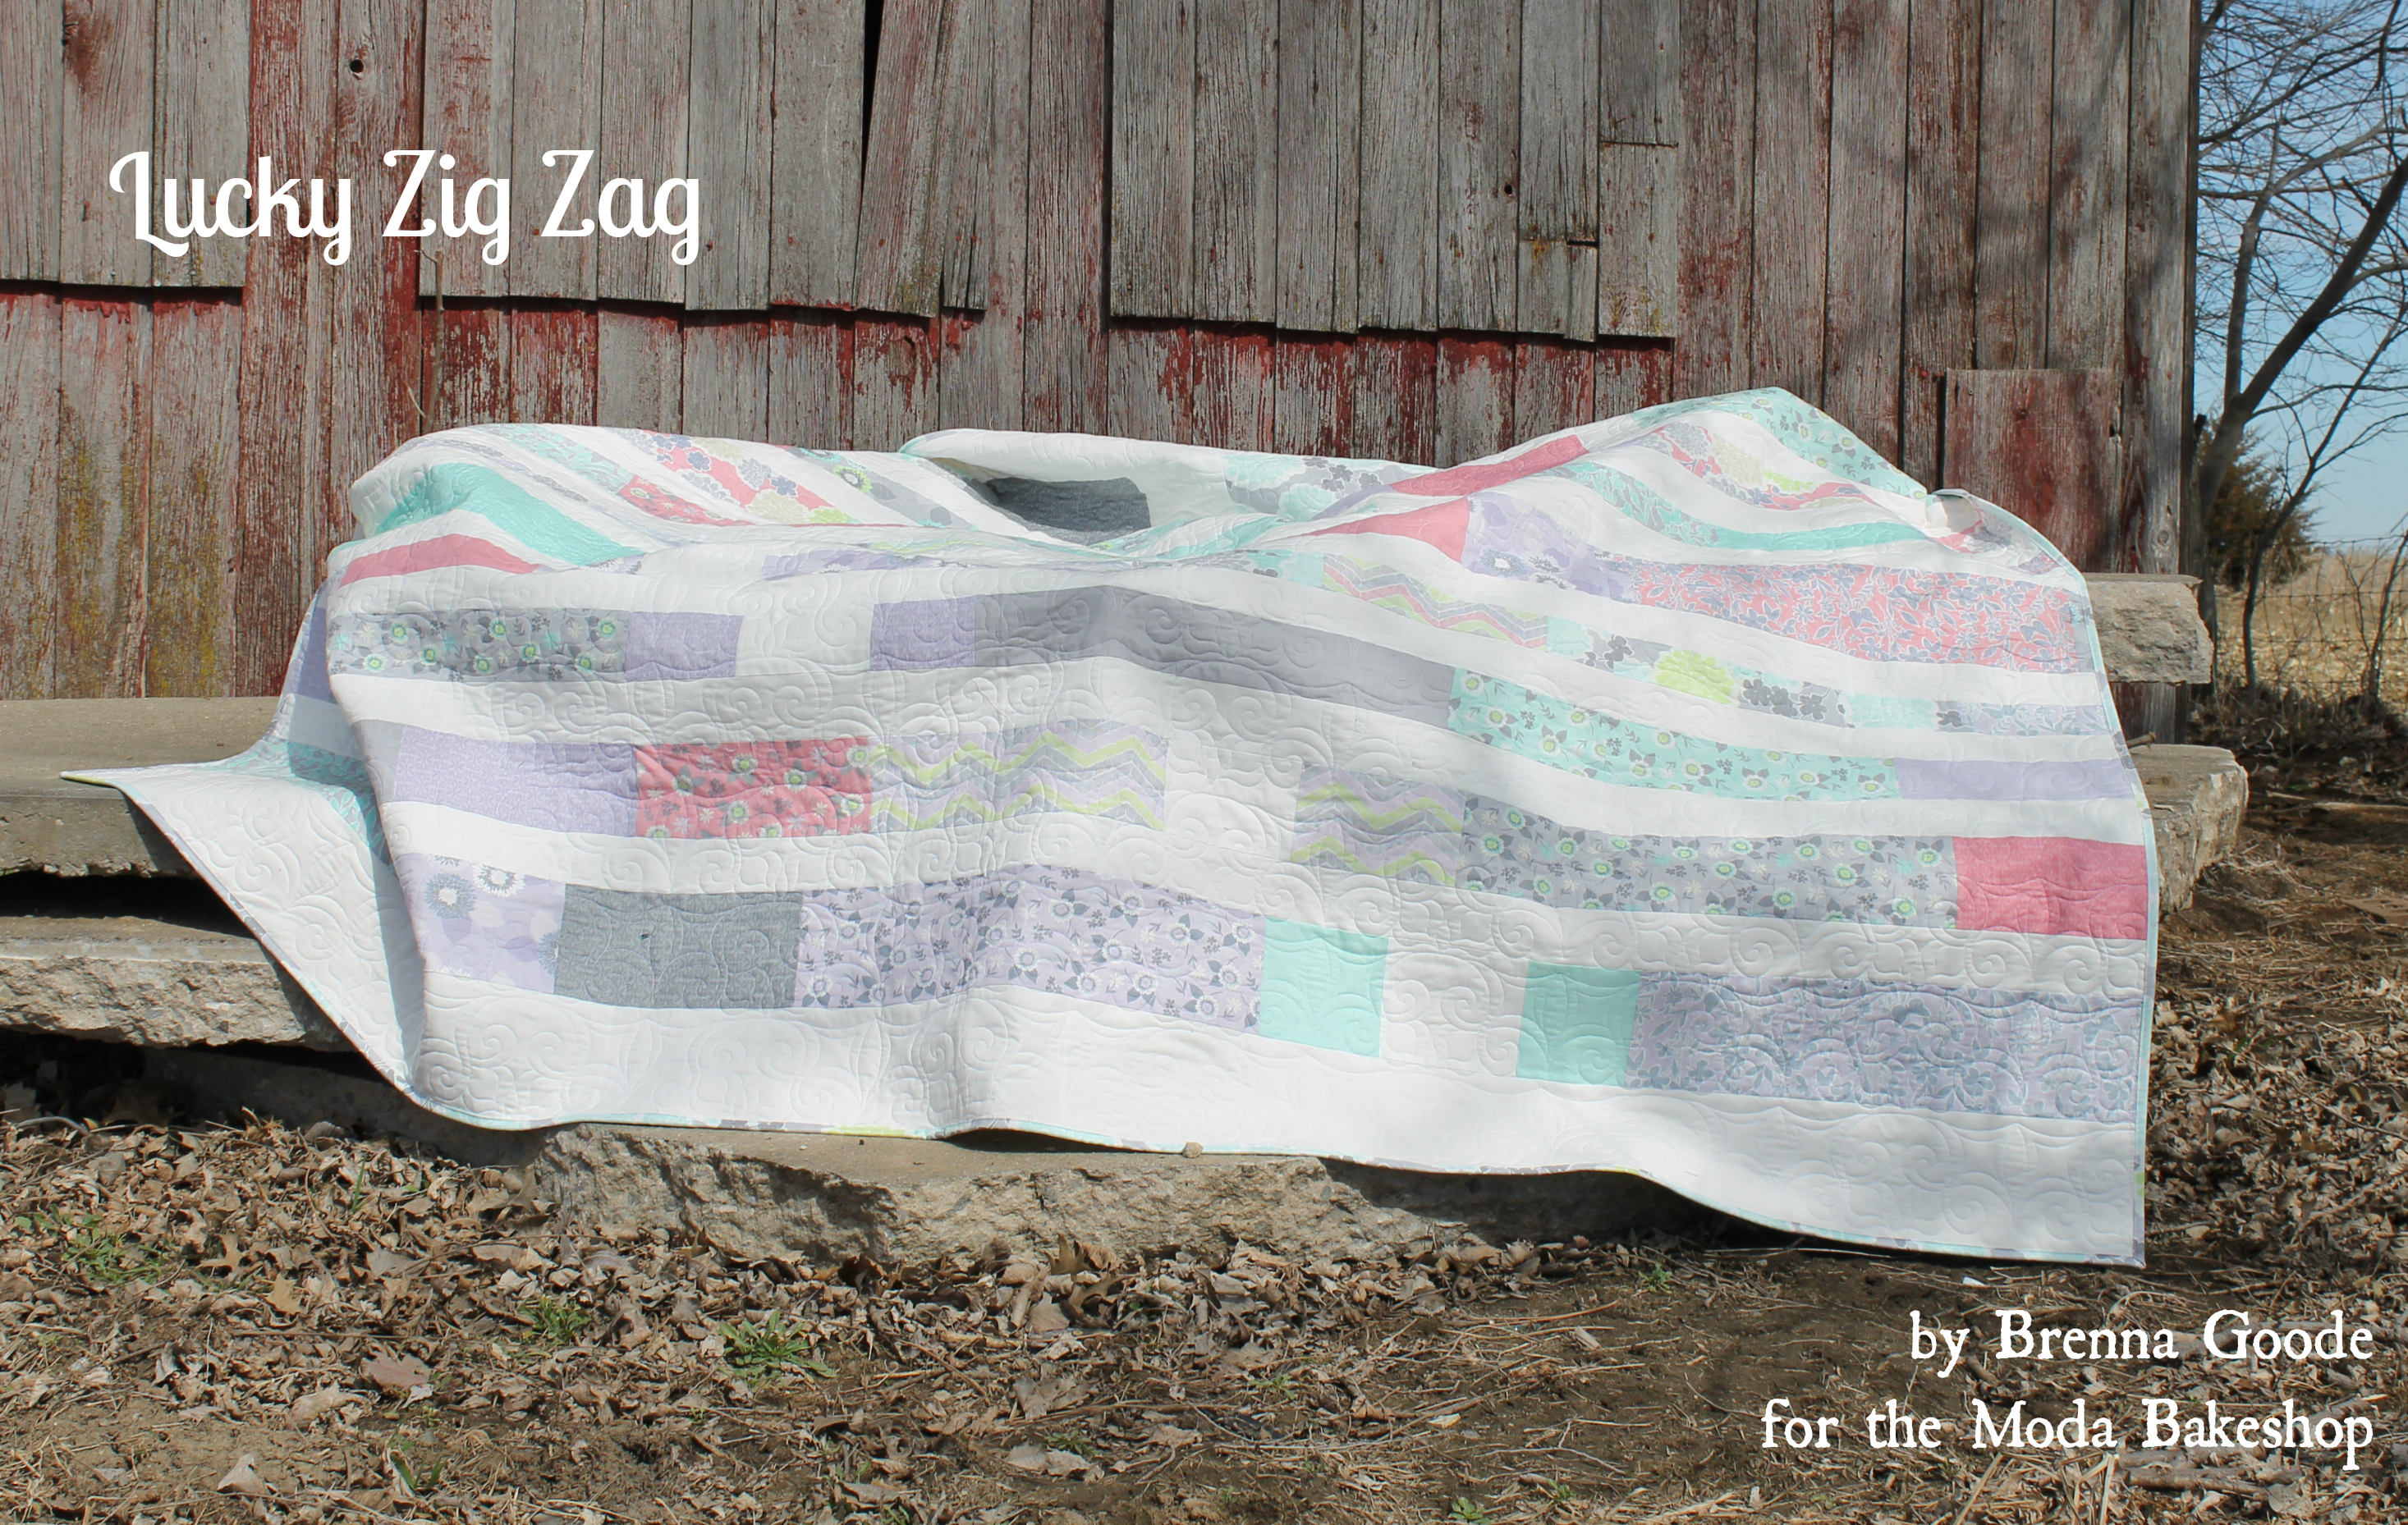

Hello again! I'm Brenna, and I'm happy to be back here with my second Moda Bake Shop project. This is a quick and easy one - for one of those days when you want to sew with pretty fabrics, but you also want to finish a project. This would be a great one for a gift or to sew up for a charity project.
I'm using the lovely True Luck fabric by Stephanie Ryan. I just love the colors and textures in these - a perfect mix for a springtime quilt! This pattern calls for a fat eighth bundle, so you have a nice variety of colors in your final product.

![]()
- 1 True Luck Fat Eighth Bundle 7200F8
- One yard each for the pieced back:
True Luck Linen Aqua 7177 25
True Luck Linen Grey 7177 26
True Luck Linen Lilac 7177 28
True Luck Linen Coral 7177 31
True Luck Trellis Grey 7202 12 - Binding: 3/4 yard True Luck Living Blossoms Grey 7200 12
- 6 yards Bella Solids White Bleached yardage 9900 98 (3 yards for sashing and blocks and 3 for backing)
![]()
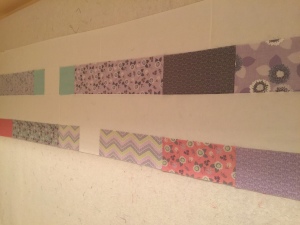
First, take your fat eighths and press them. Then we're going to divide them into two piles. In the first pile, you'll have 11 fat eighths, and in the other you'll have 15. Make sure you get a good mix of all the colors and patterns in each pile.
Take your pile of of 15, and trim the edges. Cut all of these into two sections, one that is 3 1/2 inches wide by 22 inches long and one 4 1/2 inches long by 22 inches long.
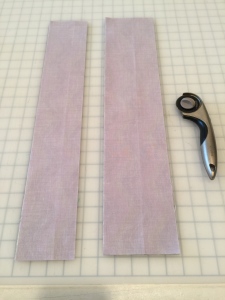
Take 5 of each of these strips, and further cut in half, so you'll have pieces roughly 5 1/2 x 11 and 2 1/2 x 11. The length doesn't need to be exact, so don't worry if your pieces are slightly shorter or longer.
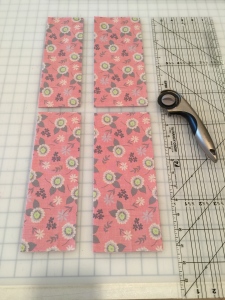
Take the other pile, and trim edges. Cut each piece into two sections, one 5 1/2 inches by 22 inches, and one that's 2 1/2 inches by 22 inches. Take 4 of each of these, and again cut in half, so you'll have pieces that are 11 inches long.
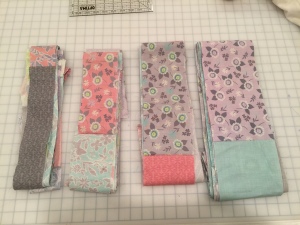
Now, take all of your 2 1/2 inch pieces, and piece them together end to end, mixing in colors and lengths, until they're all in one long strip. Do the same with your 3 1/2 strips, your 4 1/2 inch strips and your 5 1/2 inch strips. Press all the seam allowances to one side. You should have four lovely long strips of goodness!
Now for your background fabric. Cut:
- 13 strips 2 1/2 x WOF
- 10 strips 3 1/2 by WOF.
- 5 strips 6 x WOF.
- 2 5.5x6 inch blocks
- 2 4.5x6 inch blocks.
Take your 2.5 inch strips, and from one of them, cut 3 blocks 2.5x6 inches. From one of your 3.5 inch strips, cut 2 blocks 3.5x6.
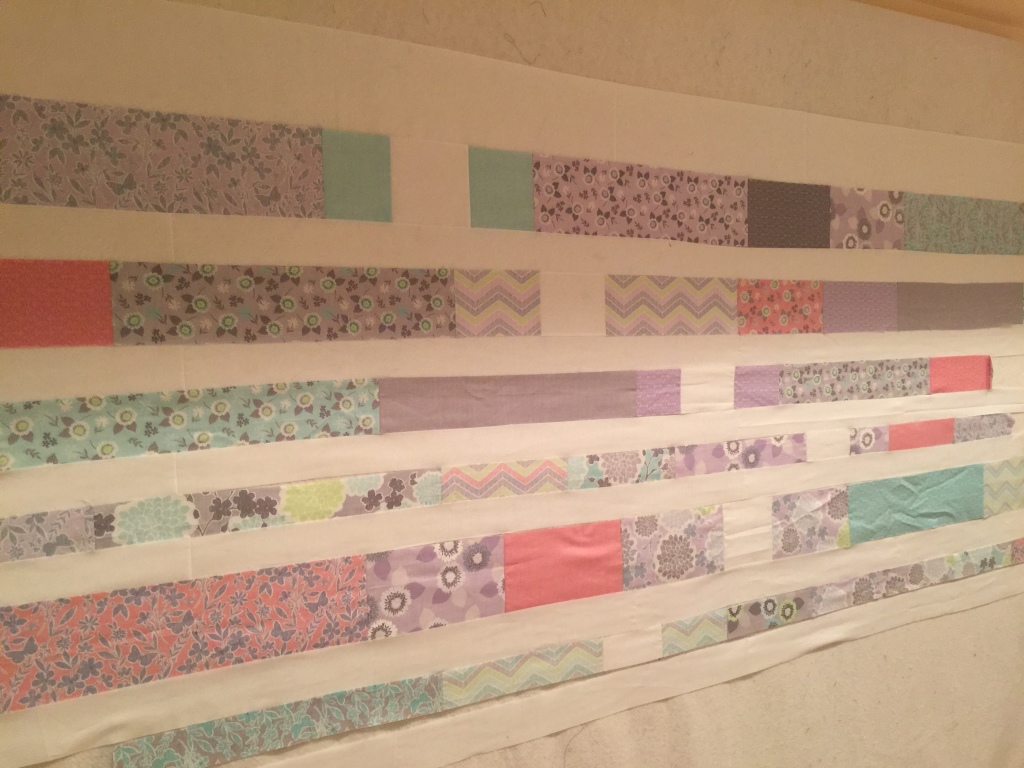
Take your 6 inch wide strips, and sew them end to end. Cut into two 96 inch long strips.
Take your 5.5 inch wide strip. At 24 inches from one end, cut and insert one of your 5.5x6 inch white squares. Then cut a strip 96 inches long. Sew it onto one of your 96 inch white strip.
Sew 3 2.5 inch background strips together, and cut to 96 inches. Attach onto the two already connected strips. Press seam allowances towards the colored strips.
Continue on in this same fashion, following the diagram below (please note this isn't to scale, this is just for reference). The numbers to the left are the widths of the various strips.

Midway through construction you can see the large zig-zag formed by the white squares.
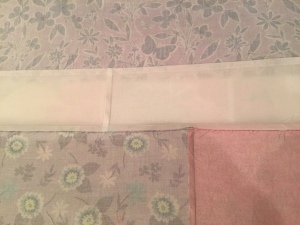
For the backing, take your four linen pieces, and cut to 36 inch squares. Cut a piece of the remaining backing fabric 15 inches by 36 inches. Cut 2 white pieces 36 inches square, and 2 pieces 15x36. Sew together as shown for a backing. Quilt as desired. I had my machine quilter load the quilt in sideways, so the quilting pattern emphasized the direction of the strips. This would be a great quilt for multiple quilting patterns - one in each stripe. As usual, lots of options!
![]()
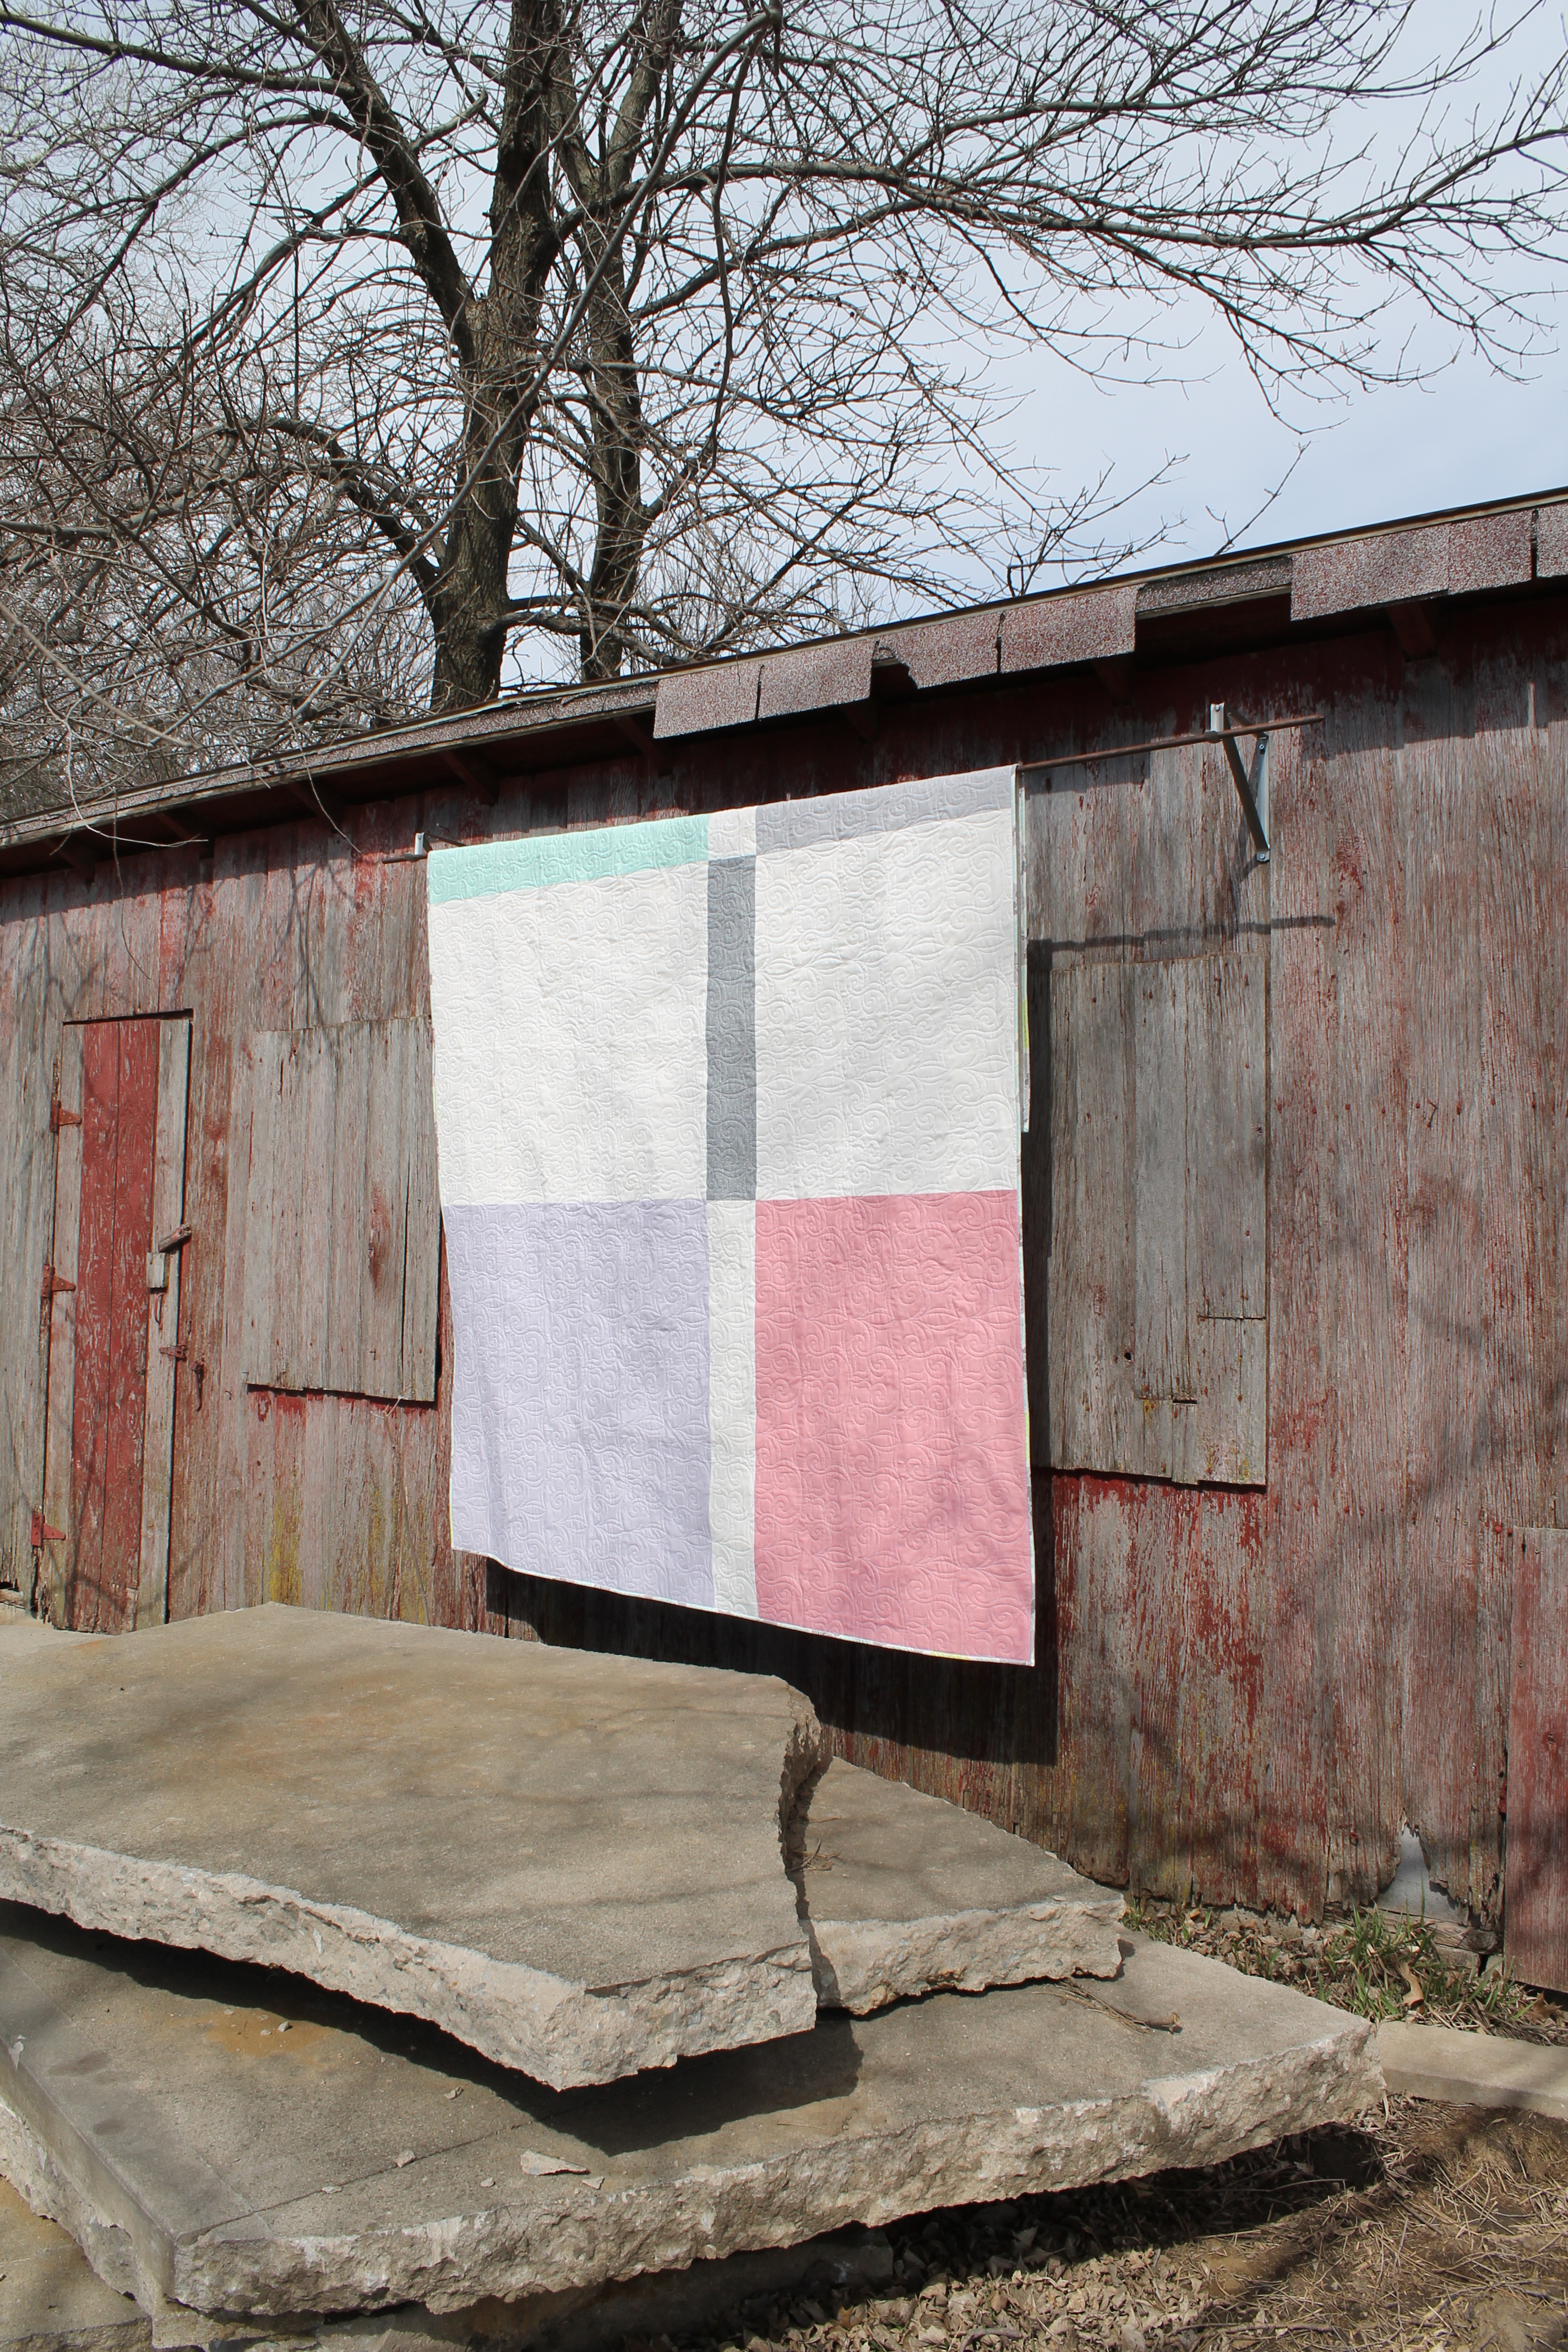
Your final top should measure 68" x 96", a great size for a twin bed.
Cut your binding fabric into 8 binding strips your preferred width, and bind using your favorite method.
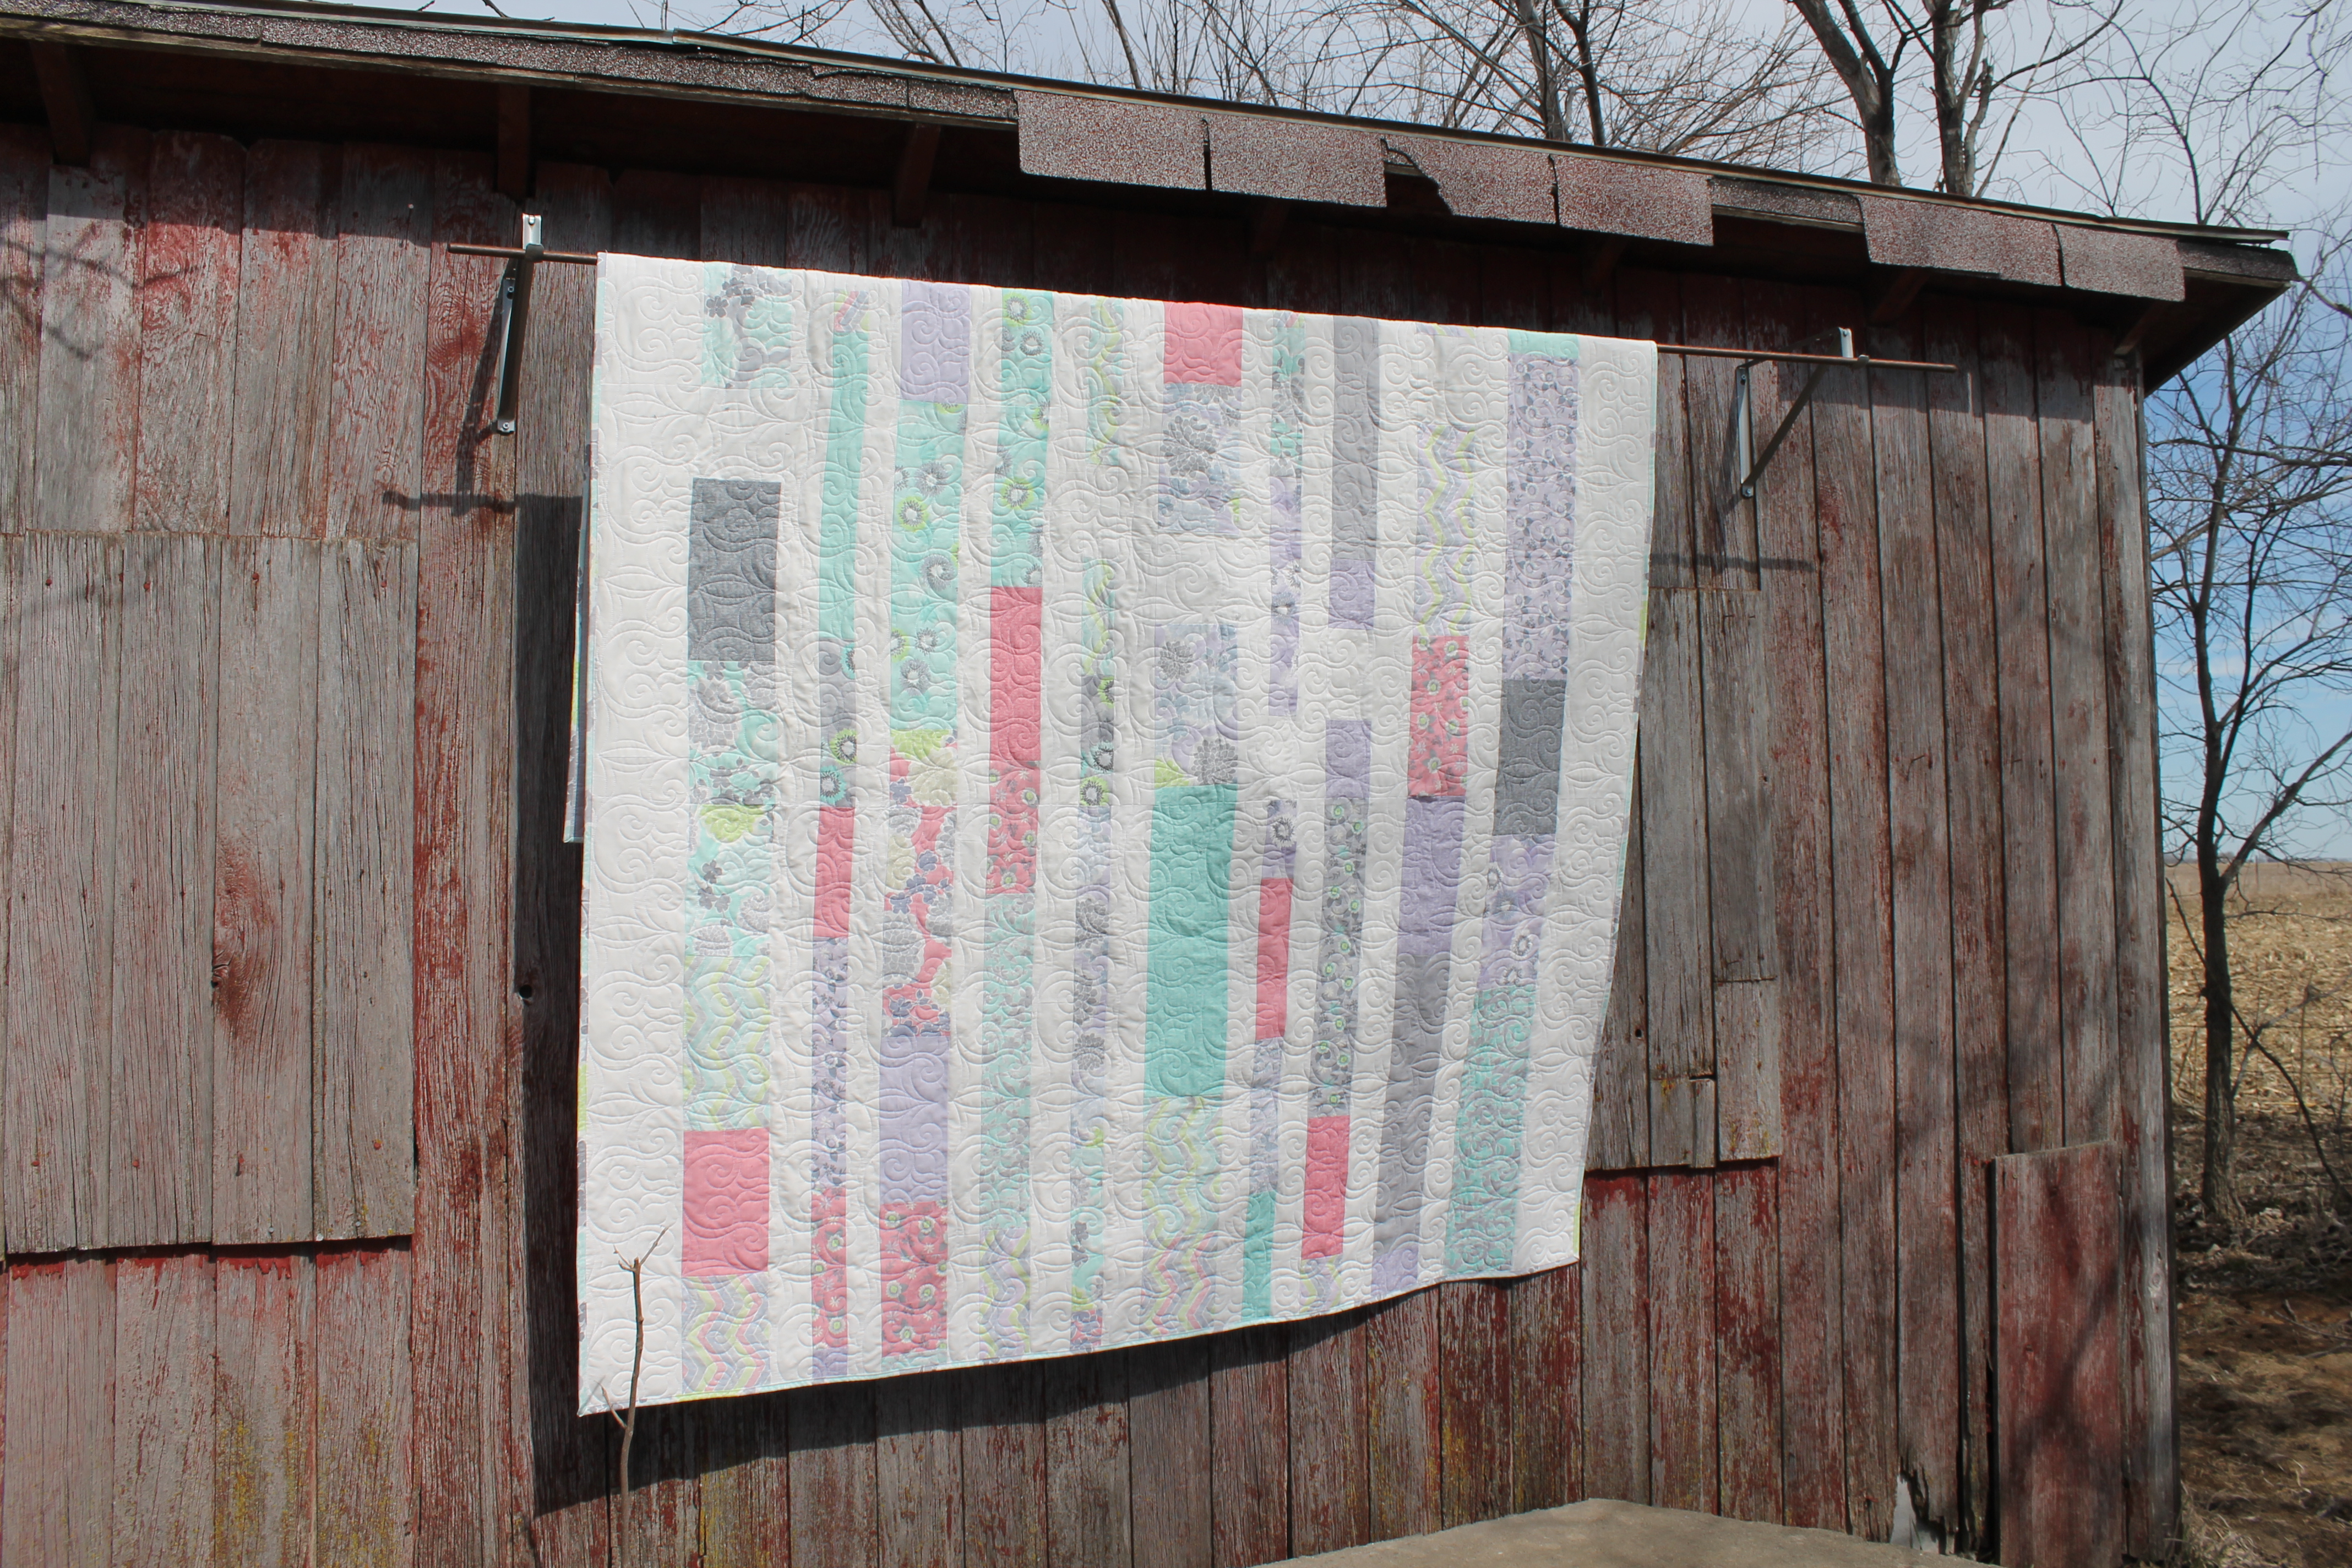
One bright, springy quilt! I hope you enjoy!
Brenna Goode
{quiltingintheheartland.blogspot.com}
![]()
Posted in: